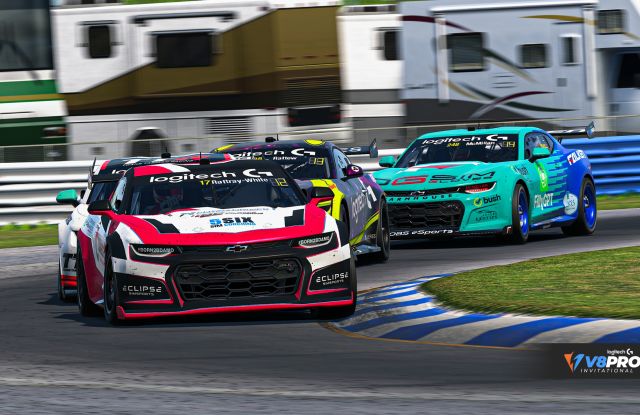
Luke Rosella & Harley Haber score breakthrough maiden victory at Sandown
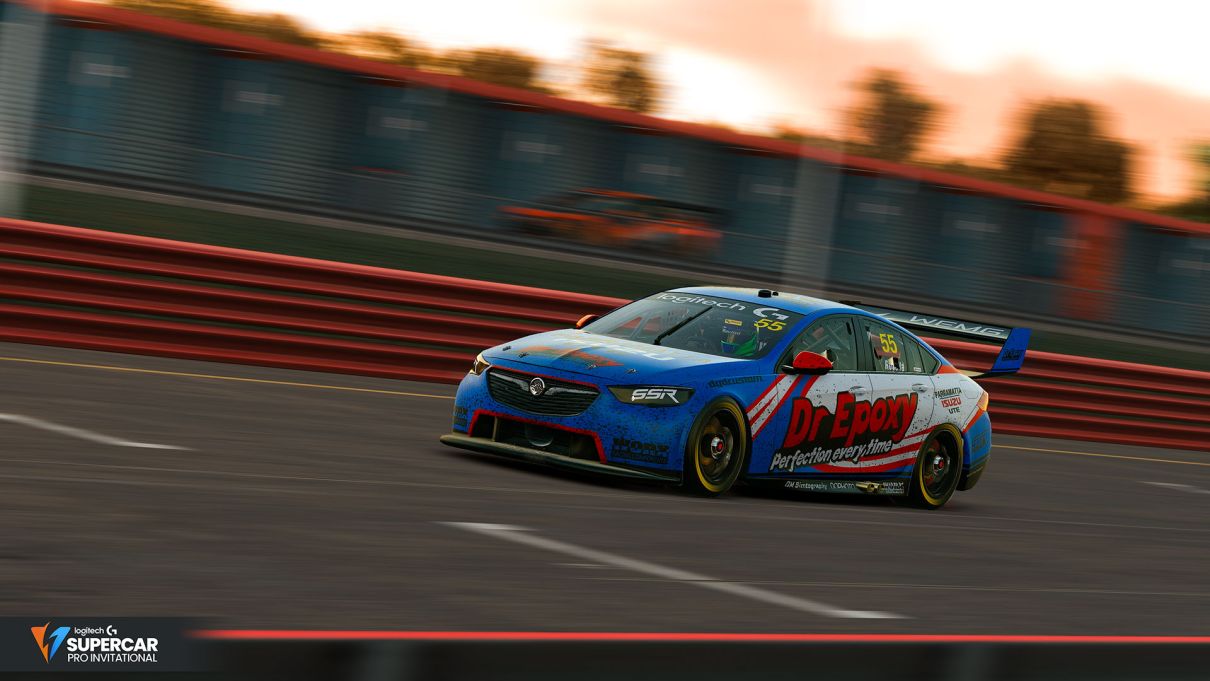
Venturing back across the shores, Round 8 of the 2023 Motorsport Australia Logitech G Pro Invitational Cup would be back on home turf, for the 2023 instalment of the Sandown 500.
Not only would Sandown play host to the first endurance race of the season, but it also would see the return of split qualifying to the series. Drivers from 45th to 23rd in series points would be the first to take a bite of the cherry in qualifying, followed by 23rd to 1st in the series standings making their attempts in the final 15 minute session.
Marcello Rivera would be the first to lay down a benchmark in the opening session, with Pursuit Sim Racing’s young gun Jobe Stewart hot on his heels. Times would quickly tumble, with many laying down impressive lap times for the conditions at hand. Luke Rosella would make the most of his session, jumping to the top of the standings with a blistering 1:05.954, the first driver to break the 1:06.0 bracket. Rosella would remain top of the time charts for the remainder of the first segment of qualifying.
James Scott quickly took control in the second segment of qualifying, before 9ine 5ive SimSports Dylan O’Shea sent shockwaves through the paddock jumping clear of Scott to the top of the charts. James Scott would ultimately steal back pole position in the dying stages of qualifying, followed by Dylan O’Shea, Tom Freer & Madison Down completing the first 2 rows of the grid. Jake Burton, Ric Kuznetsov, Luke Rosella, Brady Meyers, Jake Maloney & Ethan Grigg-Gault would round out the top 10 in qualifying.
"Dylan O’Shea sent shockwaves through the paddock jumping clear of Scott to the top of the charts"
Many teams elected to start their primary drivers for the first stint of the Sandown 500, apart from a select few. Todd Hayne would be the only co driver elected to start inside the top ten, with Cooper Murray also taking the reigns of the #58 Synergy Sim Racing car further down the order.
Green flag racing got underway little after 8pm, with Dylan O’Shea leading the field to the opening sequence of corners, James Scott would slot into second, with Trans Tasman Racing pair Madison Down & Jake Burton getting the better of Synergy Sim Racing’s Tom Freer, demoting the driver of the #707 Mustang to 5th by the exit of turn 1.
O’Shea, leading the field, would control the the pace over the Opening few laps from James Scott, who was placing the #19 9ine 5ive SimSports Mustang under immense pressure in the early stages. Scott would make his move at the beginning of lap 4 into turn 1, cleanly passing O’Shea to take control of the race.
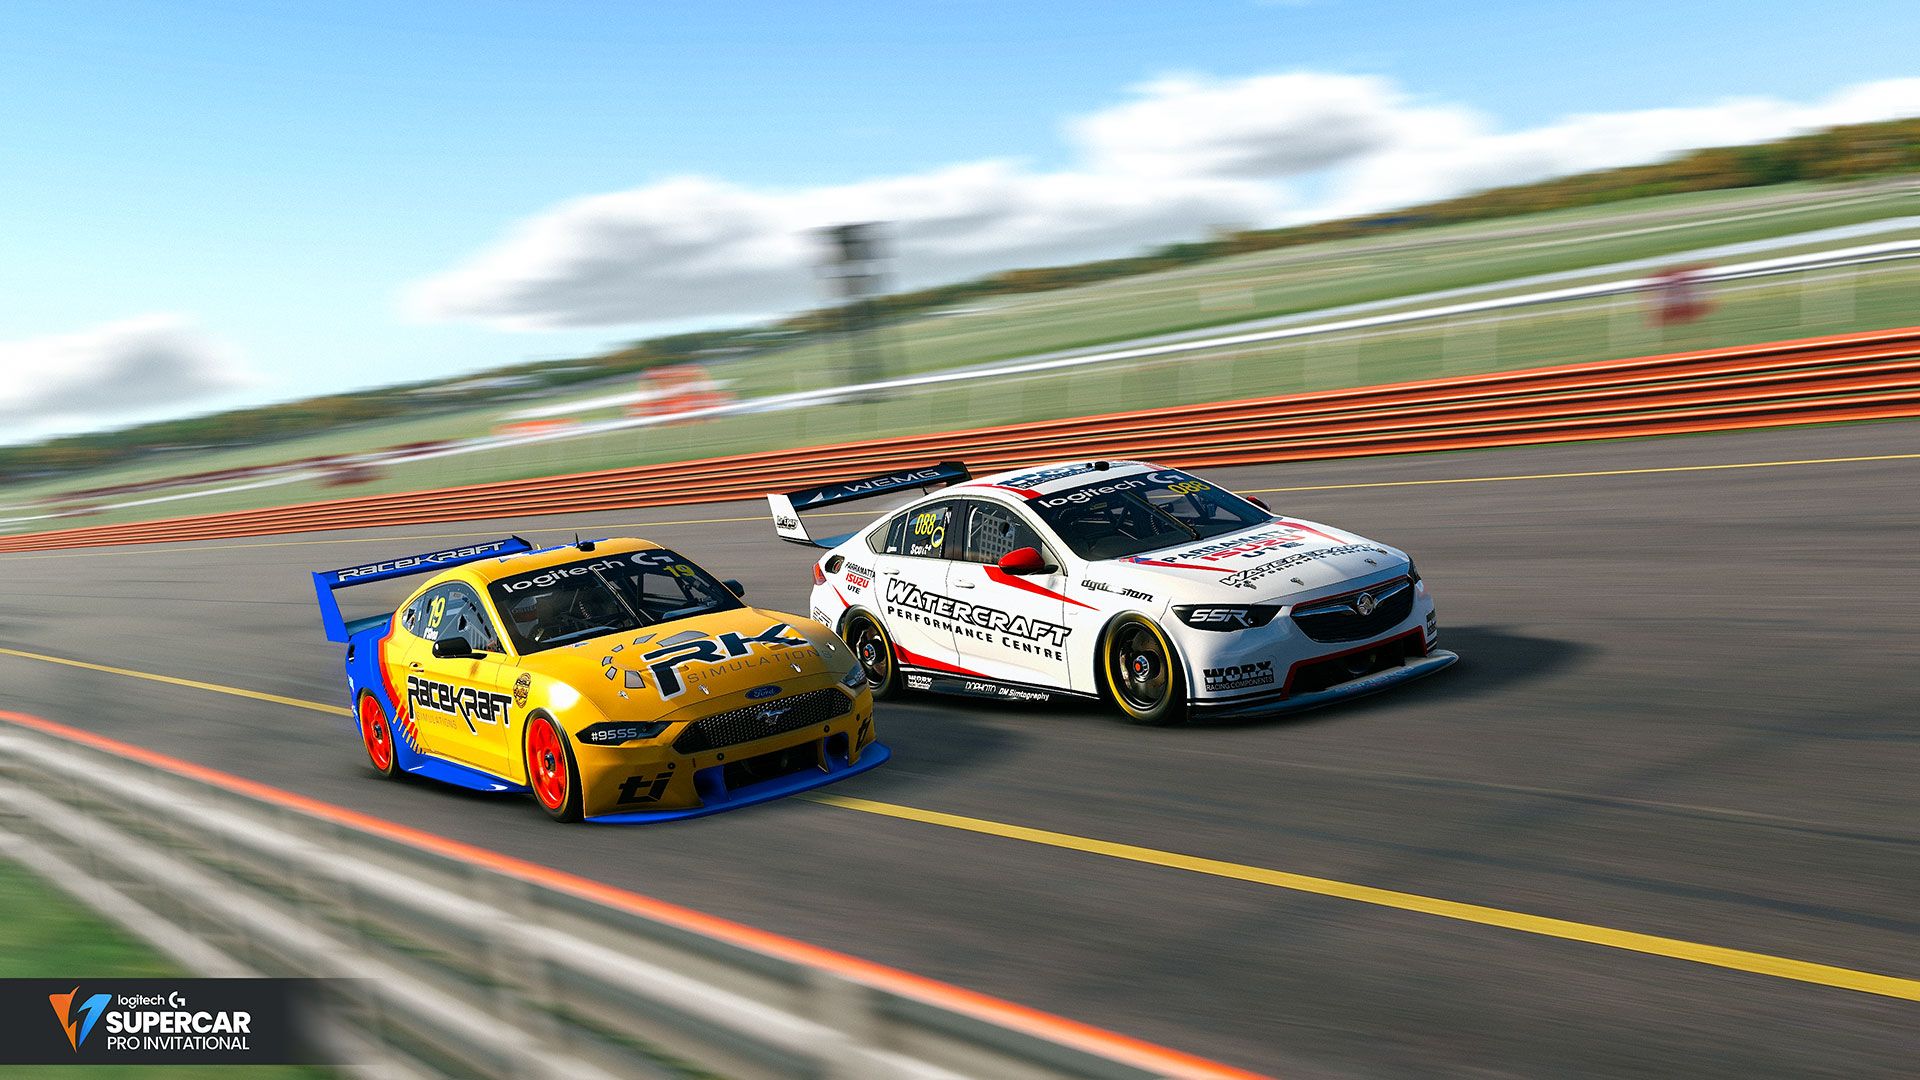
James Scott takes the lead
Lap 11 would see the first incident of the night, this time between 9ine 5ive SimSports stablemates Todd Hayne and Griffin Gardiner. Hayne, Finding himself off line at the exit of turn 1, would enter the treacherous turn 2-3 complex side by side, offloading the #990 of Griffin Gardiner, who lost multiple spots in the incident. Todd Hayne found himself hit with a 5 second penalty for his actions, with both sides of the garage suffering immensely from the incident. This contact between teammates may of been a sign of what’s to come for both entries, who suffered difficulties from here on out.
James Scott still well in control of the field continued to tick laps off, consistently extending the gap back to Dylan O’Shea who was under pressure from Trans Tasman Racing duo Madison Down & Jake Burton. O’Shea, doing a fantastic job in the early stages, soon found some trouble, with turn 2-3 again claiming another victim. On entry to the chicane, O’Shea would find a wheel on the grass on approach to his turn in maker, sending the #19 into a slide, allowing the duo of Down & Burton to slip through on lap 23. Wrestling the car back under control, O’Shea was able to continue without further incident or damage, slotting himself back into 4th position.
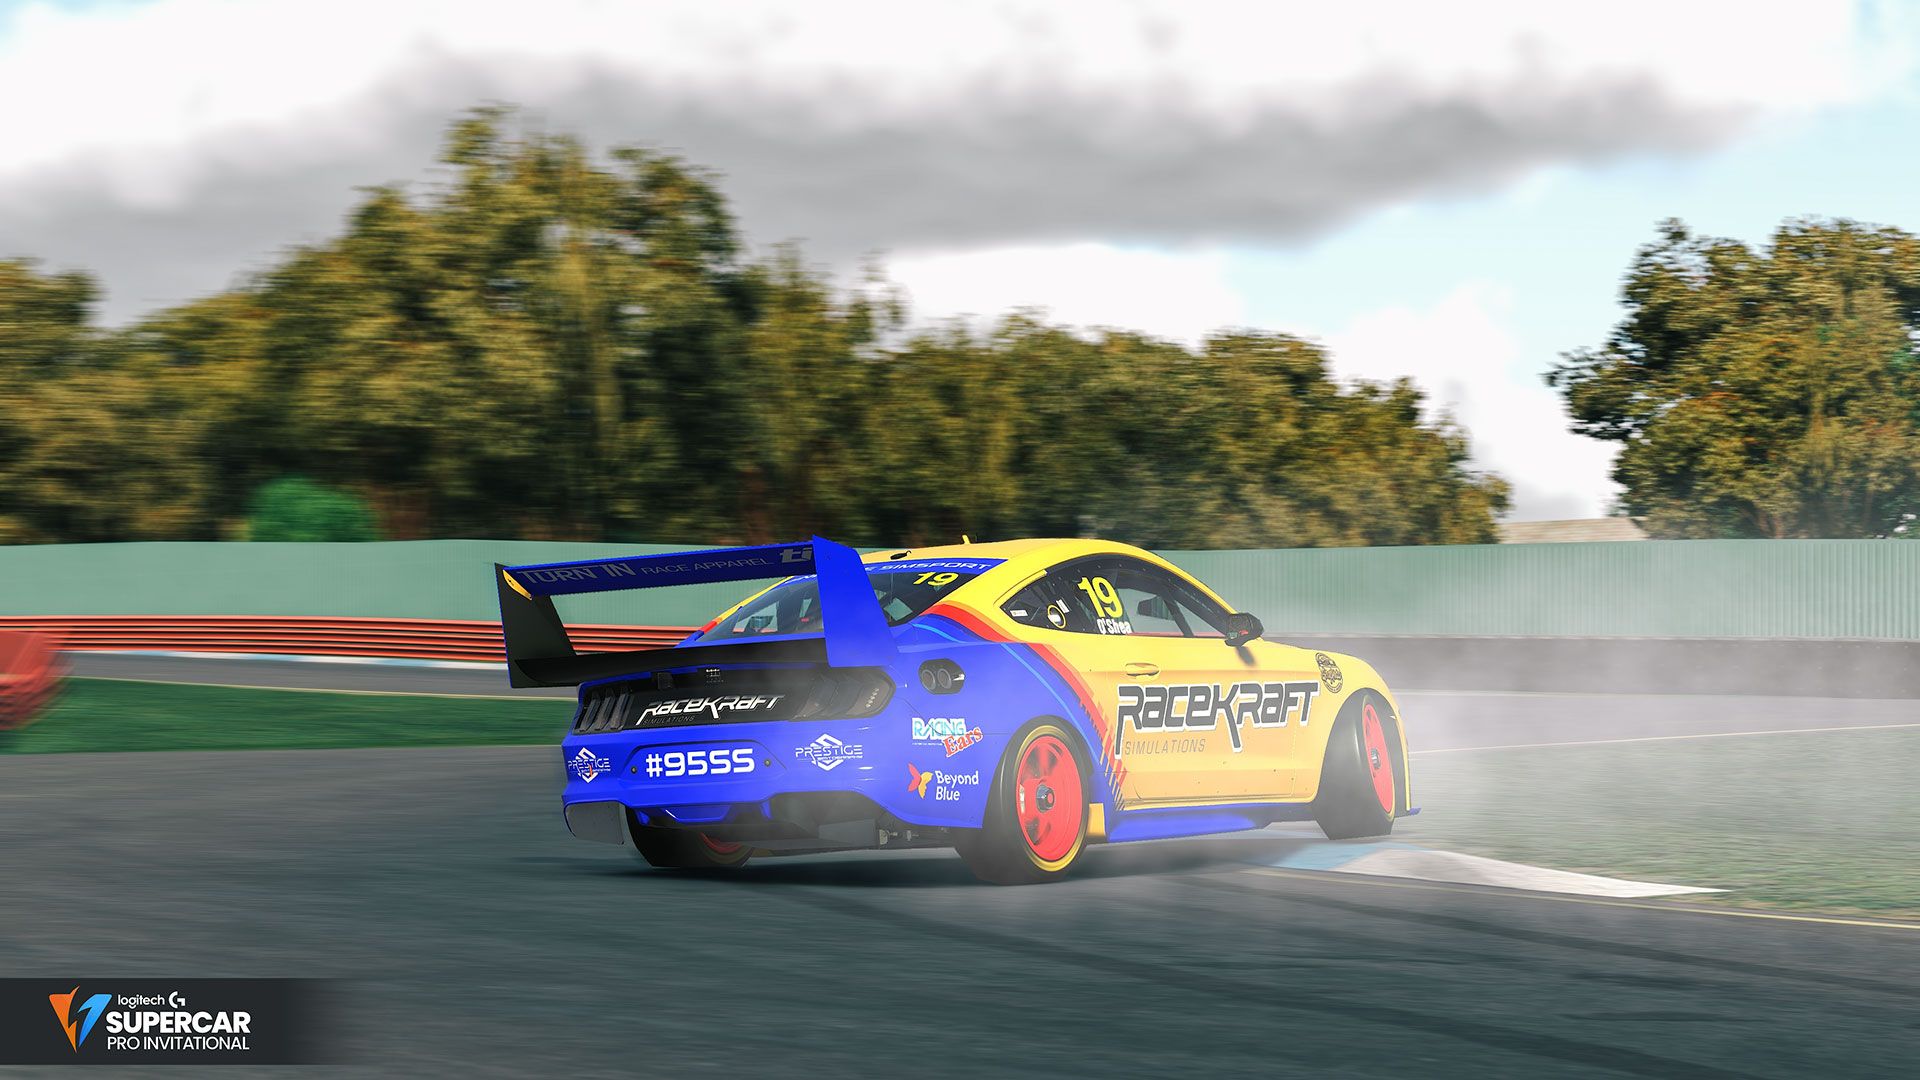
A scary moment for Dylan O'Shea
Lap 29 would see a surprise taker to the pit lane, James Scott electing to make his first pit stop of the night, taking the opportunity to get co driver Shane Van Gisbergen into the car for his first stint of the evening. Jake Maloney also took the opportunity to transit the lane on the same lap, while others elected to continue on for the time being.
Pitstops for both the #088 & #29 set off what became a chain reaction laps later on lap 36 with the front running car of Madison Down making his first journey down the lane. Corey Shepherd would climb into the #77 for his opening stint of the night. Dylan O’Shea & Luke Rosella would follow suit on lap 39, handing their cars over to the co drivers while Jake Burton would continue on until lap 43, pitting and handing the race lead over to Tom Freer, who would also take service one lap later on lap 44.
Once the field was cleansed, it would be Shane Van Gisbergen back in control of the race onboard the #088, followed by Corey Macfarlane (#19), Corey Shepherd (#77), Harley Haber (#55) & Ross Rizzo (#36) rounding out the top five at this stage of the race.
This quickly was thrown into a tailspin only laps later, with the first safety car of the race being called upon on lap 54. With the caution called, the top ten would proceed down pit lane, topping of on fuel to fit their strategy windows. No driver changes we’re taken in this pit stop sequence.
Jobe Stewart would elect to stay out under this safety car period, along with Glen Postlethwaite & Fawzan El Nabi who would promote themselves to the front of the field.
Jobe Stewart of Pursuit Sim Racing would get racing back underway on lap 58, leading the field into turn one. Trouble would strike only moments later behind the #35 of Stewart, with Shane Van Gisbergen & Fawzan El Nabi colliding down at turn 9. A late move from the #088 of Shane Van Gisbergen left El Nabi unaware, turning down making contact on corner entry. As a result, not only would El Nabi receive damage, Van Gisbergen also would find himself facing the wrong way. Gisbergen would be deemed at fault for the incident, with no penalty being issued.
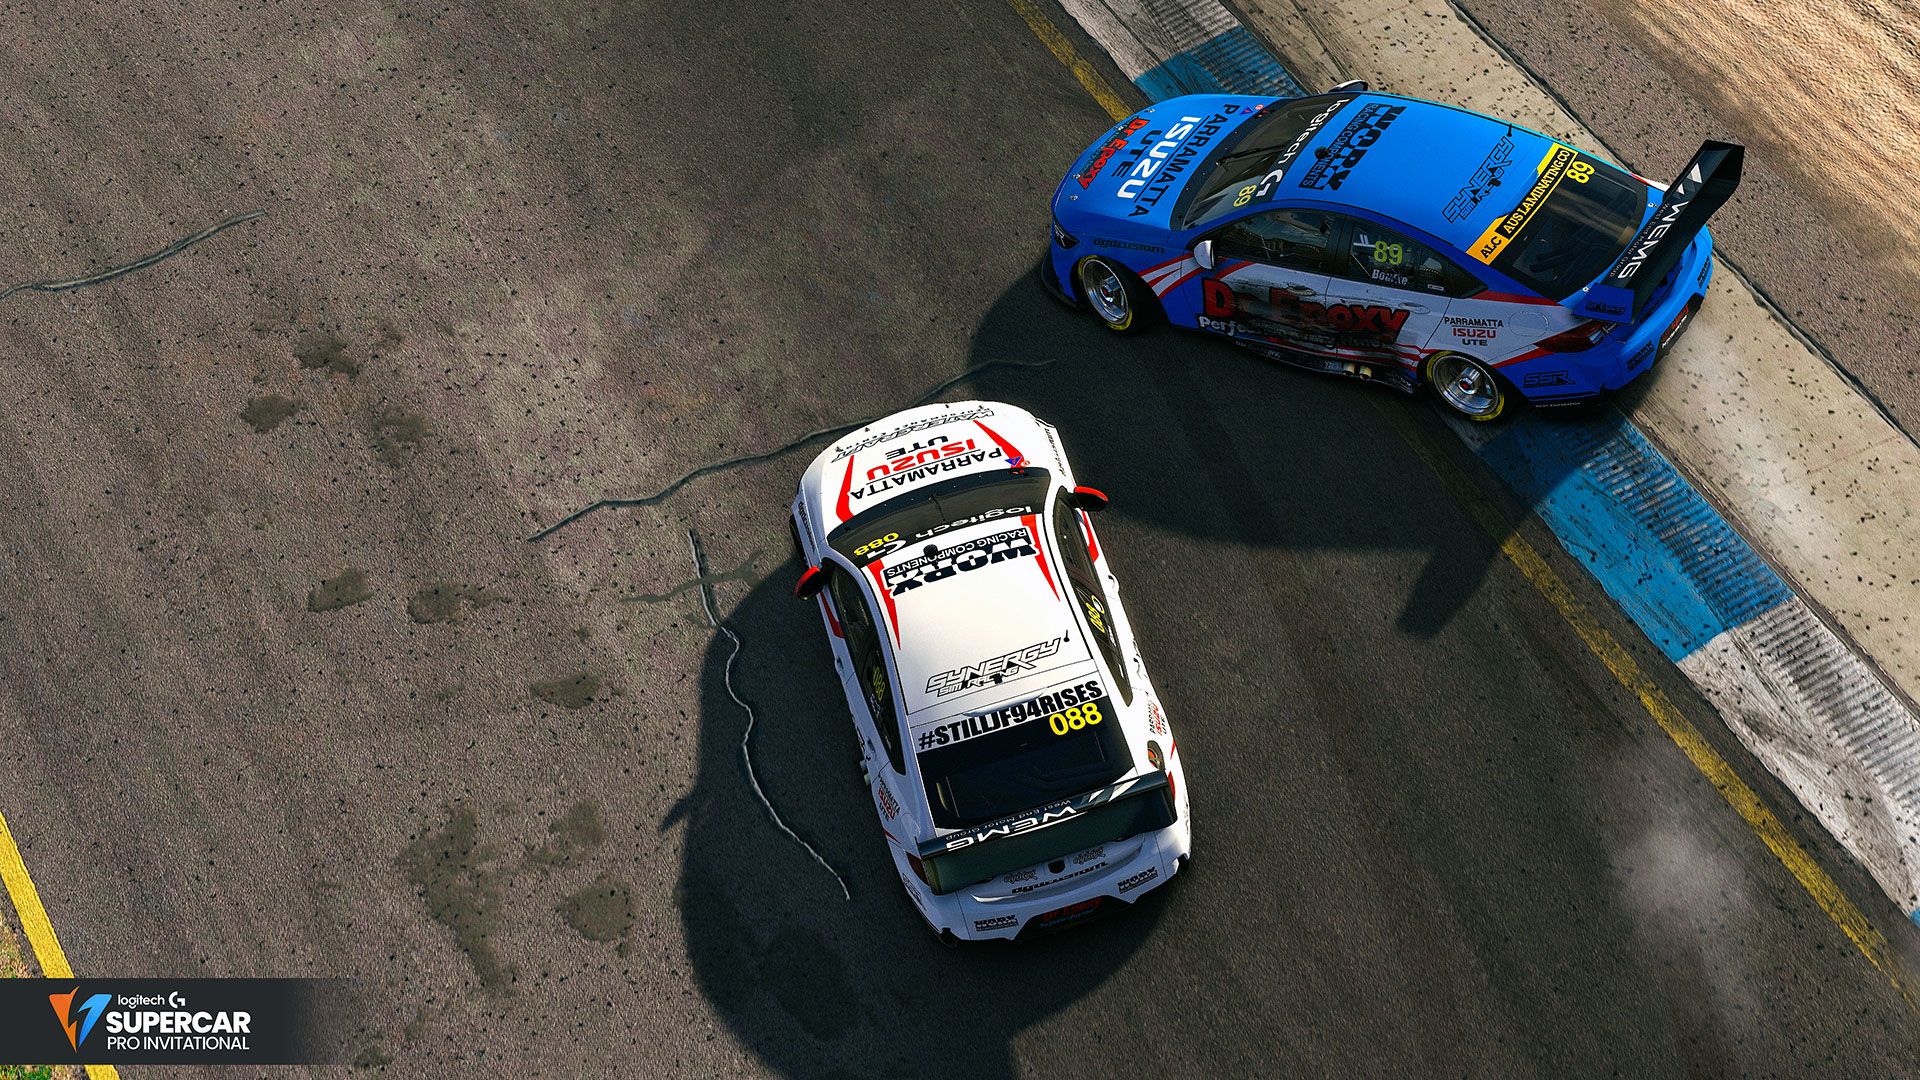
Shane van Gisbergen and Fawzan El-Nabi come to blows
With a lighter fuel load & brilliant race pace, Jobe Stewart continued to lead the field as we got closer to the half way mark of the race, building an impressive lead from the moment the green flag waved after the lap 54 safety car period.
The field was rather calm as teams approached the half way point of proceedings until yet another spanner was thrown into the works on lap 73, with yet another safety car being called. Drivers would again find their way to pit lane to take service, with the majority choosing to keep their co drivers onboard their race cars.
This safety car period would see a number of interesting strategy calls from some of the front running vehicles though, like likes of the #77 & #8 Trans Tasman Racing commodores opting to stay out and claim track position over the competitors behind. Although leading the race, by the numbers at the time the Macfarlane/O’Shea entry would be the effective race leaders sitting comfortably in 6th position for the restart.
Andre Heimgartner would resume proceedings on lap 77 with Corey Shepherd, Ross Rizzo, Lachlan Caple & Beau Albert rounding out the top five. Heimgartner’s lead would be short lived, as a track limits infringement would cause the driver of the #8 Trans Tasman Racing car to serve a slow down penalty only moments later, dropping him down the order.
"...safety car period would see a number of interesting strategy calls"
With Corey Shepherd now in control of the race onboard the #77 machine, Chaos would ensue only laps later in the mid field, with a multi car pileup at the exit of turn 4. A opportunistic move from the #990 of Dylan Rudd on the #143 of Jones/Ross would see the pair entangled on corner exit. This would see both cars rotated creating a bottleneck in the circuit with multiple cars finding themselves involved, pickup up damage for their troubles. The incident would eventually clear, with no safety car being required.
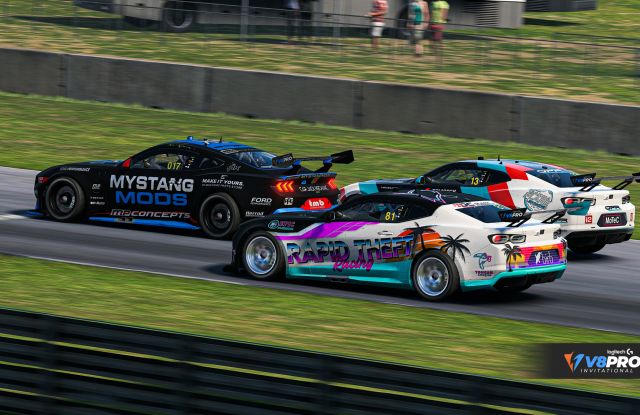
As Shepherd and Rizzo continued to lead the way for TTR, the battle for the effective race lead was well and truely alight. Macfarlane (#19) & Haber (#55) where trading blows scraping over the top 5, Macfarlane would magnate to hold out in this battle, remaining ahead of the Rosella/Haber entry until the #55 elected to transit the lane on lap 93.
Differing strategy decisions were playing into the Sandown 500 at this point, with some teams still required to make 2 pitstops vs cars on 1 stop strategy’s to make it to the 161 lap distance. Corey Shepherd was the first of the 2 stoppers in contention to pit, making his journey to the lane on lap 97 to hand the reigns over to Madison Down. Corey Macfarlane would resume the race lead from this point onwards.
Lap 118 would prove to be the critical point of the race for all the cars featuring on the 1 stop strategy, with the majority pitting on lap 118 to take their final scheduled service. Macfarlane would hand over the #19 9ine 5ive SimSports Mustang to primary driver Dylan O’Shea, with the likes of Fawzan El Nabi doing much the same.
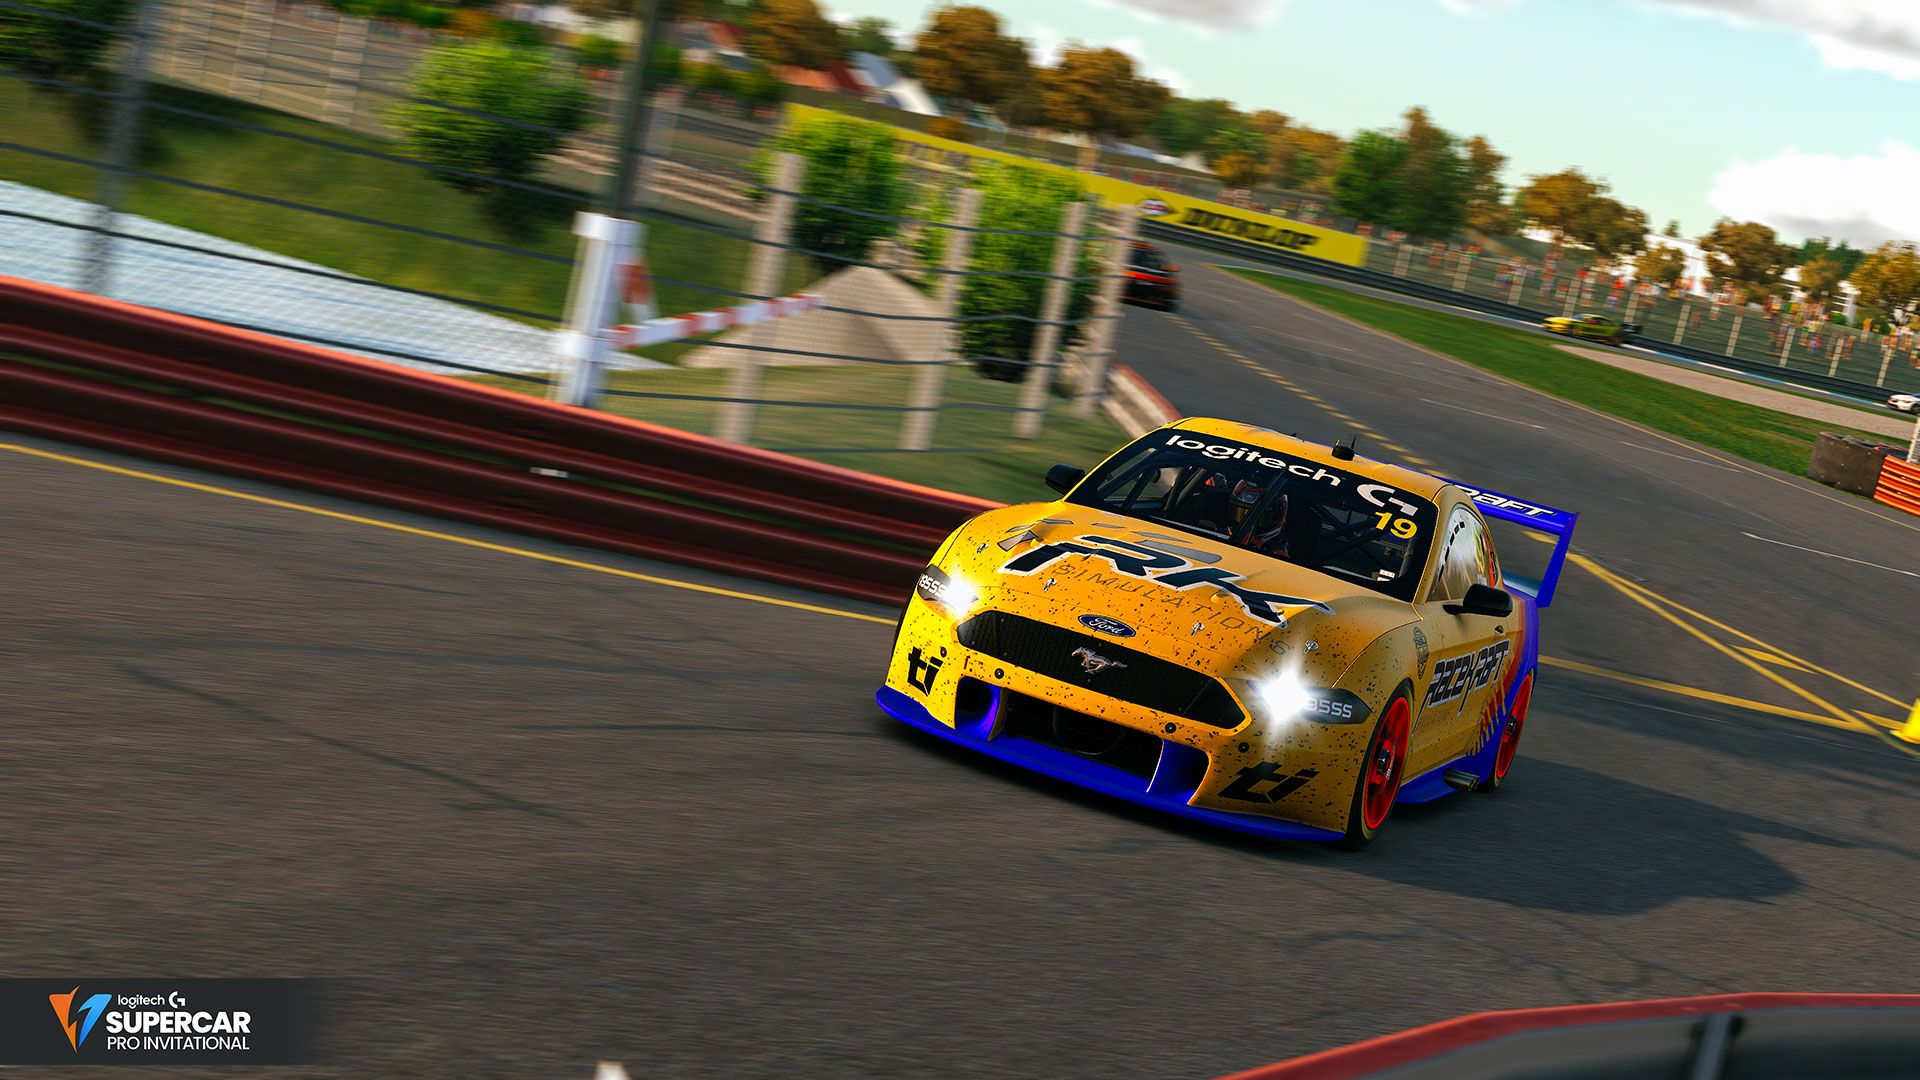
Car #19 hits the lane on lap 118
Many cars would follow suit a lap later, Veld, Stewart, Stovold & Todd Hayne all committing to the lane on lap 119. Luke Rosella would take command of the race at this point, still with a pit stop remaining. For the cars still requiring to stop, a lucky break would occur on lap 128. Luke Mitchinson would find himself stranded at the exit of turn 9 with a blown motor, triggering the third and final safety car of the evening.
Rosella, Anderson & Down would all make their final stops, rejoining the cleansed field towards the back of the top 10.
Racing would resume on lap 132 with little under 30 laps to go. O’Shea would take the green flag followed by Meyers, Stewart, Bourke & Cameron Jones rounding out the top 5.
While O’Shea lead the field down to turn one, a fast thinking Stewart managed to make his move on Brady Meyers into turn 1, promoting himself into the second position.
Luke Rosella would begin his charge from 7th on lap 133. Making easy work of both Tom Freer & Cameron Jones down at turn 9. This would see the #55 of Rosella promoted into the 5th position, setting his eyes on Synergy Teammate Wayne Bourke. Rosella continued his charge on fresh rubber only laps later, moving past Bourke before putting a move on car of Meyers/Jones into turn 1 on lap 138, now setting his sights on the second place car of Jobe Stewart.
Dylan O’Shea meanwhile, was building a comfortable lead over Stewart, who was now under attack from Luke Rosella. Jobe would eventually loose out on second place to Rosella, who now was looking to close down the gap to leader Dylan O’Shea.
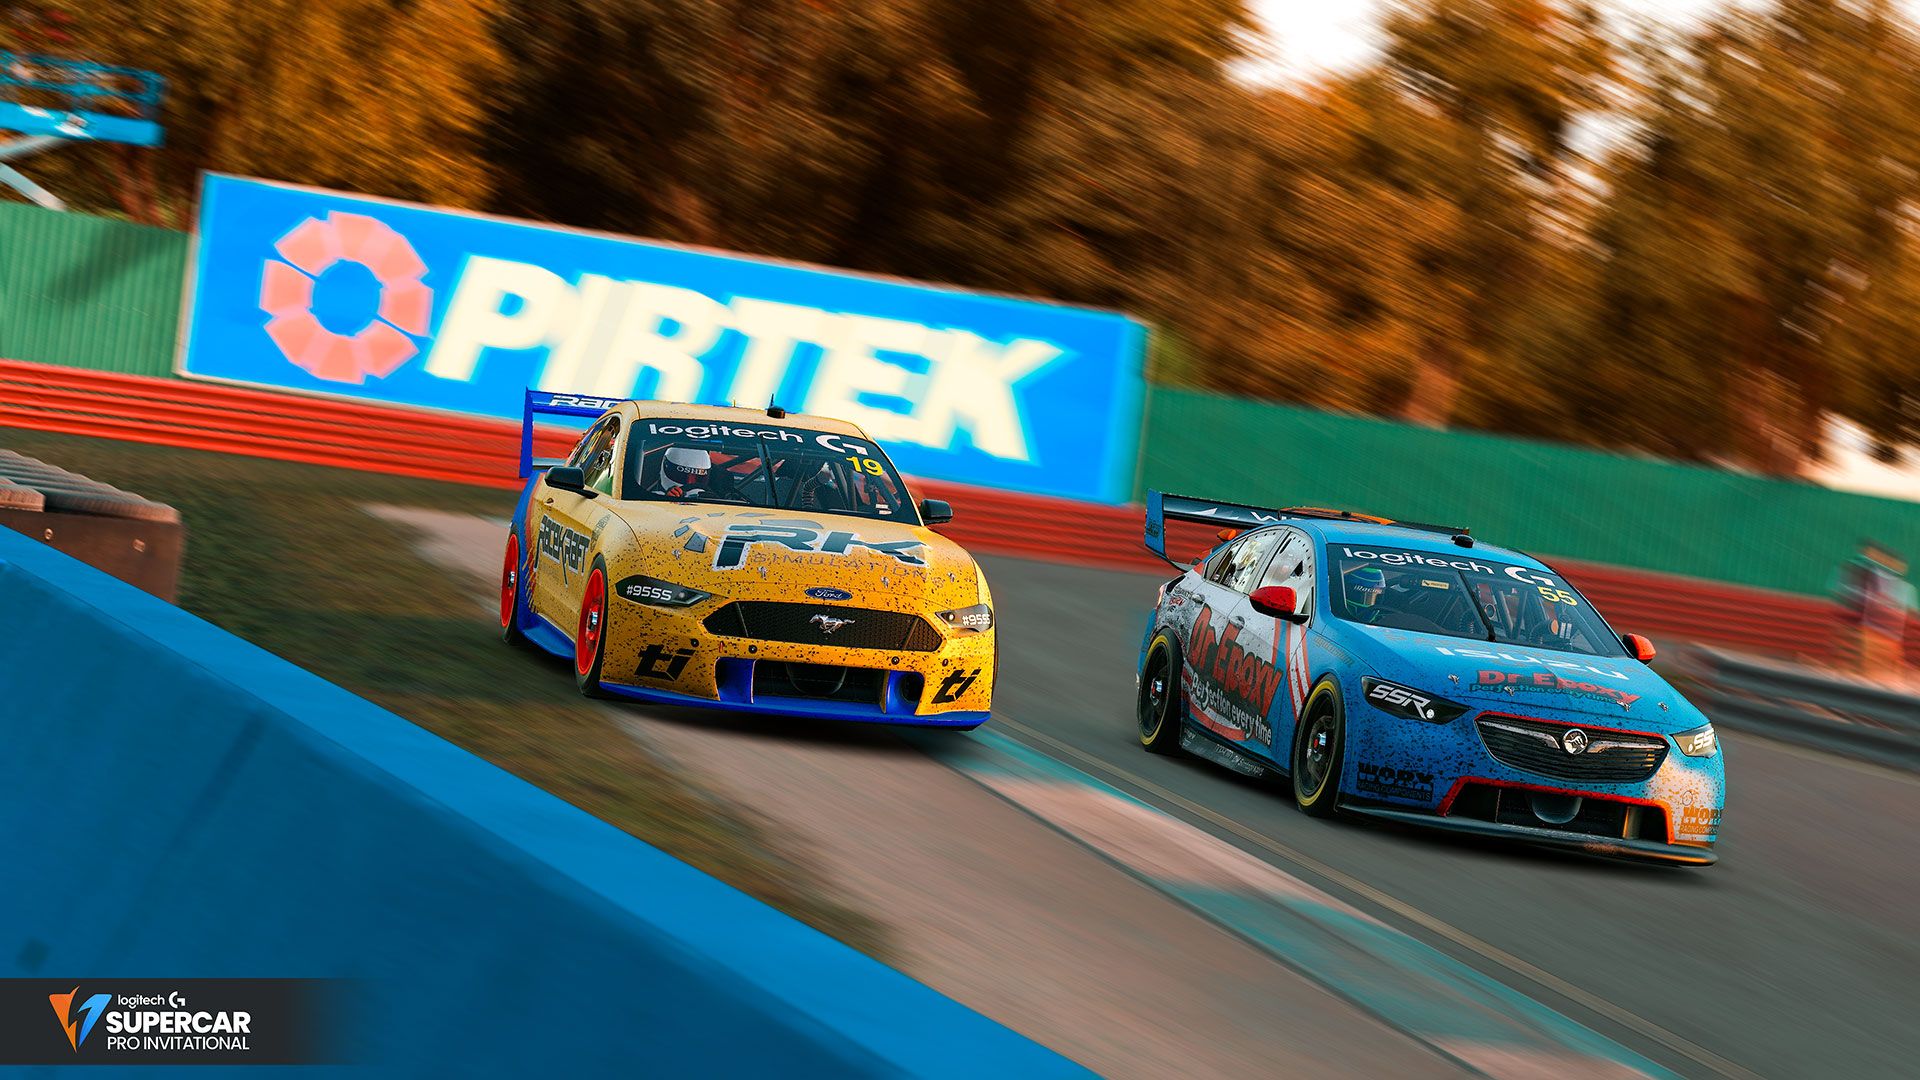
Luke Rosella makes a bold move at Turn 4 to take the lead
Wayne Bourke & Ethan Grigg-Gault found themselves entangled in a battle over 7th position, with the likes of Jake Maloney & Josh Anderson close behind. Grigg-Gault would eventually come out on top of this battle with a excellent move on Bourke into turn 1 on lap 150.
A few seconds up the road, the battle for the lead was on, Rosella throwing a dive down the inside of the O’Shea entry at turn 4, contact was made between the pair as they fought over the lead on corner exit. Rosella would find the grip on exit, winning the race off the corner to take the lead of the race with only a handful of laps to go.
From this point forward, Luke Rosella wouldn’t look back, opening up the margin lap on lap, taking himself & teammate Harley Haber to victory for the first im time in his career. A drive to remember for both drivers, who put on a passing clinic to win at Sandown.
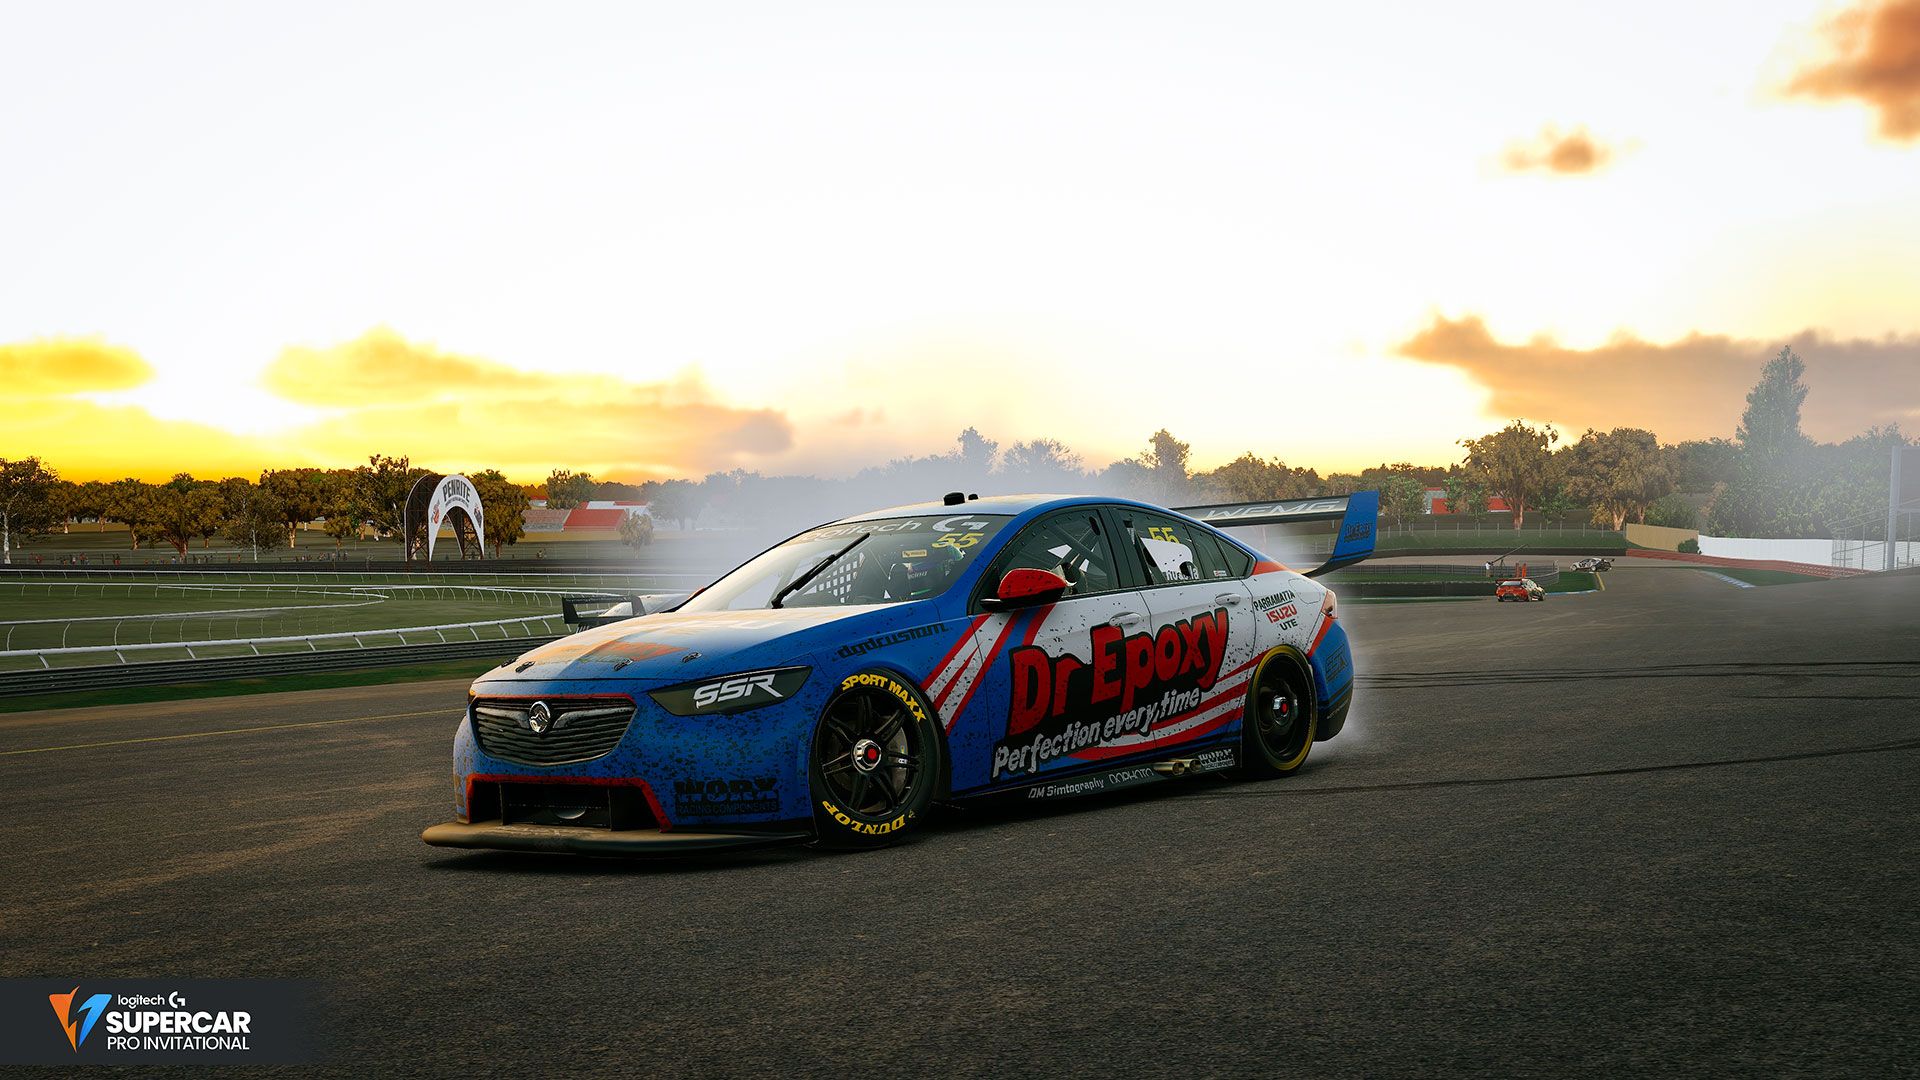
Luke Rosella celebrates a maiden victory in style
Dylan O’Shea would cross the line in second after a breakthrough drive for himself and Corey Macfarlane, only to have it cruelly taken away with a post race penalty for passing under safety car conditions. Even with a penalty taking away the result, both drivers can look back and be incredibly proud of their respective performances. Brady Meyers would be promoted into the second position alongside Emily Jones, followed by the Madison Down/Corey Shepherd entry in 3rd. Freer & Stovold would claim 4th position, with Ethan Grigg-Gault & Ian Ford brining home the top 5.
After 3 hours of action packed Racing at Sandown, we’ve crowned new winners and witnessed some of the best driving in the 2023 season to date.
Madison Down now takes command of the championship heading to Bathurst, with James Scott looking to retake the championship lead after a difficult race at Sandown.
Attention now turns to Bathurst on October 1, as drivers prepare to tackle 1000 kilometres of the best circuit Australia has to offer.
Published on
Related Articles
Road Atlanta Awaits: Round 2 Preview
Power Rankings: Road Atlanta
