
Previews

“5 Key Points“ to Red Bull Ring with Jordan Ross

The Motorsport Australia Logitech G Pro Invitational Cup is set to go racing around the Red Bull Ring circuit on the 19th of July. Synergy Sim Racing’s Jordan Ross has been tapped on the shoulder to take us through his 5 key Points for the Red Bull Ring circuit presented by Panta Race Fuels. 

A podium finisher in the 2022 instalment of the race, Jordan Ross is the perfect driver to explain the key to getting around the Red Bull Ring Circuit fast & efficiently.

Jordan Ross’s Red Bull Ring 5 key points:

Qualifying

Every single track we visit, it’s vital to qualify well if you want to have a good result. My qualifying hasn’t been up to scratch this year, but some improvements last time out at Watkins Glen gives me confidence to go better at red bull ring. A strong lap will require timing your run with a drafting partner well and staying on sync with the field. Also starting your lap of well with a strong and clean turn 1 will give you the confidence to press on with your lap.

Drafting

Because the track is at high altitude, the draft affect is not as strong as it can be at other tracks. But the draft will dramatically improve your ability to fuel save and also rest your tyres. People making moves early in the race will split the draft train line up, so it will matter who is around you in the early part of the race.

Bomb dive

This track has multiple areas which encourage the bomb dive as there are long straight into heavy braking areas with multiple lines open to navigate in the corner and off the exit. There will be people bombing at turn 2 and 3, those people may split the draft train up and if you don’t have your wits about you, it will be easy to be facing the wrong way.

Off track usage

There is a lap time advantage to be had at turn 1 by getting an off track on the exit. Utilising your 30 off tracks tactically may come in handy later in the race to either attack or defend a position.

Strategy

Depending on your qualifying position, pit strategy and trying to run in a group that prioritises lap speed over battling for position will be key to getting a result. You may choose to short fill in your first stop to vault yourself into a different draft group, however if you short fill too much and come out at the front of a group, you will get run down and use more fuel than those behind, so there will be a tricky strategy to maintain through the race in order to keep clear of the battling. Overall, car speed is king!

Round 6 of the Motorsport Australia Logitech G Pro Invitational Cup at Red Bull Ring is set to be one of the toughest encounters of the 2023 season to date. As the championship battle heats up, be sure to stay updated with all the latest news & information at: https://supercarsproinvitational.com.au

Published on

Related Articles

“5 Key Points“ to Sandown with Josh Anderson

Sandown Raceway is set to play host to round 8 of the Motorsport Australia Logitech G Pro Invitational Cup this coming Friday, with drivers set to tackle the famous Australian circuit for the first of 2 endurance races in 2023.

This week, Trans Tasman Racing’s Josh Anderson has been thrown the keys to Sandown Raceway, to explain what is important to getting around the challenging 3.104km precinct.

Qualifying

While it’s an endurance race, don’t underestimate the importance of a good qualifying position at Sandown. A strong grid position makes the first stint so much easier, especially if your codriver is starting the race. 500km passes quickly around here!

Exit Drive

Sandown is essentially two drag strips, so making sure your car gets off Turn 4 and the last chicane well is absolutely key, both for one lap speed and looking after the tyres over a stint.

Straight Line Speed

Following on from this, you also want to make sure your car is quick enough down the straight to pass cars, so choosing the right wing angle is essential. It’s much easier to pass someone down the straights than outbraking them!

Strategy

Getting the strategy right is also a key determinant of your result on Friday night, both managing your tyre/fuel strategy and your codriver laps. Any mistakes here will cost you dearly, moreso than at Bathurst.

Getting your codriver comfortable

The final key point for Sandown is that this is the first two-driver race for the season! While it may seem obvious, any effort you can put into helping your codriver be more comfortable in the car is only going to help your own result. If you can work with your codriver to bring them up to speed, the strategic flexibility that opens up could be the difference between winning and losing.

Josh Anderson’s five key points highlight plenty of interesting keys to getting it right around the Sandown layout. Will any of the drivers use any of these come Friday evening?

Tune into the Motorsport Australia Logitech G Pro Invitational Cup to find out!

Published on

Related Articles

“5 Key Points” featuring Robert Gibbs presented by Panta Racing Fuels

The Motorsport Australia Logitech G Pro Invitational Cup continues to March towards the 2023 endurance cup beginning In September. But first, drivers tackle Belle Isle & the super sprint format.

This week, Evolution Racing Team’s Robert Gibbs takes us through the key points to one of the most challenging circuits available on the iRacing service.

Currently 18th in the 2023 standings, Gibbs is one of the drivers currently on the rise within the competitive Motorsport Australia Logitech G Pro Invitational Cup. Recent results have shown the amount of skill Gibbs possess, finishes such as 7th at Watkins Glen a little over month ago just a glimpse of what this talented driver can achieve.

Without further ado, Robert Gibbs key points for Belle Isle presented by Panta Racing Fuels.

Qualifying

Getting as far up the grid as possible to avoid the mayhem of the midpack off the line.

Track position

Being a street course passing will be more of a challenge and defending will be easier, being in front early will be a big benefit.

Stay off the walls

Pretty self explanatory, stay off the walls and don't damage the car.

Strategy

Ties in to track position, make sure you don't shoot yourself in the foot as it will be tricky to get the spots back.

Car setup

Having a setup that rides the bumps well will make your day all the more easier.

Stay up to date with all the latest @https://supercarsproinvitational.com.au


Published on

Related Articles

“5 Key Points” for Bathurst featuring 9ine 5ive SimSports driver Griffin Gardiner

Mount Panorama Bathurst will set the scene for round 9 of the Motorsport Australia Logitech G Pro Invitational Cup, with drivers set to tackle the 6.213 kilometre circuit this coming Sunday, the 1st of October.

This week, 9ine 5ive SimSports Co driver Griffin Gardiner takes us for a look through the Mount Panorama Circuit, explaining the key to maximising performance around the difficult & demanding race track.

Griffin Gardiner’s “5 key points” presented by Panta Racing Fuels Australia.

Saturday

Saturday Qualifying at Bathurst is one of the biggest moments of the year. With 1000km the next day it can seem insignificant at times but with multiple mid pack incidents being common in the first part of the race, qualifying at the front is important.

Strategy

After the green flag drops, strategy will immediately come into play, with teams trying to execute their plans around safety cars and other teams. Late race safety cars are expected at Bathurst so teams will have to decide whether track position or fresh rubber with 15 to go is superior.

Co Drivers

As seen at Sandown, having a fast and consistent teammate is a big advantage. Consistency being the more important factor for bathurst, with Co Drivers generally expected to start the race and follow up in the middle part of the 1000km. Keeping it clean and maintaining position is a minimum standard for the Co Drivers but a few extra spots towards the front early on could make all the difference by lap 161.

Across the Top

The top of the hill at Bathurst is the most difficult section of the track and also happens to be the setup for overtakes at forest elbow, down conrod and into the chase. Drivers will be squeezing every hundredth of pace out of their cars whilst trying to stay off the fence, ultimately setting up passes or making time in clean air. This section is the key at Bathurst.

Pace

With a 161 lap race, a lot can happen, safety cars, pitstop errors, technical issues etc. The one thing in control of the teams and drivers, is pace. No matter how clean and mistake free you are all day, being at the front of the pack with 15 to go, with a car that has pace, will be the winning formula.

Which of these 5 key points do you think is the most important?

Published on

Related Articles

2024 Qualifying Series Driver List

The Pre Qualfying process is complete and drivers are ready to go to battle in the 4 Round Logitech G Pro Invitational Qualifying Series. 

With 20 grid positions in the main game series for 2024 up for grabs, the competition will be fierce over the 4-round series. With the field all set and ready to go here's a run down of all the drivers who are set to make an appearance:

Published on

Related Articles

2025 Qualifying Series Preview

It's finally time. After a long long wait we are back in action for 2025! With 4 races ahead of us we’re about to lock in the final 24 drivers to join us for the 2025 Logitech G Pro Invitational Season!

Canadian Tire Motorsport Park is going to be the venue where we get to see the next generation of Supercars set off in anger for the first time on your screens!

So what do we need to keep an eye out for in the 2025 Qualifying Series?

The New

New Chassis, new sound, new driving style! The Gen 3 Supercars Chassis landed back in December and has been making waves. With a tire that feels more connected to the road, a larger fuel tank, and with the new sounding engine, gearbox and drivetrain the new car has not only changed the game, but changed who we expect to see on top as well!

How you make it into the “main game” for 2025 has changed marginally as well. New for 2025 is the “Win and You’re IN!” system for the Qualifying Series. Last year Jarrad Filsell showed he was back and better than ever in the Qualifying Series, but he would have automatically been into the series after the first round. Who will be following in his footsteps this year? Who will send it in desperation at the final round? Could we see strategy play its part in an attempt to find some clear air and track position?

One of the other elements of the updated Supercars chassis was the ability for us to see weather affected racing, and early forecasts had the potential for “Mosport” to require lifejackets and waterwings! Updated forecasts have us on track for a dry race, but this is another element that has me curious to see how it will all play out!

The undulating and flowing Mosport will host Round 1

The Returning

4 rounds across 4 weeks decides your fate! Last year a couple of potentials failed to qualify due to the shorter nature of the qualifying series. With only 3 other rounds to score back the necessary points, can any of the Qualifying field expect to get away with a mistake?

The big teams! 9ine-5ive Sim Sports, Evolution Racing Team, Lobs Esports, Synergy Sim Racing, Trans Tasman Racing and Vermillion Motorsports all have entries running the gauntlet again this year, but they’re joined by teams looking to shake up the Pro Series! Blackout OPR, DPR Racing, Eclipse Simsports, Phoenix Racing, Racekraft, Xcelerate and a solo Privateer entry are all lurking beneath the water waiting for their opportunity to strike! A race winner coming from outside the big teams is very likely during the Qualifying Series, and already I’m chomping at the bit to find out where it will come from!

The commentary team remains unchanged from last year! Do you think Stephen “Sandman” Clarke and I could wait for the first round? Absolutely not! Oh and the Logitech G-Hub is back with all of the juicy details Sandman has ready to show off! Beau Albert’s Rookie of the year performance somehow managed to land him a spot in the commentary box to highlight all the important points from a professional driver!

What's Missing?

Realistically, not much! Just the Gen2 cars, the Holden Badge and the roar of the engines. Good thing that last bit can be fixed on Wednesday night!

You have no idea how keen we all are for this next generation to kick off! Who can put the lap down, who can keep their tires underneath them, and where does that element of unpredictability creep in? Will it be Drama, Safety Cars, Weather or all of the above?

Join us Wednesday night to kick off Season 2025! 51 Laps from Canadian Tire Motorsport Park will send one driver straight to the Pro Series!

Published on

by Scott Rankin

Related Articles

5 key points as we head to Phillip Island.

Round 1 of the Logitech G Pro Invitational Qualifying series is set to embark on the journey to Phillip Island. 66 years after hosting its inaugural event in December of 1956, The stage is now set for us to tackle the 5.3 kilometre circuit albeit virtually in what is set to be a fantastic opening to the 2023 season.

Given this is the first venue we will see racing on for the Logitech G Pro invitational series in 2023, we thought we’d look at some our key areas around Phillip Island.

1. Miller Corner.

Formerly named Honda hairpin, Miller corner will provide an entertaining start to the race. 45 cars with the combined horsepower of 28,500hp will head towards the Miller corner hairpin on lap one, anything is possible. We’ve seen some big incidents over the years, 2023 is guaranteed to be no exception.

2. Southern Loop.

One of the most exciting and high paced corners on the Phillip Island circuit. Carrying an average speed of around 118km per hour, Southern Loop can be a place that provides some of the best racing any track in the country can offer. A Strong corner exit from turn 1 can provide the opportunity to pounce into Southern loop, while setup off of the corner can present the opportunity to pass further down at Miller corner. Whatever you do don’t find yourself off the track at the loop, you’ll be set of a big excursion.

3. Pit entry.

Exiting turn 11 you’ll find pit entry on the left. Pit entry provides a challenge like no other, commitment being the difference between gaining and loosing time. The challenging narrow piece of road forces you to commit to the entry line, as you attempt to slow down to the 72km per hour limit that is enforced by iRacing regulations. Put one foot wrong you may find yourself with a penalty, or even find yourself off the track entirely.

4. Turn 12.

Arguably One of the most challenging corners at Phillip island. A challenge at the best of times, Turn 12 will provide plenty of entertainment with a compressed field, all trying to manage their slide and throttle applications, trying to get a run down the start finish straight looking for a pass into Doohan Corner.

5. Draft.

Draft can prove to be a great equaliser. A track that consists of an average speed of 174km per hour, Your ability to utilise it may be key to finishing in a strong position. We could see a lot of fuel saving & tyre preservation throughout the race, those who manage it best will come out on top.

What are your key areas around the Phillip Island circuit?

Be sure to stay up to date with the Logitech G Pro Invitational Series on all the socials!

Published on

Related Articles

5 Key Points for Red Bull Ring with Shawn McNamara

The 2024 Season is well under way now as the drivers and teams head towards Austria for Round 3 of the Championship and Red Bull Ring this week.

As the Logitech G Pro Invitational Series charges into Round 3, all eyes are fixed on the legendary Red Bull Ring. Nestled amidst the picturesque Austrian Alps, this iconic circuit presents a formidable challenge to drivers, demanding precision, strategy, and absolute commitment.

Among the contenders poised to conquer this battleground is Shawn McNamara, the seasoned virtuoso from 9ine5ive SimSports. With his wealth of experience, McNamara shares his invaluable insights into mastering the Red Bull Ring, unravelling the secrets behind achieving success on this hallowed track.

Qualifying

Put simply, you need to qualify well to have a chance at a result here. Finding that limit in qualifying and working with the right cars will make or break the qualifying lap! Equally, push to hard and the off track is right there at those commitment points.

Setup

On paper, Red Bull Ring is a simple track, just turn right a few times. But the long straights into tight first and second gear corners, coupled with the flowing middle section require a very balanced setup. Some may go for the straight-line speed, others will go for balance and stability.

Strategy

This is a draft track, love them or hate them, they always create interesting racing. No doubt the first stint will see most drivers patiently sitting in que, saving fuel, and looking after the car. The question will be, who will want to push forward and scatter the pack. Race’s like these can be won or lost in pit lane.

Damage

Being a high speed track, any damage will have a big impact on straight line performance. Avoiding contact, staying off the couple of sausage kerbs will mean you have a strong car for the final stint. As we have already seen this season, engines have been expiring even with minimal front damage, so keeping it clean will be of big benefit.

Luck

If everything above goes well, then you will need to have some luck on your side. People say you create your own luck, but as we have seen this season, things can go wrong in a heart beat and with the style of track Red Bull is, you will need to be quick on the reactions to ensure lady luck stays on your side!

Published on

Related Articles

5 Key Points for Watkins Glen with Brenton Hobson

After the postponement of Round 4 at Road America, the 2023 Motorsport Australia Logitech G Pro Invitational Cup stays in the United States as the drivers and teams instead prepare for battle at Watkins Glen.

Colloquially referred to by many of the drivers as the "Super Speedway of Supercars", the series will be utilising the familiar "Cup Layout", named as such due to it's use in the NASCAR Cup Series. This shorter and faster layout of the track always makes for close and action packed racing and we expect this round to be no exception. 

In addition to NASCAR, "The Glen" has also been home to road racing of nearly every class, including Formula 1, the World Sportscar Championship, Trans-Am, Can-Am, the International Motor Sports Association and the IndyCar Series but this week, it's Supercars that will take the centre stage.

Taking us through the Panta Racing Fuels 5 Key Points for Round 5 will be SSR veteran driver Brenton Hobson.

Drafting

The big talking point for Watkins Glen will be the draft. With such high average speeds and so few slow corners on the track, the Cup Layout specifically at Watkins Glen will make utilising the draft critical. It will be a key component for both ultimate outright lap speed and also for implementing the best strategy during the 77 lap race.

Qualifying

A short lap time will mean that margins in qualifying will be tight, and you can be sure that even a tenth of a second will be the difference between a good lap and a disaster of a starting position on the grid. Watkins Glen is a place that you want to have friends because the draft will be critical in qualifying. Whether that be linking up with a teammate or jumping on the back of a draft train you need to optimise your lap time by every last millisecond.

Surviving lap 1

The Esses on lap 1 of a race at Watkins Glen is a minefield for destruction. With 45 cars going side by side between the narrow Armco barriers you can expect to see some carnage and a high chance of the safety car making an early appearance. In a long race like this being smart at the start and staying out of trouble is both important and difficult. It's a long 77 laps when you have a damaged car from the very outset.

Fuel

Fuel economy will have more impact on this race than nearly any other on the 2023 calendar. With a high average speed at Watkins Glen the track can in fact be challenging to pass on so using the draft to maintain track position while saving fuel will be a popular strategy for many. Passing cars on the pitlane with shorter pitstops will be easier than getting it done on the track. On the flipside, having poor fuel economy at this track will make you vulnerable to those around you so expect to see most of the drivers opting to err on the side of caution when it comes to fuel usage.

Pit Entry

The pit entry at this track is one of the most challenging and controversial in all of motorsports. To make your way into the lane means sacrificing corner apex speed and decelerating at the final corner while on the racing line. In turn this causes issues when being followed closely by another car who is not anticipating the preceding driver to slow down. At some stage in the race this scenario will cause drama and making sure you're not part of it will be part of the challenge.


Published on

Related Articles

5 Key Points to Road America with Adam Briggs

Courtesy of Panta Racing Fuels, Adam Briggs, driver of the Synergy Sim Racing Worx #72 Mustang has been handed the keys to the track at Road America, taking us through the key points to success around the challenging 6.5 kilometre precinct.

Currently 16th in the championship, Adam has enjoyed a quiet but consistent debut season, netting multiple top 15 results along with a solid top 5 at Belle Isle earlier in the season.

With Road America next up on the list, we thought it would be the perfect time to get Adam Briggs opinion on how to navigate the Road America Circuit.

Braking

Road America! This technically diverse race track features an enormous array of variations, genuine key passing opportunities however are limited to 4 corners: Turn 1, Turn 5, Turn 8 and Canada Corner Turn 12, All 4 of these opportunities require confidence and committed braking to get the job done clean.

The Lap 1 Crush into Turn 5

With each and every visit to Road America, the lap 1 concertina into turn 5 is always a challenge, watch out for action here, bandits will likely try to bypass congestion around the outside only to find themselves without useable track on the exit.

Pit Stops

The Sprint Race format will be in use, 250km Race and 2 compulsory Pit stops (CPS), The large run off areas afforded to competitors by the Road America layout will reduce the likelihood of Safety Cars periods being required, so the timing of pit stops will likely be used to either undercut or overcut opponents throughout race. The effective use and timing of the stops to gain places and reduce risk will be key.

The Carousel

The most Iconic Feature of the Road America Circuit is the Seemingly endless Turn 10 “Carousel”, Car setup and careful use of the right foot will play their part in what is a tortuous corner for the left hand front tyre. Good exit speed from here is crucial for any passing attempt all the way down at turn 12.

Qualifying

This is always important, you always want to qualify up front and avoid the “wobblers” (more often than not, I'm the wobbler), a draft in key areas will help, say the front straight and the rear section before Canada corner. But if you are too close to the car in front it can cause wash and understeer in the more technical sections

Published on

Related Articles

5 Key Points to Road Atlanta featuring Tom Freer

Round 10 of the Motorsport Australia Logitech G Pro invitational Cup takes us to Road Atlanta for the 2023 season finale.

Currently 11th in the championship, Synergy Sim Racing’s Tom Freer takes us through his 5 key points for the entertaining 4.088 kilometre precinct before we go racing on Wednesday night!

1: Race Start

Road Atlanta provides us drivers with many challenges on its intriguing and exciting layout, one of those is the importance of getting a clean race start. Race starts at Road Atlanta from previous experience prove to be chaotic, finding your space on the road is clinical to finding your driving rhythm early. By achieving a good race start, you give yourself the opportunity to gain early track Position while also being able to control the tempo of the cars around you on the approach to turns 2 & 3.

2: Turns 1,2,3,4 & the roller coaster.

Undoubtedly one of the most challenging segments of road available on the iRacing service, turns 1 through 3 prove to be critical to achieving lap time at the Road Atlanta Circuit. Achieving a optimal line though turn 1 allows you set up for turns 2 & 3, giving you the ability to find your uphill braking marker early before firing your Supercar across the aggressive turn 3 curbing on the inside. Those who who this well will be the first to find the throttle pedal again after the car lands off the exit of 3, giving the driver the ability to carry momentum through turn 4 before plunging into the “Roller coaster”. Any small mistake through this opening segment of the lap would prove detrimental to lap time, ruining your momentum and optimal line all the way down the the end of the roller coaster section.

3: Pit Entry

Pit entry is easy right? Guess again. Road Atlanta is unique for many of the circuits characteristics one of those being the tight and technical pit entry. After negotiating a lap of road Atlanta you’ll be met with one of the most exciting pit entry’s the iRacing service has to offer. Out of the chicane & under the bridge, drivers will exit to the right of the racing surface and plunge down the hill, through slight esses Aiming towards the pit entry line. There’s plenty of time to be made up on pit entry as drivers will attempt a balancing act between an aggressive approach vs a safe approach. Nailing this pit entry could prove critical to your race and track position.

4: Track Position

Track position is everything at any circuit drivers visit in the Motorsport Australia Logitech G Pro Invitational Cup but at Road Atlanta it’s crucial to getting a big result. Buying yourself track position with a strong qualifying result, or excellent pit strategy gives you the driver the opportunity to control what happens around you, making your moves based off the race that is playing out before your eyes. Without track position, drivers will be in for a long day, battling in the mid field.

5: Fuel Management

For some, fuel management is a valuable part of their race strategy, opening up the ability to vault themselves up the order with smart strategy plays & not necessarily outright car speed. Utilising the racing circuits nature can perfectly play into your hands with fuel strategy, long straights and flowing corners perfectly opening up the opportunity to play with your fuel strategy decisions. Wether that is short filling, long filling or even fuel saving to gain a position, it’s all vital to progressing up the order on race day.

Published on

Related Articles

5 keys to Hockenheim - Shawn McNamara.

Round 2 of the Logitech G Pro Invitational qualifying series will cross the shores and head to the Hockenheimring to continue what has been an enthralling series to date.

The 17 corner 4.57 kilometre circuit located in Germany opened on the 29th of May 1932. Hockenheim has hosted many top level series, DTM, Formula 1, GP3, GP2 & the World Sportscar Championship to name a few.

2022 saw the Logitech G Pro Invitational series make its first journey to the Hockenheimring, Both Jarrad Filsell & Madison Down would share victory’s over the 2 race sprint format. With the qualifying series set to race on the 8th of February around this history filled circuit, we asked Shawn McNamara of 9ine 5ive SimSports to take us through his 5 key points around the Hockenheimring Circuit.

1. Braking Performance

Hockenheim has both extremes of braking to contend with, from the biggest stop into the hairpin, followed by the flowing sections that require a different braking technique. Finding that happy balance in braking performance will be critical.

2. Qualifying

Just like most tracks qualifying is important, but this is a track where you really do need to qualify well. A lot of time to be lost in the mid pack with heavy congestion in the opening lap. Risk is far higher of being caught or causing some carnage if you aren’t patient.

3. Commitment

This is track where you need to extract everything from yourself and car to achieve that lap time, finding the line between late braking and trusting the car in the high-speed turn ins through the middle of lap is the only way to move forward.

4. Be Smart

It’s easy to come unstuck around here, off tracks are everywhere so it is important to watch the incident limit. Adding to that, you want to make sure you pick your battles on track. This is a track that leads to close hard racing, but with high consequence. Collecting points should be the focus.

5. Strategy

Finding the right pit strategy along with executing both stops well. Much higher risk of a safety car at Hockenheim so that will certainly play a role. Along with tire degradation at this track, there will be a range of options on the table.

Tune in to the Logitech G Pro Invitational qualifying series as we head to the Hockenheimring which is sure set to be a blockbuster on the 8th of February.

Keep updated on all the latest at https://supercarsproinvitational.com.au

Published on

Related Articles

5 Qualifying Series Short Takes

The introduction of Gen3 certainly made an impact on the hectic nature of the Qualifying Series! It was a huge hit among the guys in the commentary booth, and I’m hearing the same from the fans as well.

If you weren’t there on Wednesday night, or haven’t seen the race so far, then I would highly recommend catching up on the action as soon as you can!

Until then, here are some of the key points and moments from the first night of Logitech G Pro Invitational racing in 2025.

1. New car, new teams at the front!

When Eclipse Simsports locked out the front row, things appeared to be business as usual. But as the grid tumbled and turned throughout a nail biting qualifying session (which saw the top 10 separated by just 0.194s) there was quite the mixture of teams shaking up the order.

Synergy Sim Racing’s Brenton Hobson was on fire, getting his Camaro onto the second row of the grid amongst some of the community’s biggest names.

Eclipse Simsports cars lead to Turn 1 off the start

2. The rulebook is not just for decoration

There were a number of new drivers welcomed to the pack at Mosport, some learning the hard way that pit stop regulations can bite you on the butt. In this series, you are required to make 2 Compulsory Pit Stops (CPS) … but there’s a catch.

Unlike most international racing categories, you cannot serve more than one CPS under a single safety car unless you enter the lane before the safety car is called. For those not accustomed to this rule, it can cause quite the headache.

Safety Car restarts were also under a microscope in the Race Control booth, to Wayne Bourke’s chagrin. With checkups deep in the field, the Vermillion Esports driver had mistakenly completed a pass before the control line.

The slip up was enough to land Bourke with a 30s post-race penalty, relegating him from the race win … to 31st. A tough spot to be in, particularly with the onboard vision showing he only missed it by metres. But the rules are the rules, and he took it like a champ!

The brand new Logitech G Safety Car on track after Dylan Perera lost a motor

3. Marbles … marbles … marbles

iRacing’s updated debris model, which launched alongside the Gen3 Supercar in December, was another catalyst for chaos in Mosport. As tyres wear, focus fades, and drivers lunge for passes - risk builds as they inch closer to the river of marbles building up on the track’s edges. 

The Moss Hairpin was the place to be for marble-induced drama, with drivers getting caught out as they hit the slow pedal on what is essentially the only major passing opportunity on a lap of Canadian Tire.

4. ‘Win and In’ - Love it or hate it, it made for a mega story!

There was a certain intensity about the racing at the front. In the drivers minds, there was this looming, unspoken question of  “How far would you go to qualify straight into the main game?”. It was brilliant, and in a short sharp series like this, it only adds fuel to the fire of a category that is already ‘gloves off’.

Brenton Hobson technically leads the points race heading into Round 2, but for Emily Jones, her round win secures a few weeks off before starting the arduous task of running the Pro Series.

Chaos at Moss, the corner than produced more action than any other during the race

5. Banging doors no longer means race over

The Gen2’s reworked damage model that was introduced halfway through last season made its chassis a little bit fragile. Add in the older contact coding, and cars were rotating off noses in ways they shouldn’t have been. 

Here in Gen3, door-to-door racing was welcomed back in open arms on multiple occasions. Paint and dents were traded like it was going out of fashion, yet most walked away no worse for wear. A massive win all around for drivers and spectators alike!


Celebrations for Jones and Trans Tasman Racing!

Emily Jones is through and will be flying Trans Tasman Racing colours in the Pro Series all year long! The race we saw was perfectly in her wheelhouse. Much like the style of her co-drives over the last 2 years, she’s regularly been one of the most consistent drivers when thrown in the deep end, and it shows! There might be other flashier drivers on their day, but she’s regularly got the job done and will be right at home in the Pro Series.

Emily Jones is the first driver to lock in through the Qualifying Series in 2025

Expectations for Fuji

With all of that now locked in, what are we expecting from Fuji?

Boasting a 1.5km long straight that is going to enable drafting, side-by-side racing action will be the regular on the approach down to turn 1. To win this one, you’ll not only need pace, but race smarts as well.

Canadian Tire was a race where you were limited by your tire stops, and fuel was completely covered. Fuji has significantly more on-throttle time, so we should see a return of fuel being the limiting factor.

Eclipse Simsports is going to be the buzzword of the month, and yet again I expect them to be at the front. They’ll have learned from their failings in a big way and will attack again.

Synergy Sim Racing had a very fast car. Dylan Perera blew an engine with an early downshift, but until that point was running in a phenomenal position to take a bank of points. Taking into consideration Brenton Hobson being the points leader, and Glen Postlethwaite's wild 8th place result, I expect these guys to be strong yet again.

Postlethwaite recovered brilliantly at Mosport after early race dramas

Another point of discussion is going to be tyre wear. Mosport wasn’t overly punishing on rubber with cooler Canadian Winter temperatures, shorter laps, and corners which weren’t as long and loaded. 

Fuji punishes tires with long braking zones, long loaded corners (highlighted by 100R at turns 4-5), and a traction and turning based final sector. Expect to see qualifying times a fair chunk faster than race laps!

So in what is far more Supercars style, Fuji is going to be a race of managing fuel, tyres, pace and expectations. Tempers were already short with a few drivers in the field as patience continued to thin. As a driver, this is your best opportunity to get some overtaking done in the Qualifying Series - so you both have to make it count and ensure you finish the race at the same time! 

This is where the real racing drivers will make a name for themselves.

One more driver will be elevated to Pro Series status on Wednesday 12th February. And with a few towards the back needing a strong finish before going into “win it or bin it” mode, can the drivers match the excitement of last week?

I know I am keen as mustard for another round, see you then!

Published on

by Scott Rankin

Related Articles

All Roads Lead to the Mountatin - Bathurst 1000 Preview

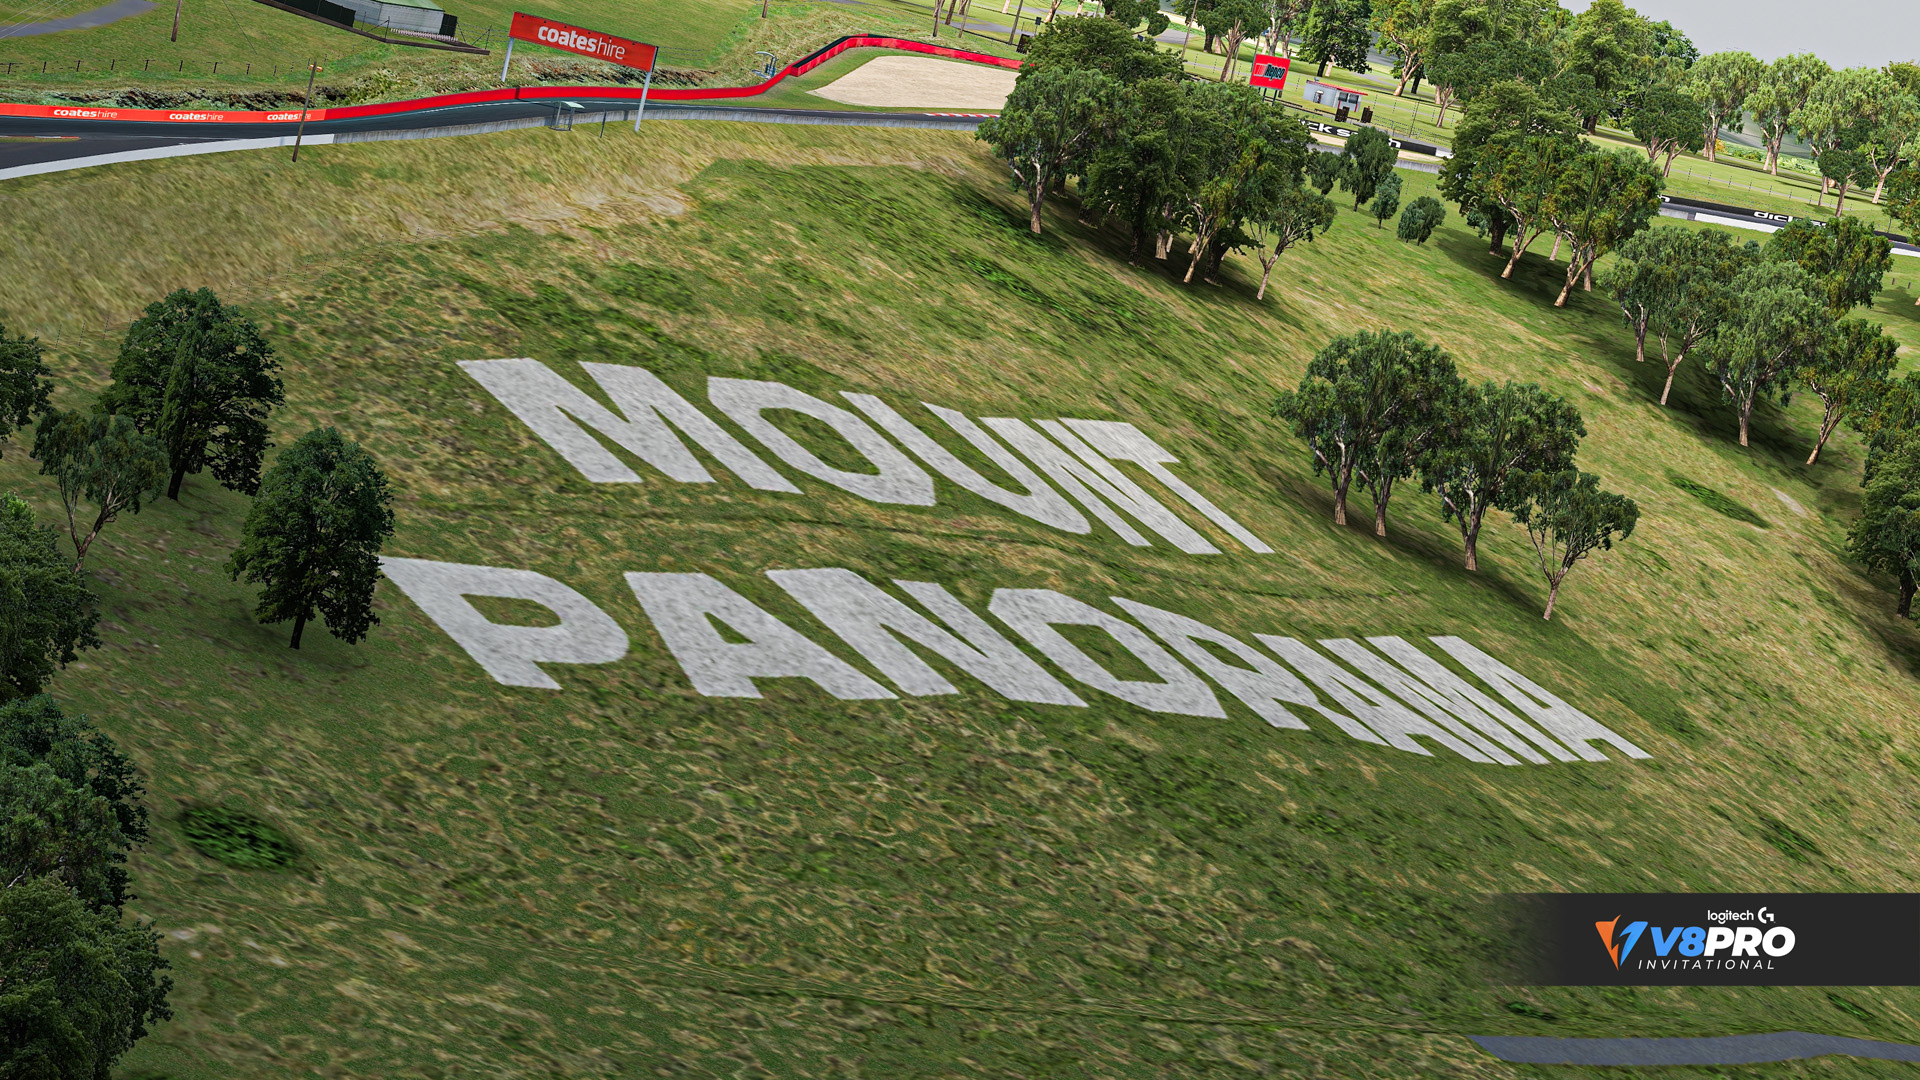
I could spend the next 20 pages writing about the mythos of the Mountain. I could speak of the moments that elevated drivers from “average” to “fantastic”. Every single sim racer has a moment from the mountain they remember with joy. For that one moment there’s another 10 disasters.

The Co-Driver Clash was a night where a lot of drivers had opportunities on the table, but only a few were able to reach out, grab it and then hold on for a wild ride. When we reach the last stint on Sunday, these drivers won’t be the ones behind the wheel. 

Don’t forget for a moment that we also are looking to decide our inaugural TrueForce Endurance Cup champion. It might only be the championship within the championship, but it’s already had a plethora of impacts on the main title as well.

Dylan Rudd led the way in the middle of the season, and now he looks to hold on for dear life once more as the pack comes chasing. The big key in this battle is that Rudd and teammate Gianni Lutzu also lead the TrueForce Endurance Cup standings. Last year Dylan Rudd and Griffin Gardiner were teammates, and able to pull off a 4th place finish. That would be enough to push them clear at the top of the table should something happen to Jarrad Filsell.

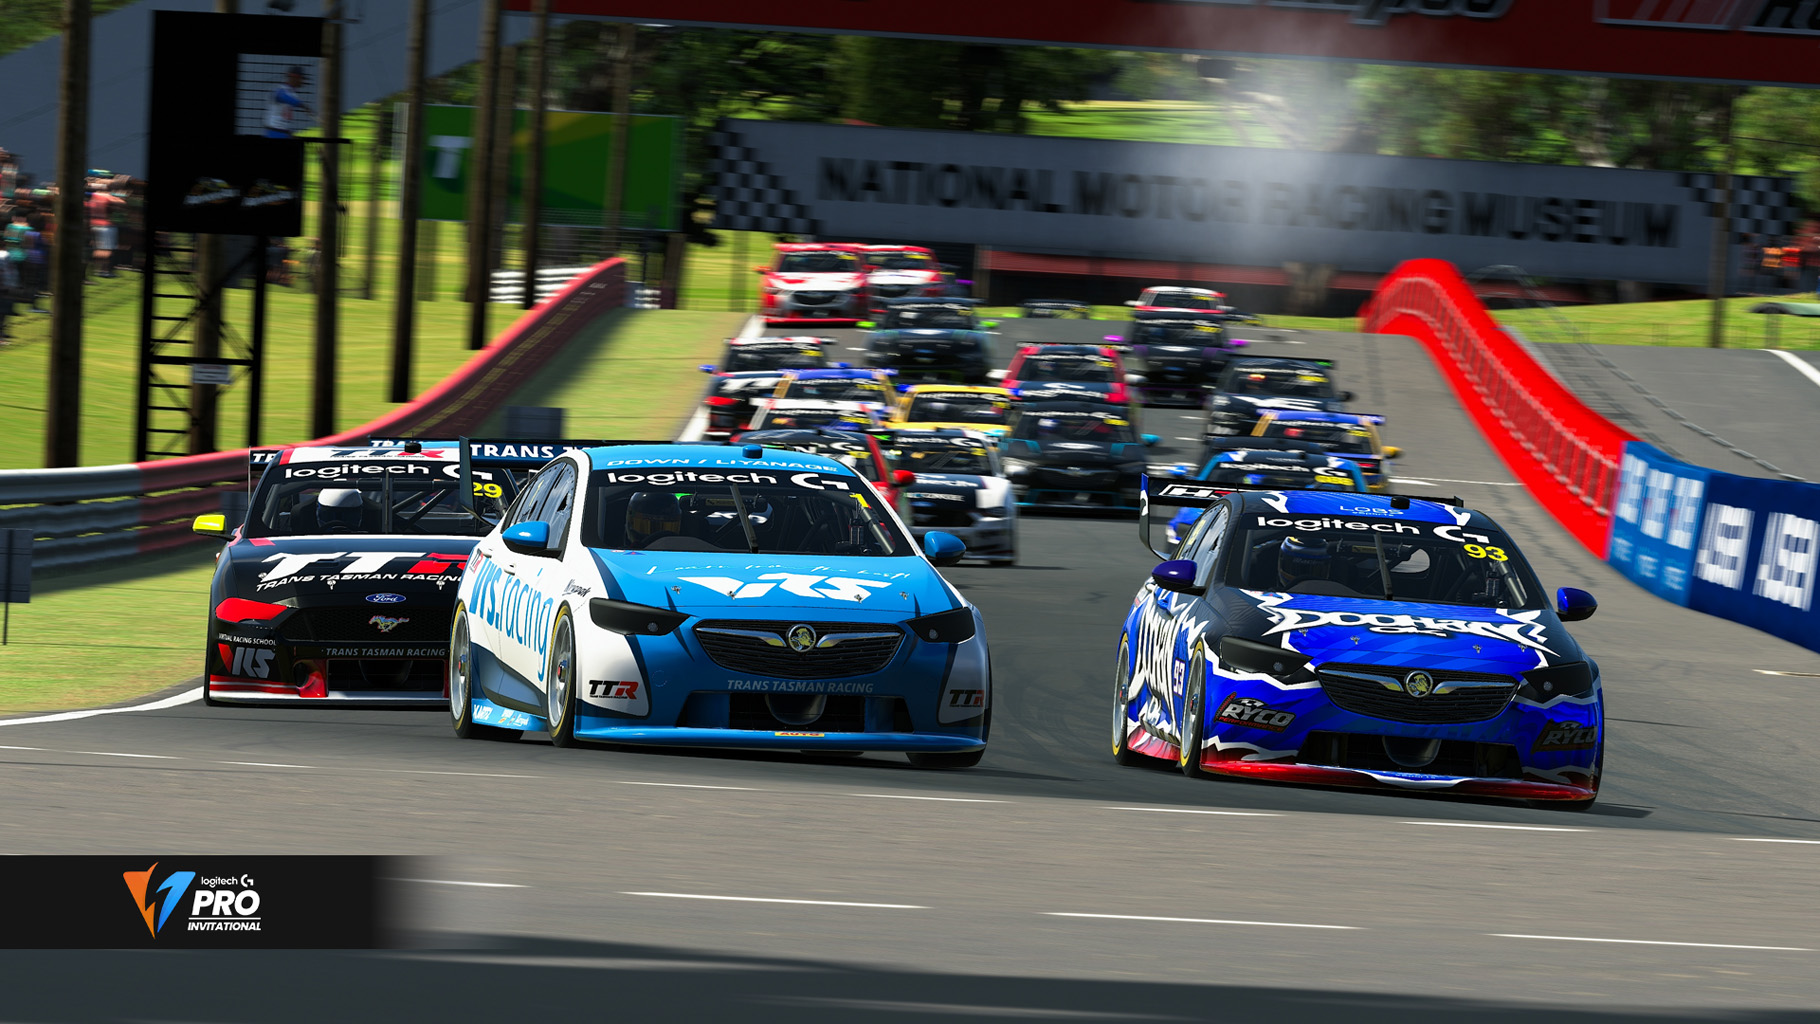
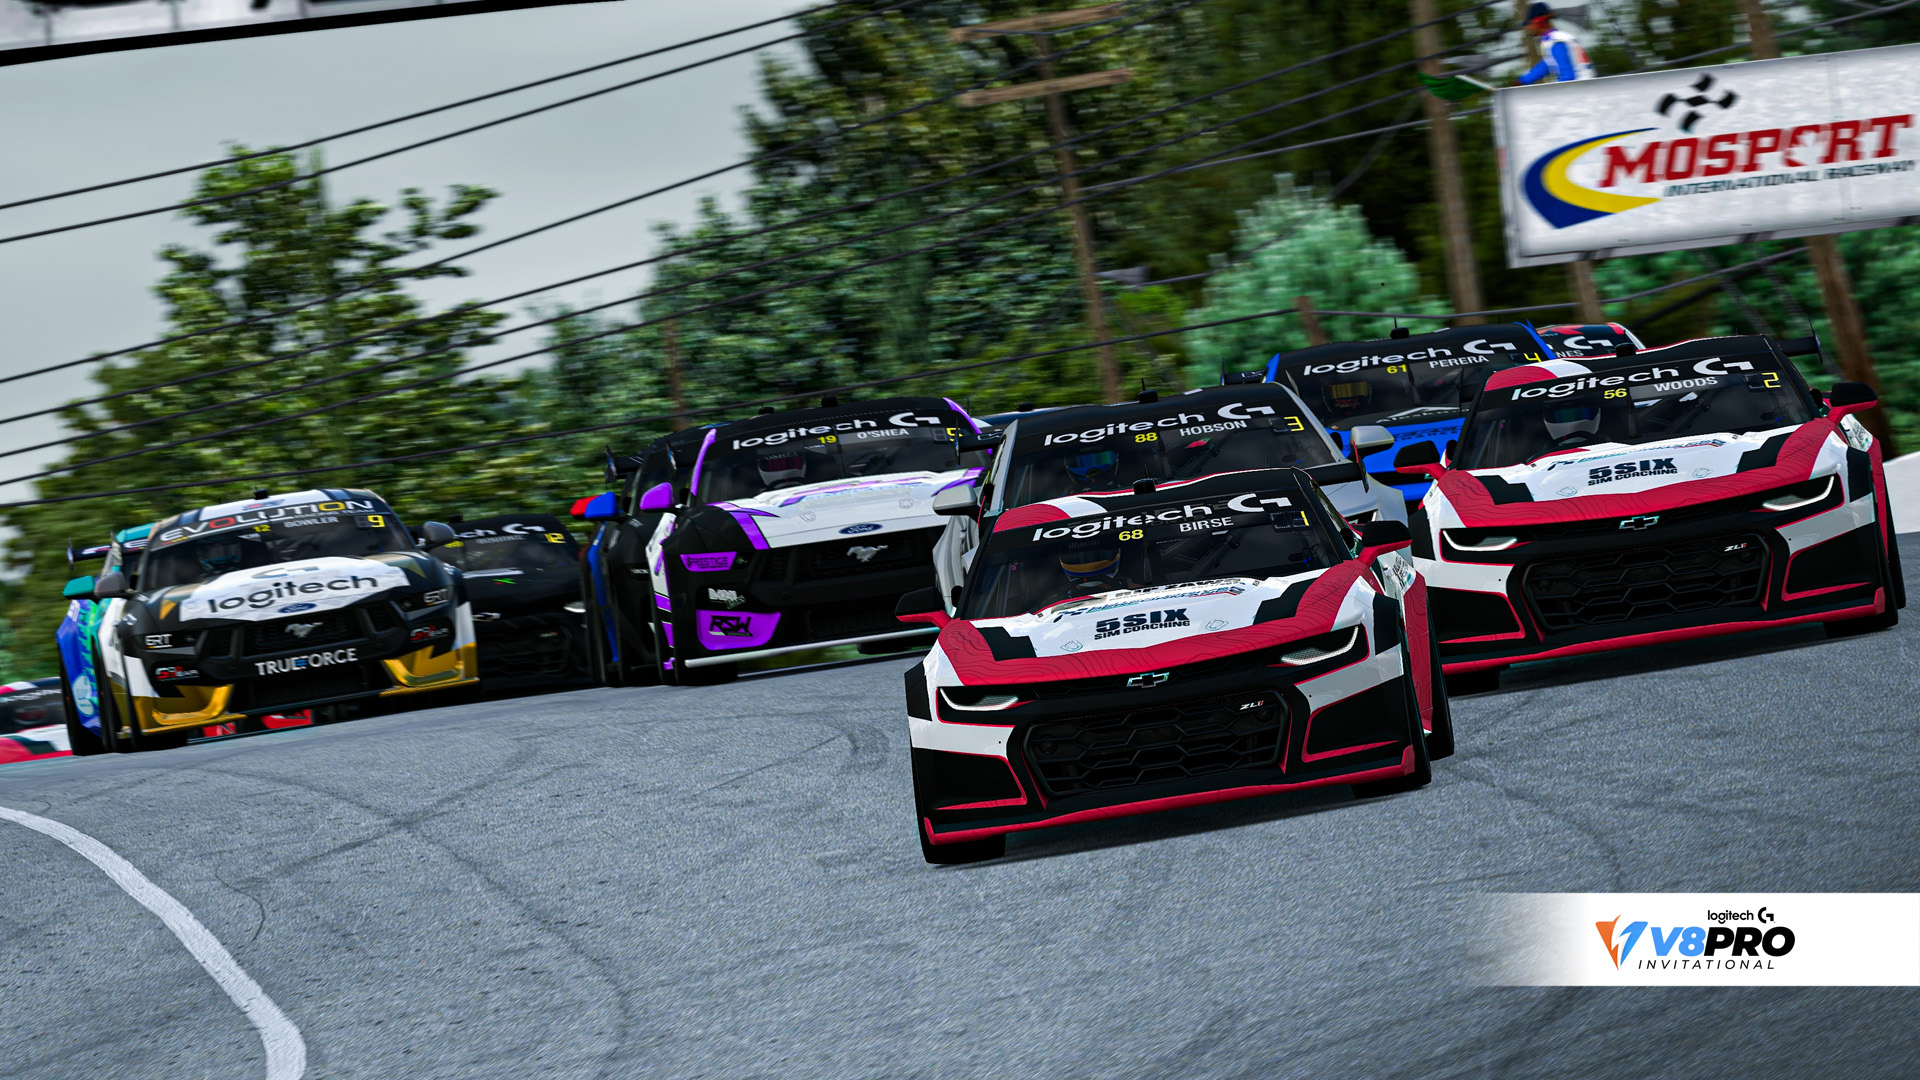
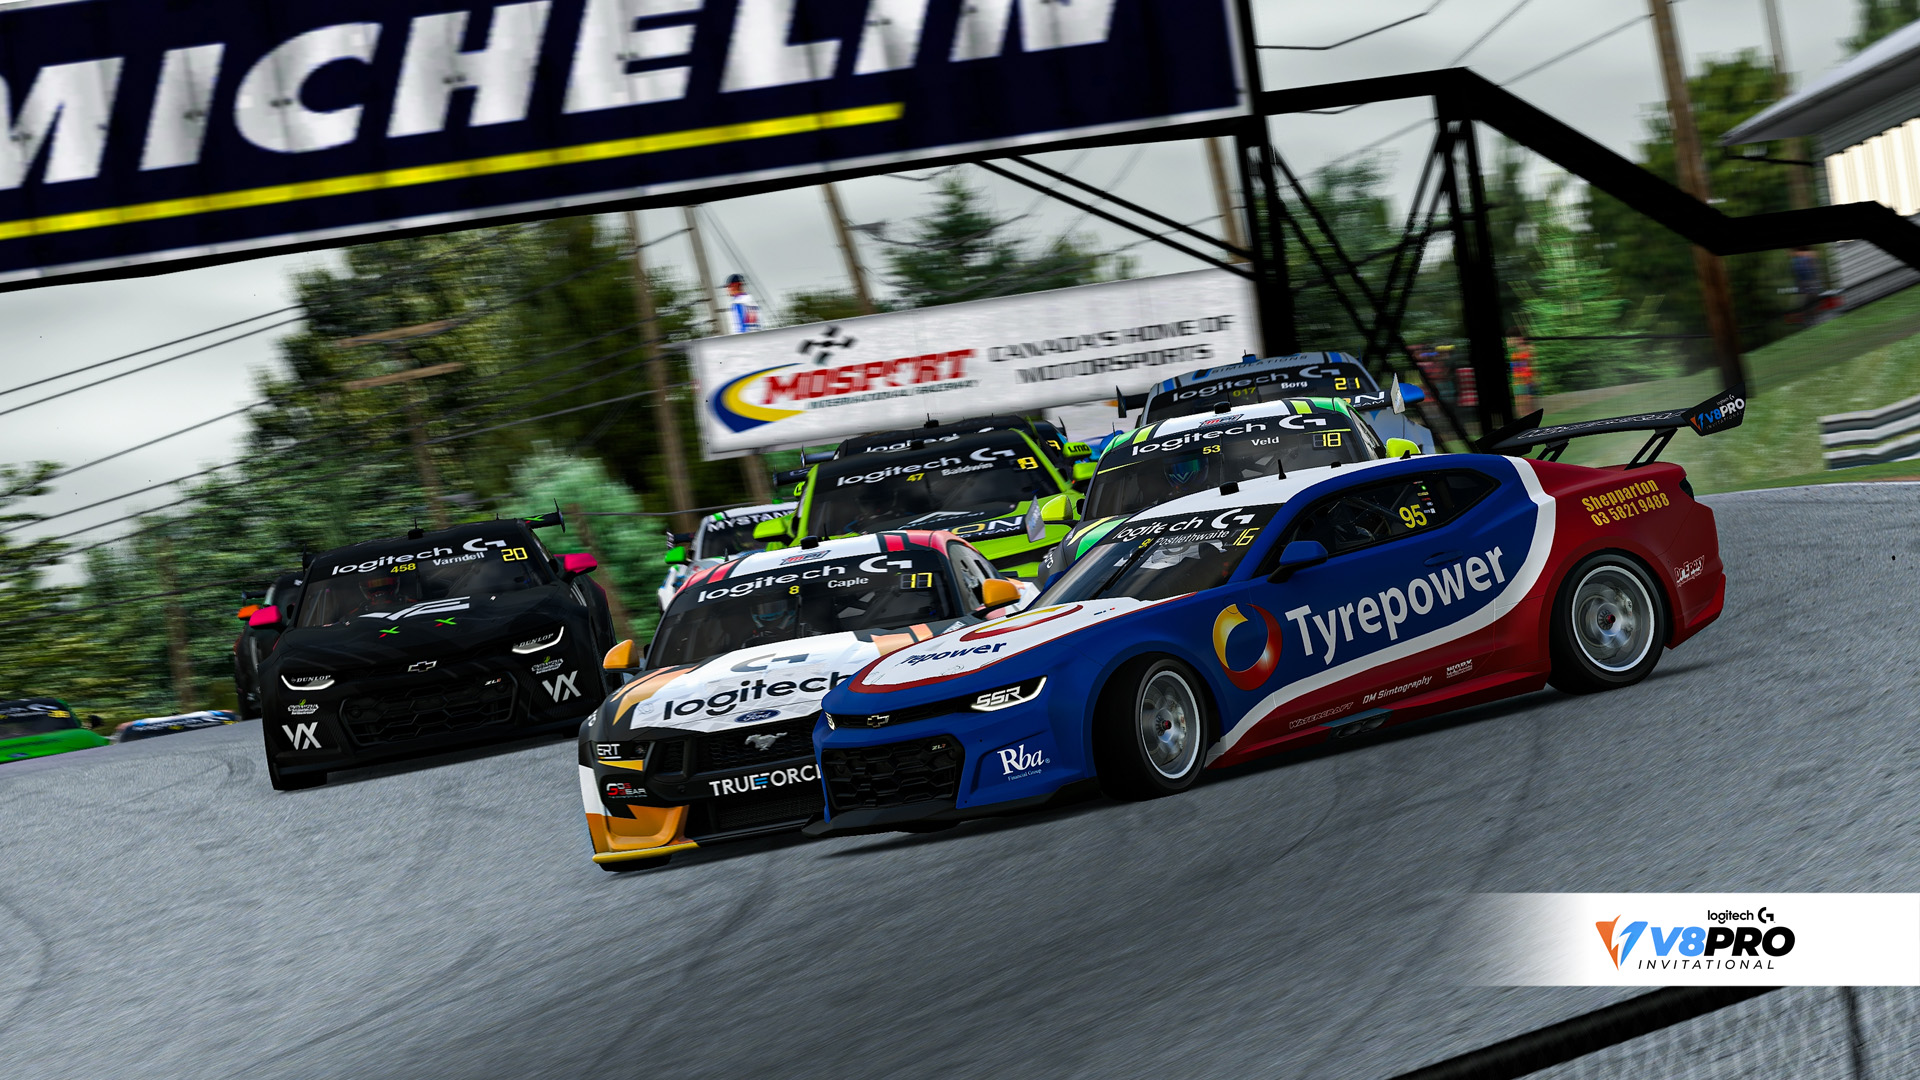
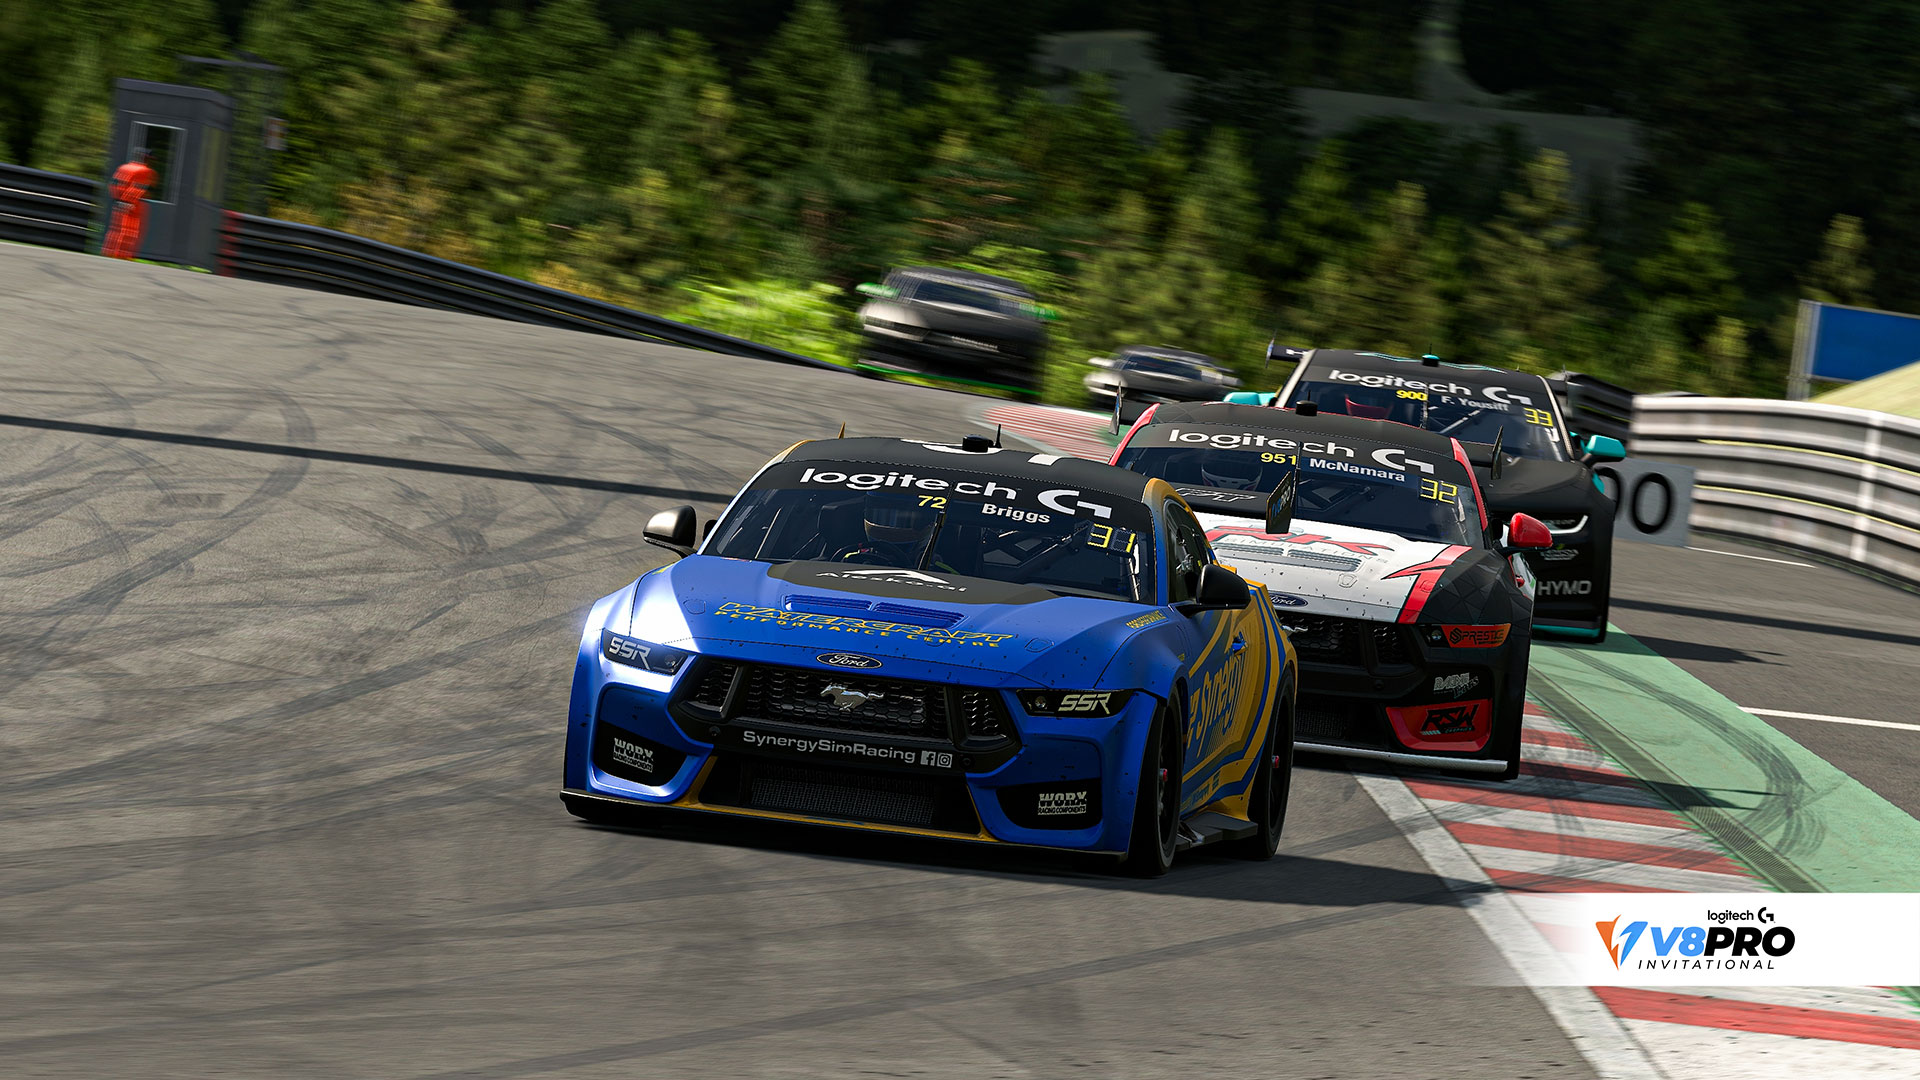
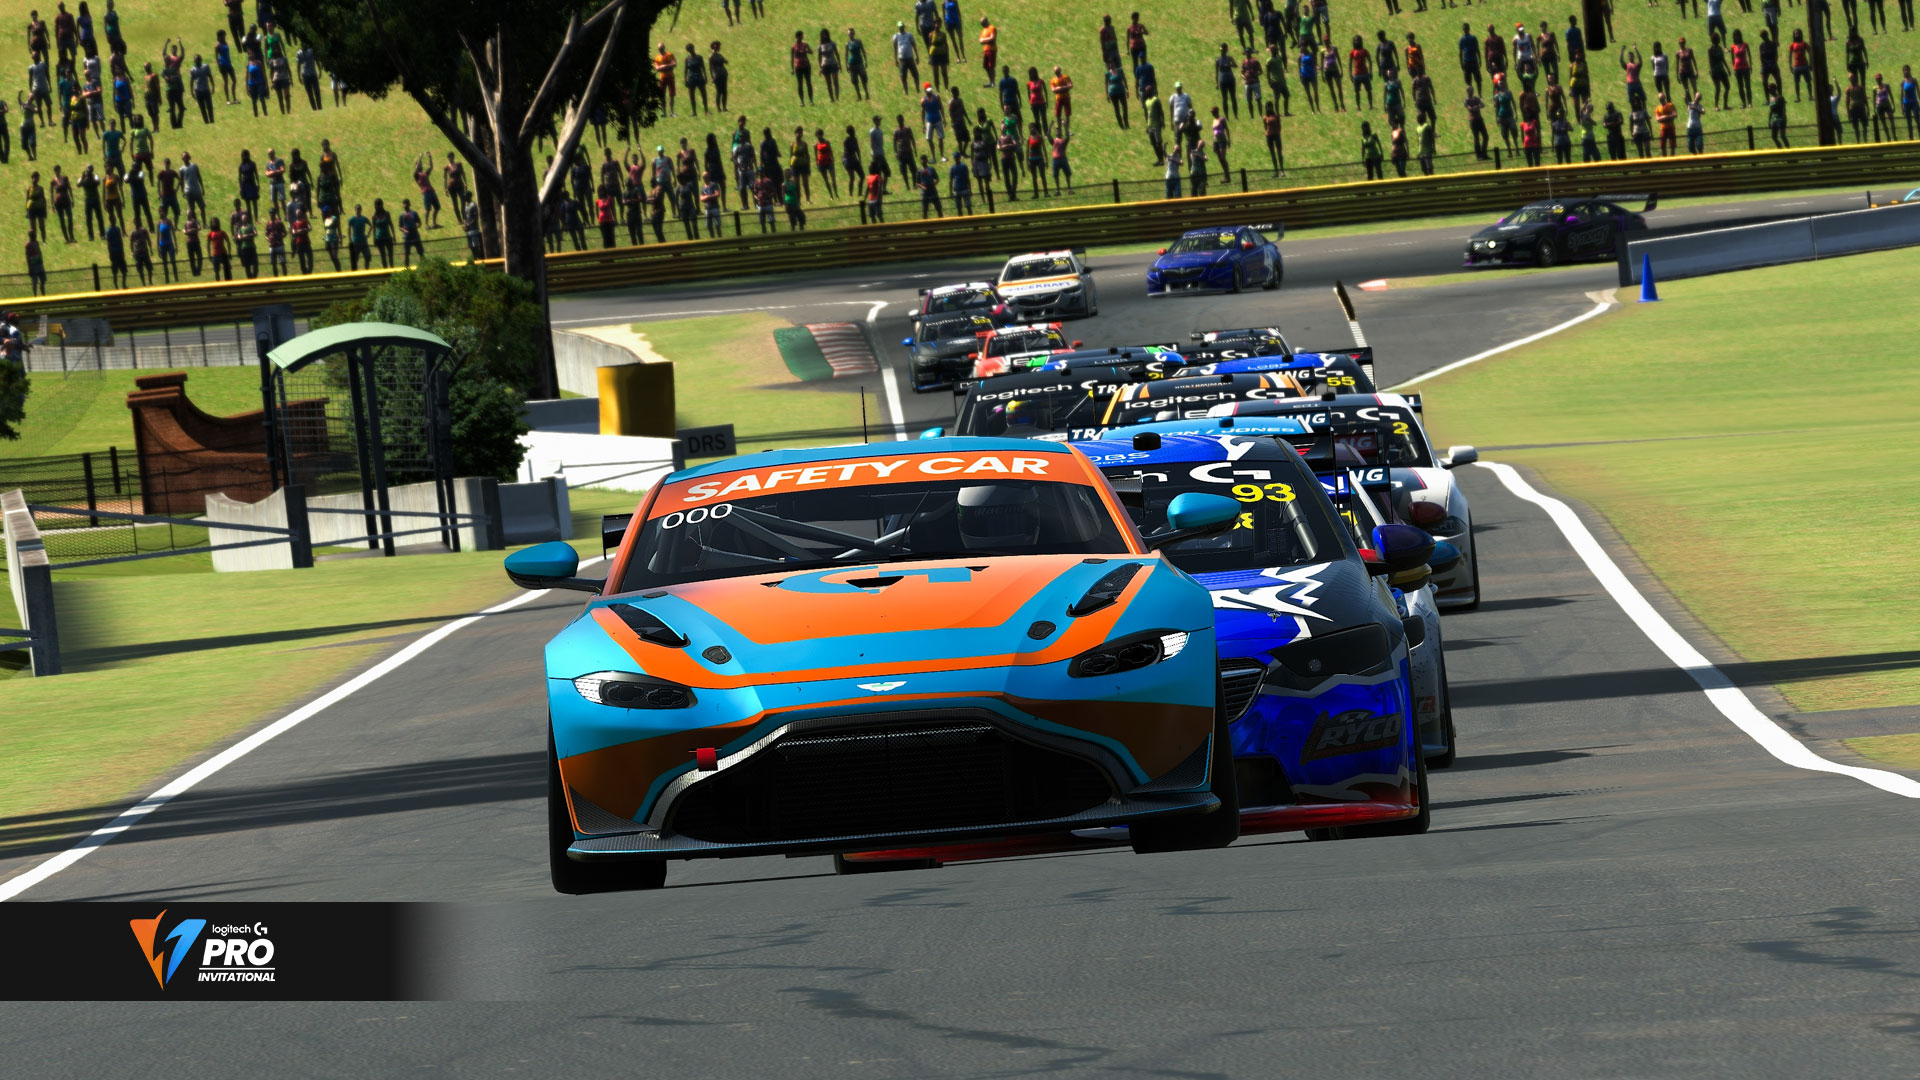
Wednesday's Codriver Clash provided plenty of excitement

Each of the three enduros is worth double the points, and that fact alone is the reason James Scott has been all but eliminated from title contention. A blown engine from Sandown meant he left with zero points from the last race.

However, he’s got history here at the mountain. He lead the bulk of the final run to the flag in the 2023 edition of “The Great Race” in a stoush with Madison Down (2nd) and Brady Meyers (3rd). I was on my second ever race as a part of the series, my commentary was done for the day and yet I could still not pull my eyes from the screen. Worth a watch here: 

Watch 2023 Bathurst 1000 Replay

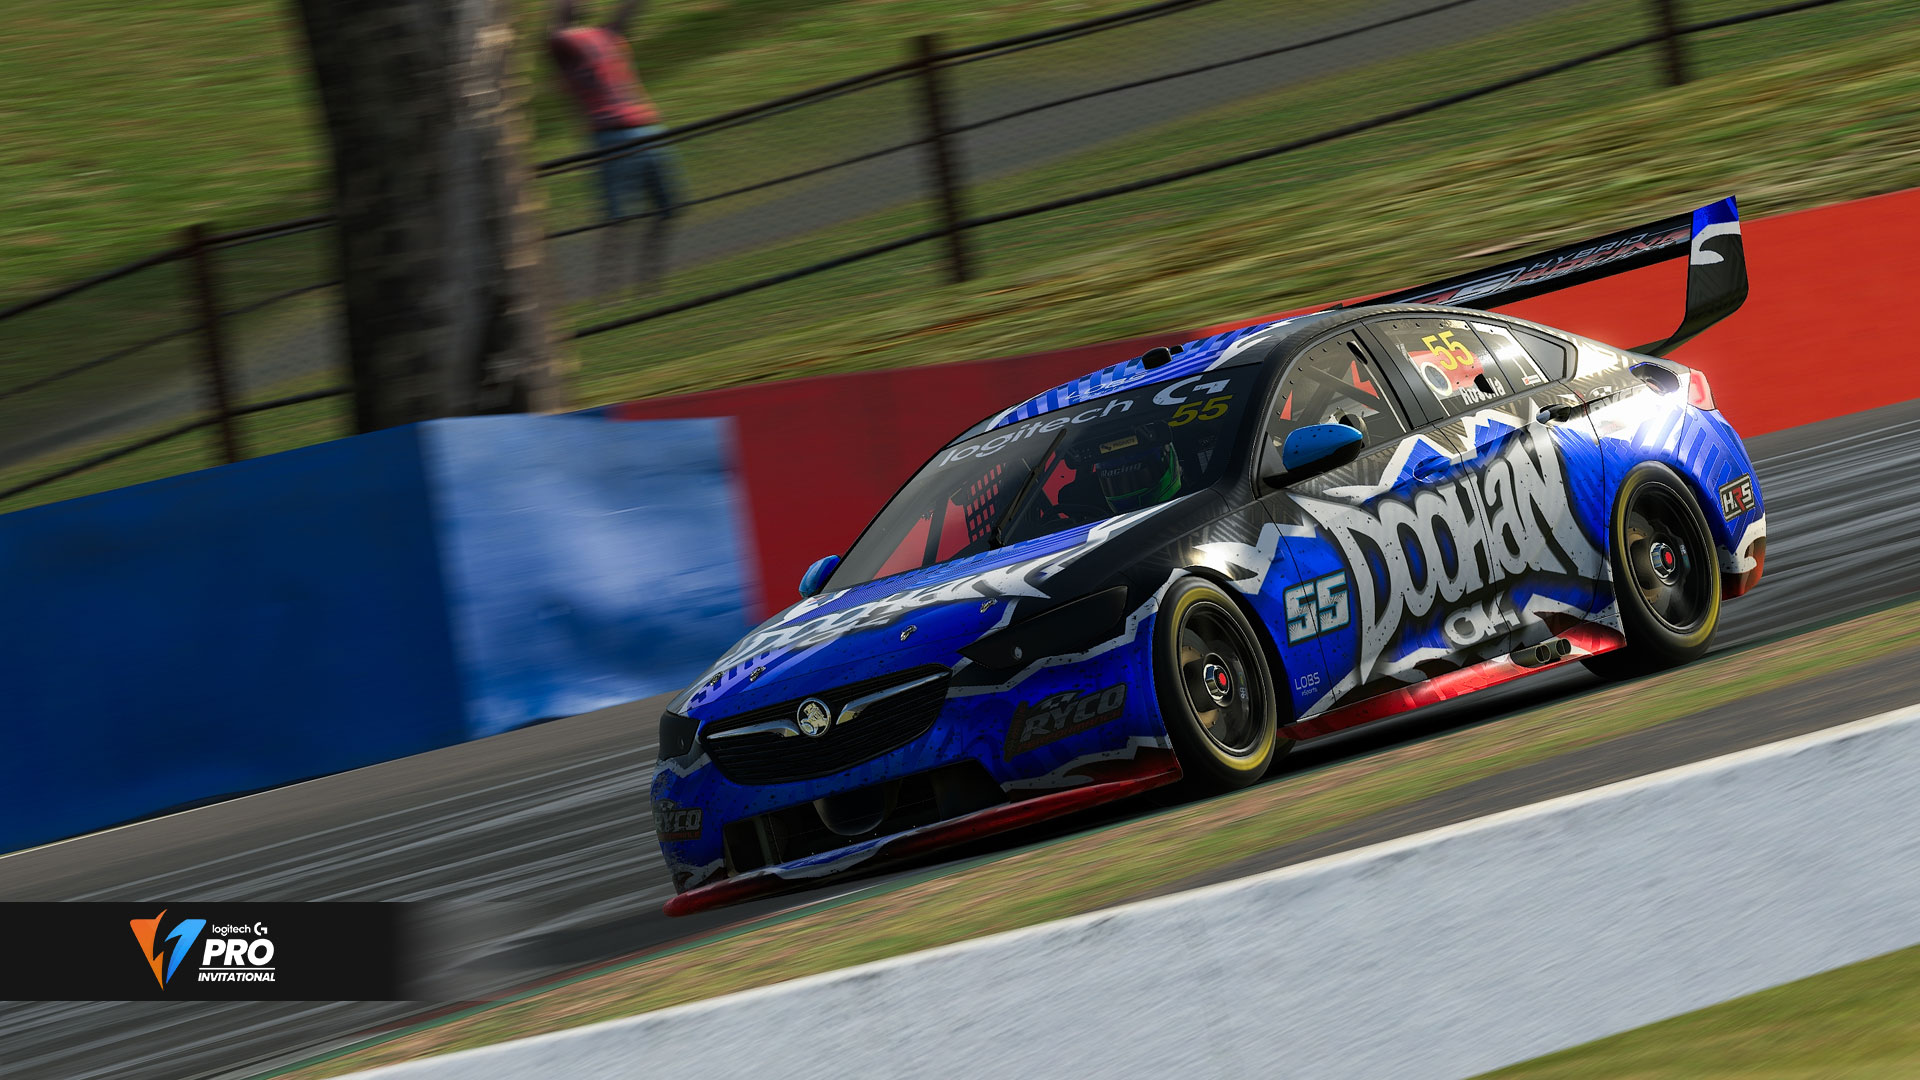
2024 is going to be another celebration of sim racing. With Gen3 lurking in the shadows this will be the final time we hear the ZB Commodore roar to life for 1000 kilometres at the mountain. A host of teams are paying tribute to the car with their throwback schemes - the best part of which is seeing the host of lore, history and moments that have been built up over more than 10 years of iRacing sim racing history now. Can you believe we’re now at a time that we’re making references to schemes not run outside of a digital environment? An important moment, and the gravitas is not lost on me.

The Race

Distance - 1000 kilometres (161 Laps)

Previous Winners

2023 -  James Scott & Shane Van Gisbergen

2022 -Jarrad Filsell & Dayne Warren

Pole 2023 (SHOOTOUT) - 2:02:913 - James Scott


I just watched back the Shootout from last year to pull that time, its the one time a year we run a different qualifying format of the two parts. With a larger grid size than the physical Bathurst 1000, the Logitech Pro Invitational takes the opportunity to expand the shootout by 5 cars. That in turn provides for an interesting opportunity to see more drivers take part in the one lap dash, and get a unique insight into their mindsight before the race on Sunday.

Last year’s shootout lead to 14 drivers who were unhappy with their lap times, and James Scott enjoying his lap to take pole position.

Who will take the opportunity to step up this year and make their race day start off a little bit easier?

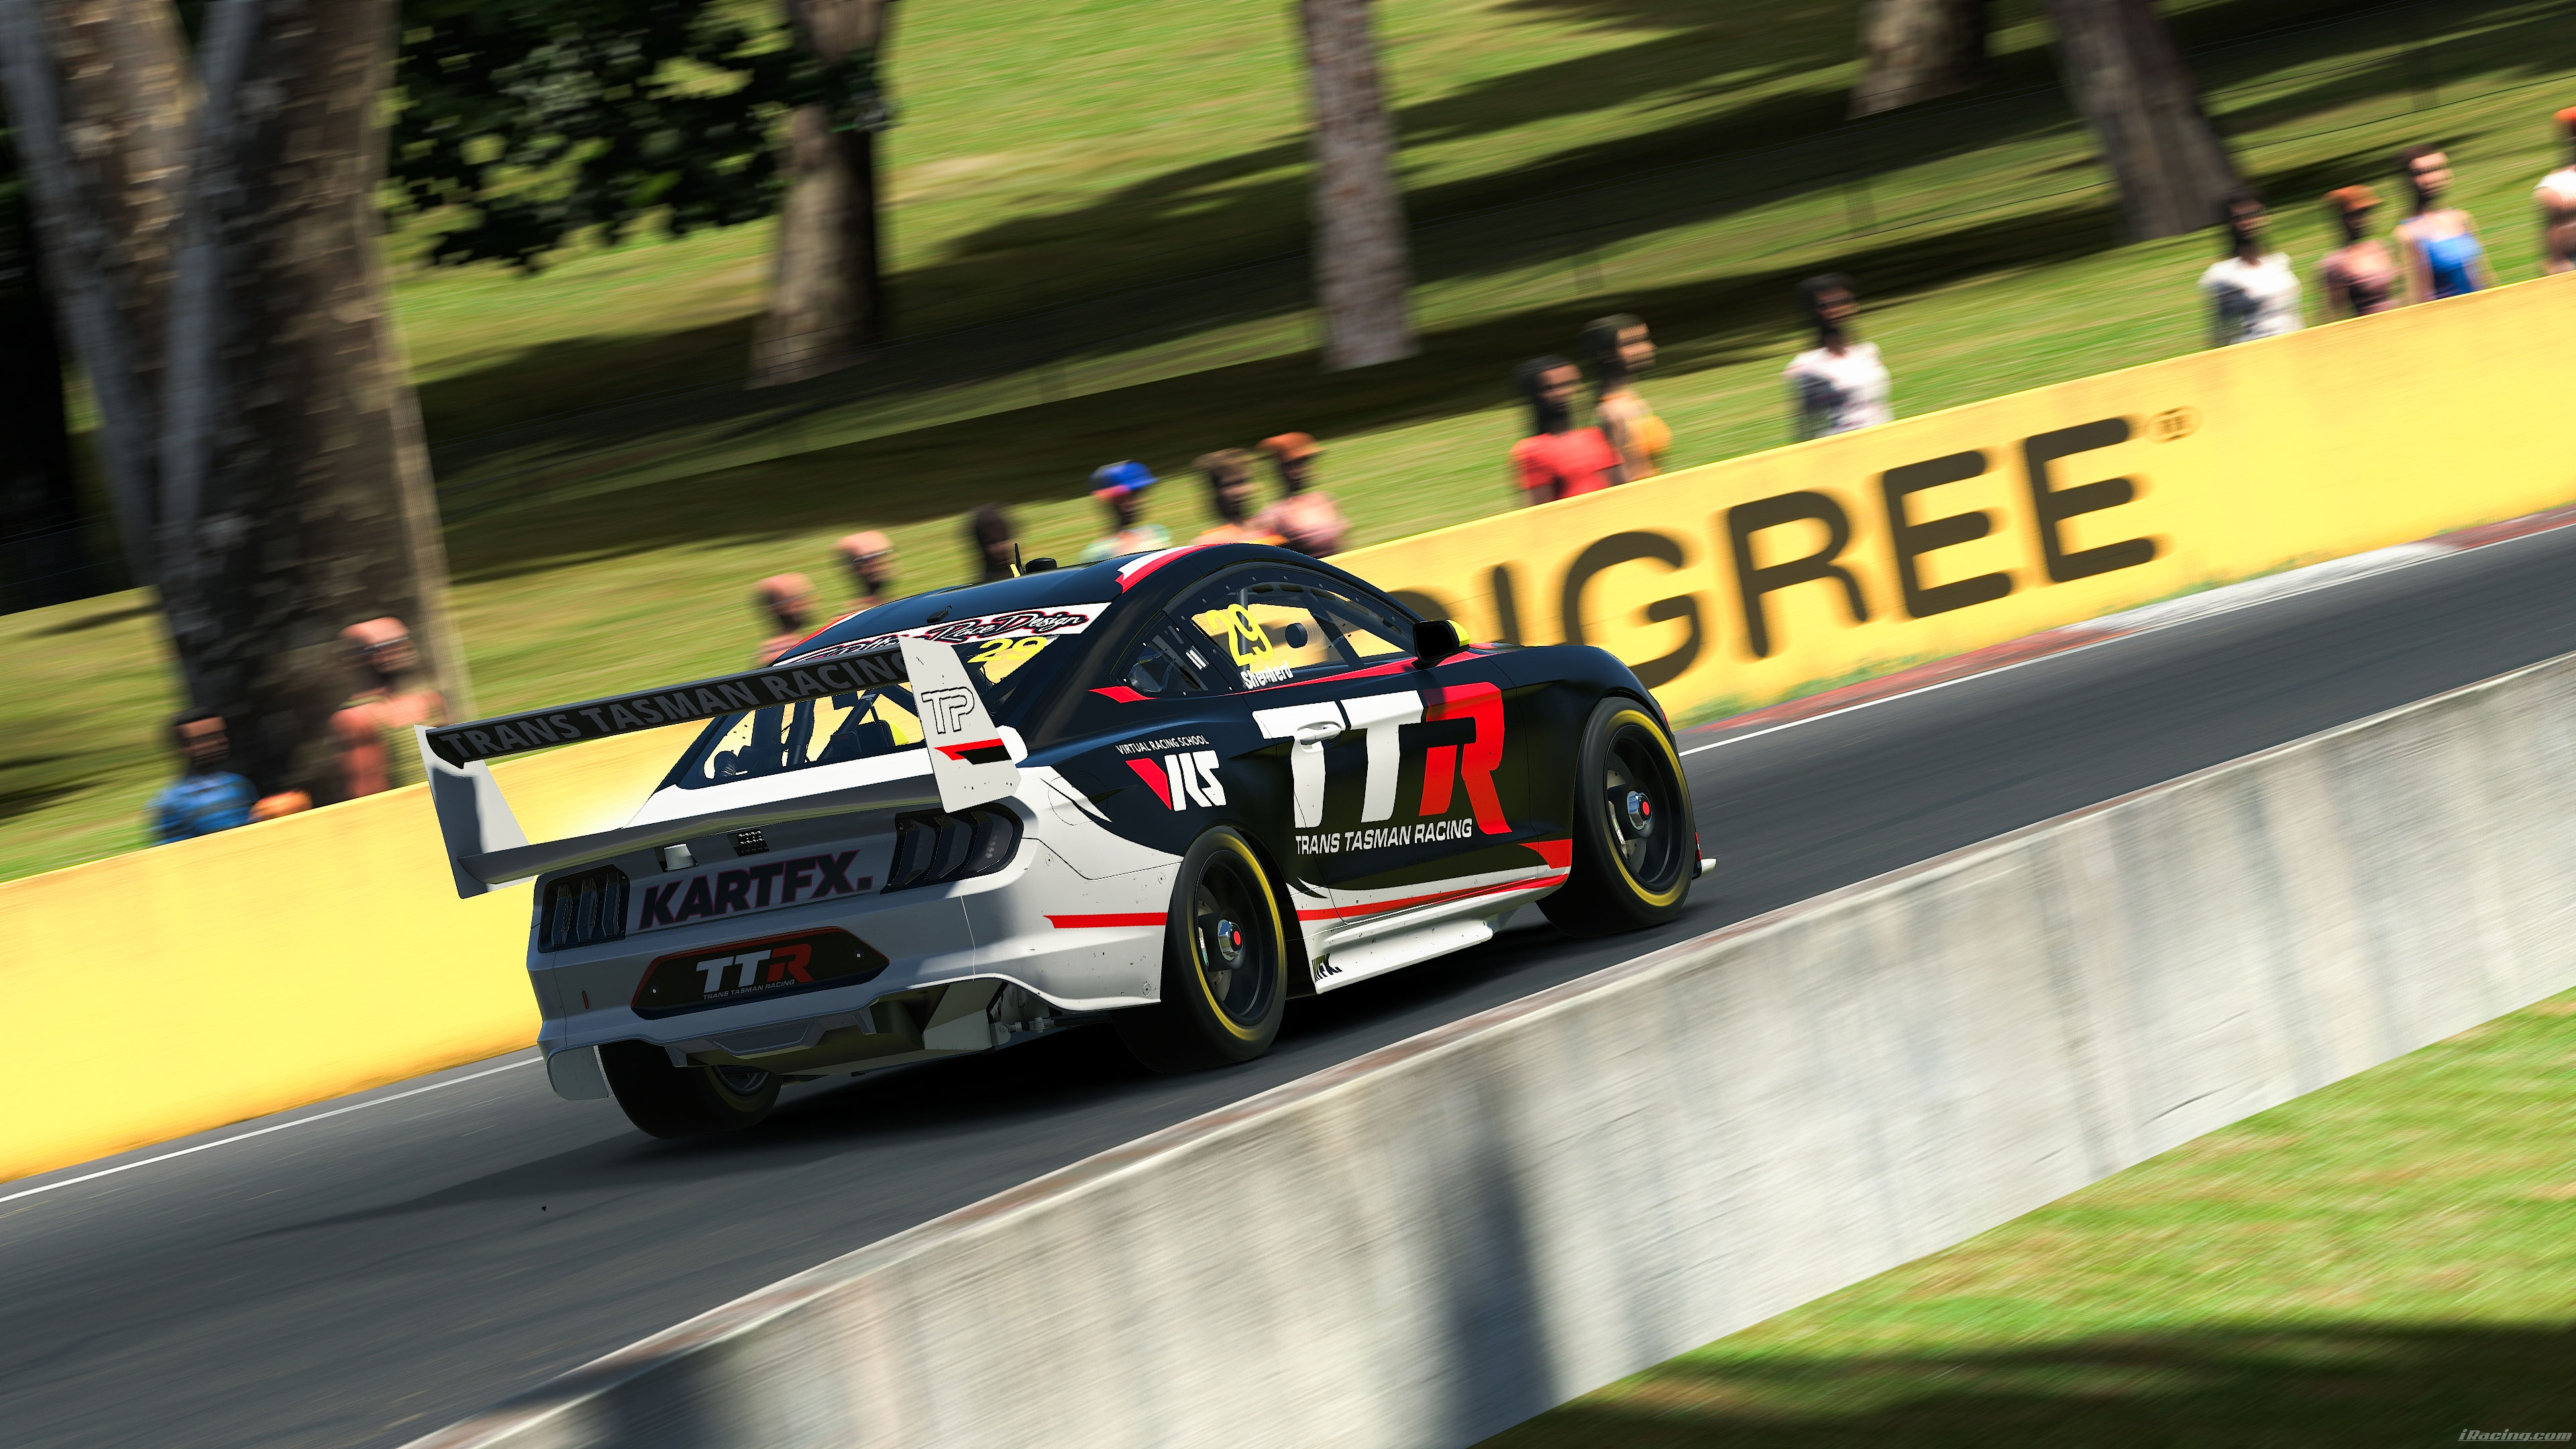
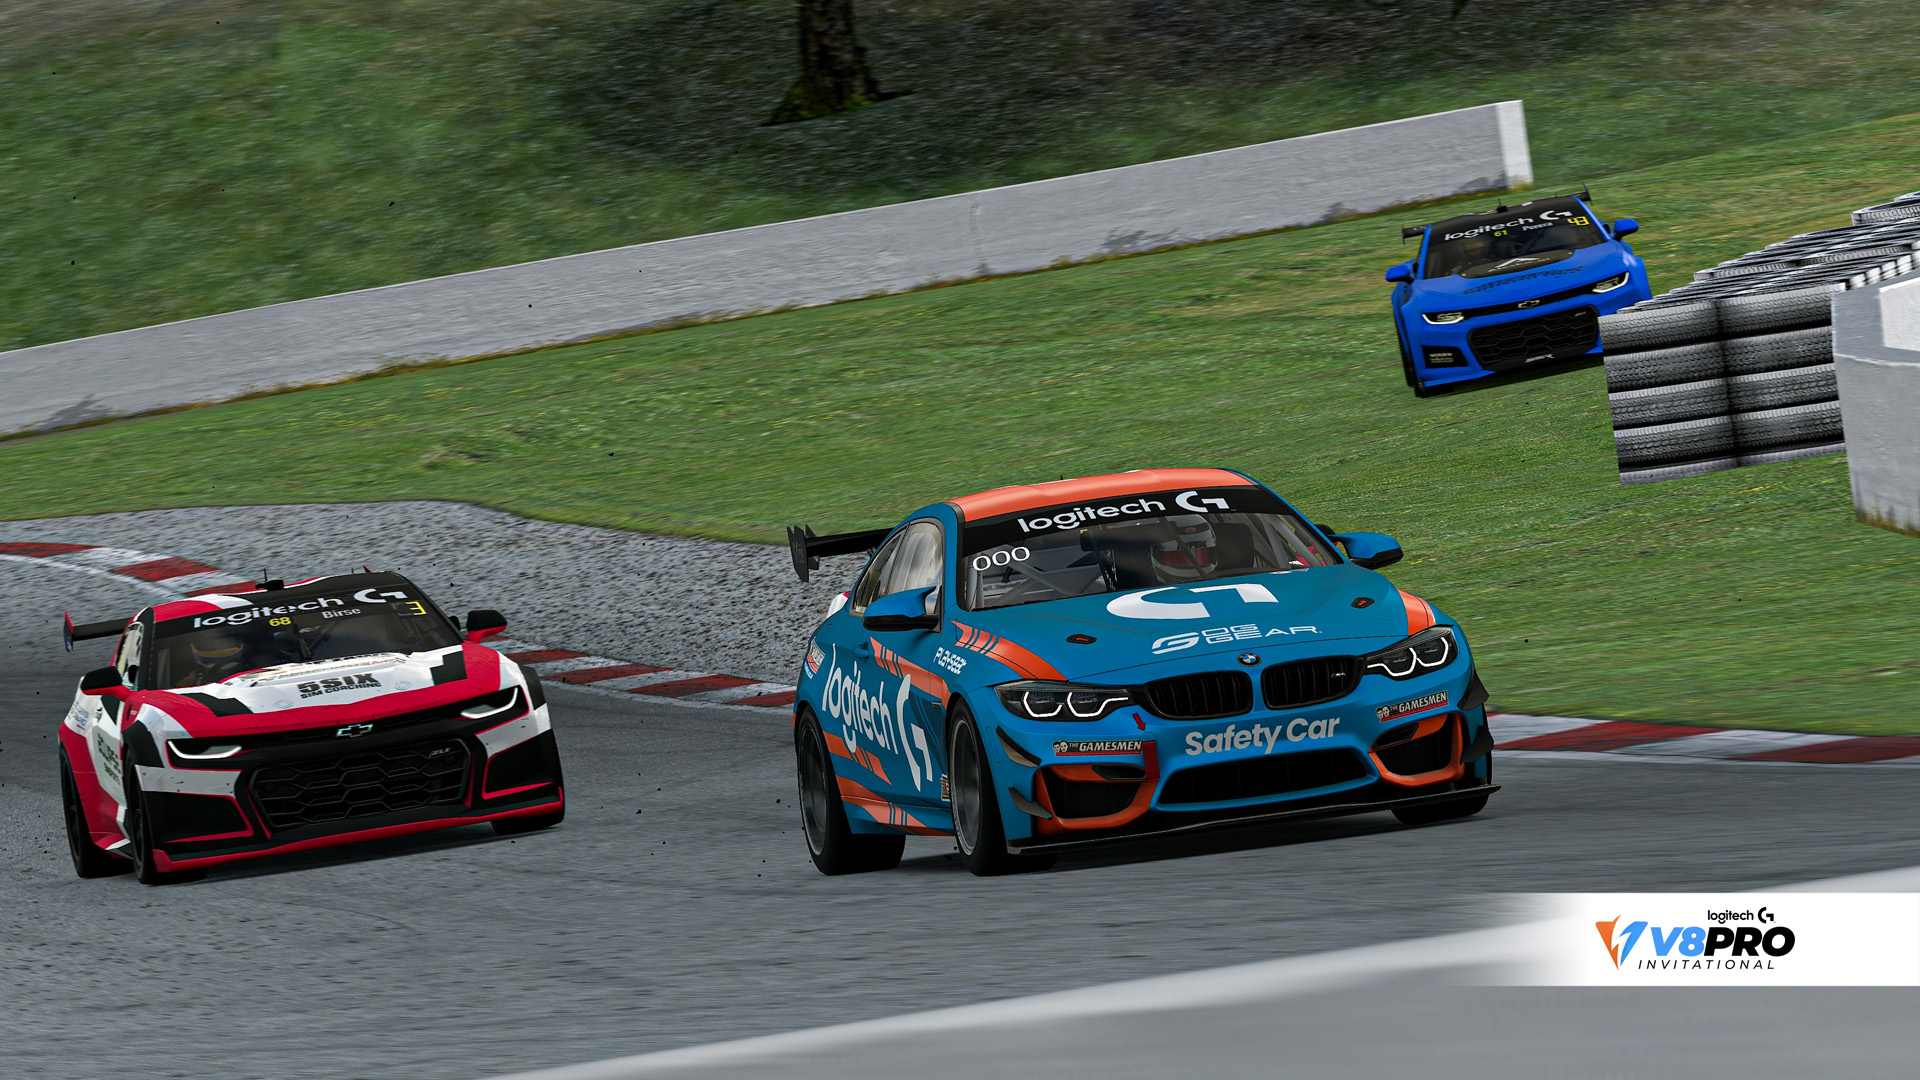
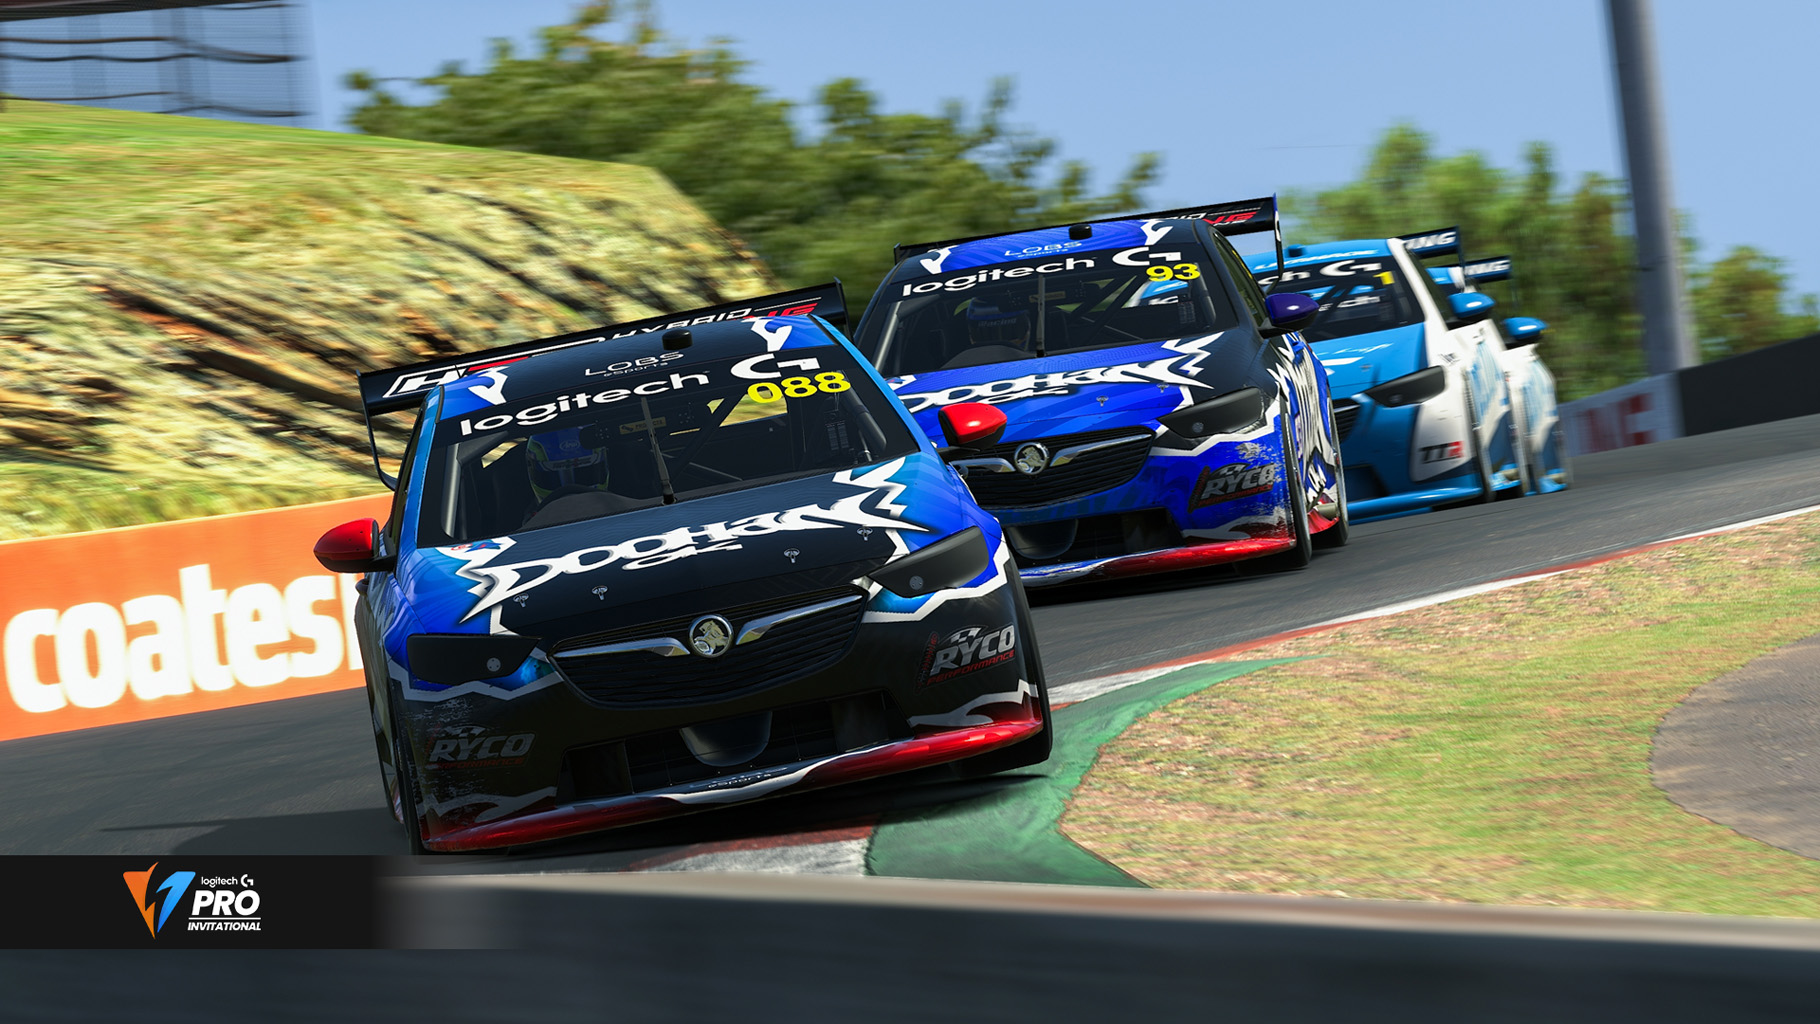
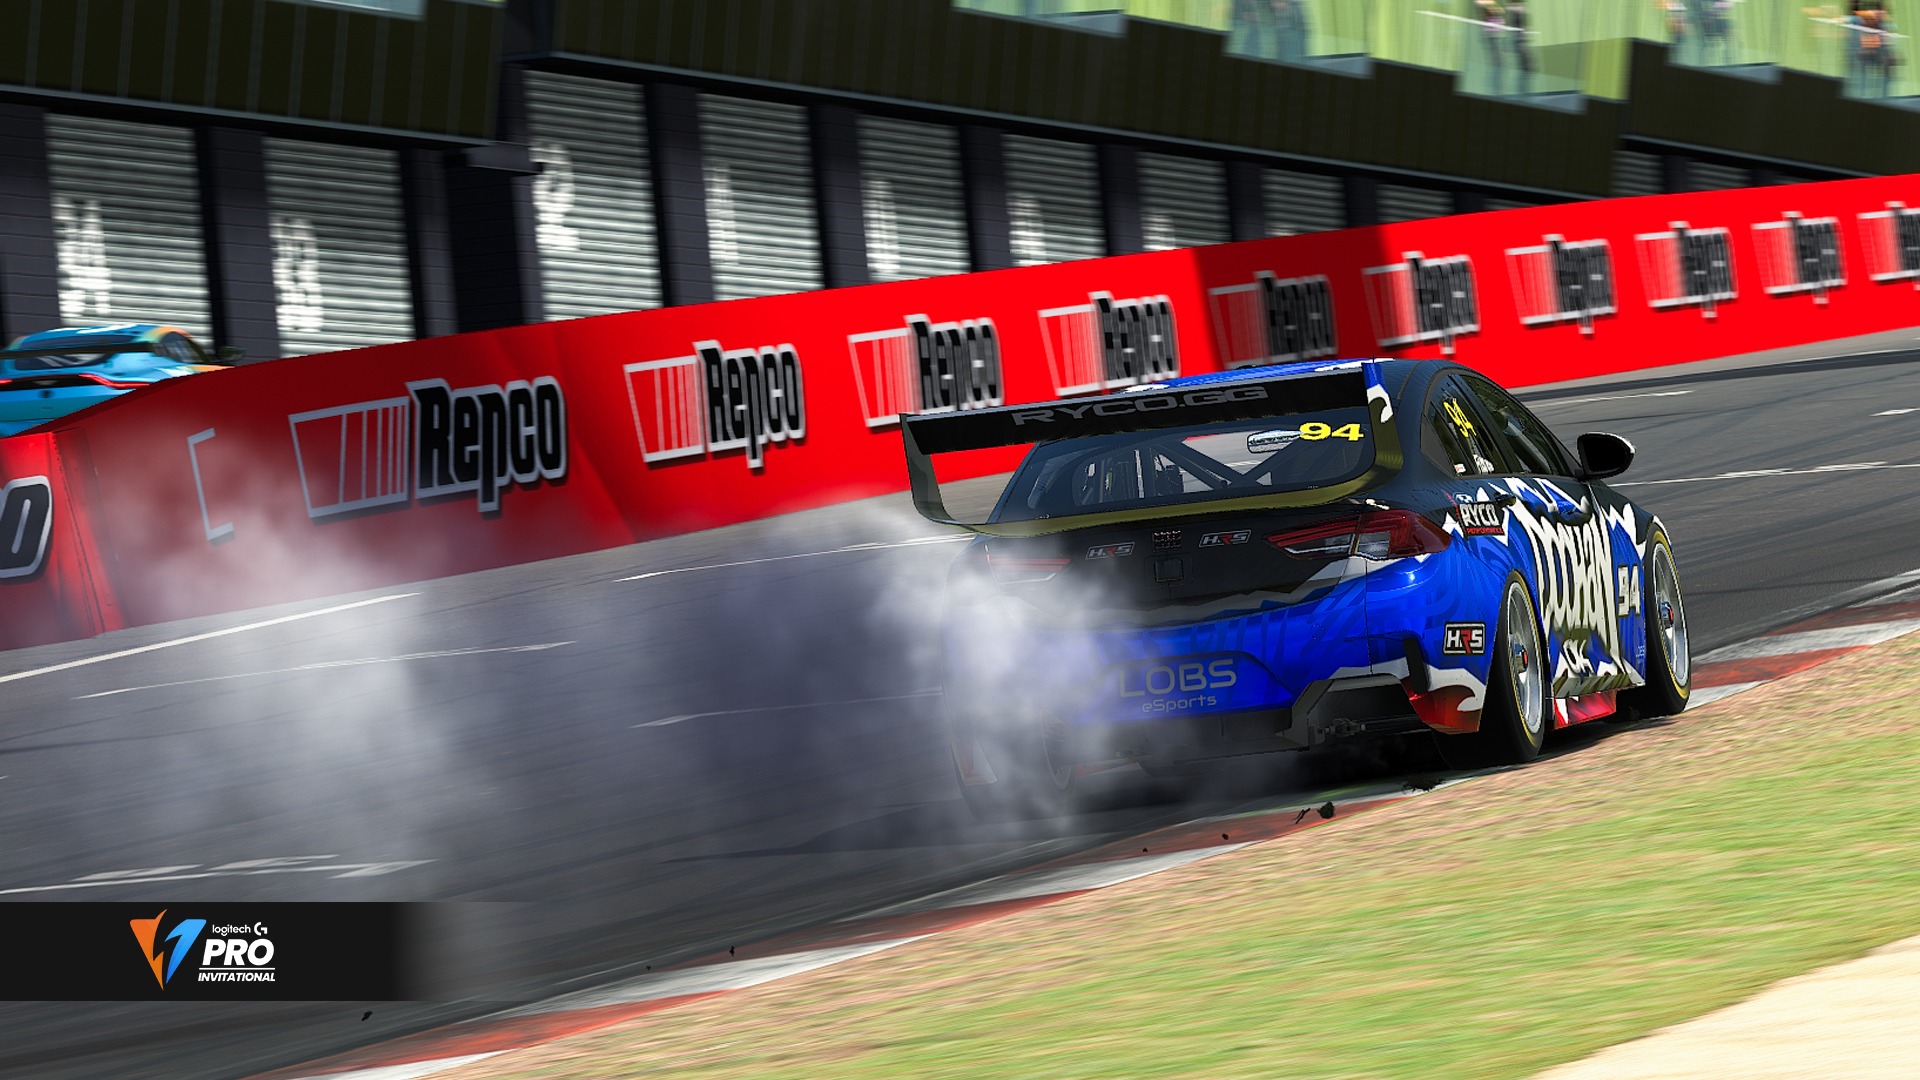
A Podium for Corey Shepherd in the Codriver Clash

Then there’s the race itself.

What's changed since the Sandown 500? Well we do actually have changes for the first time in a while, and we saw some of that Wednesday night.

Clutches now are more realistic and have potential to slip during the starting phase of the race. One of the criticisms (or is it perhaps advantages) of sim racing is that replicating identical conditions and drilling that home is much easier, however, that's not true to the real cars. Sebastian Varndell found that out the hard way as he stalled his car during the Co-Driver Clash and fell to the mid 20’s before recovering. Who will be prepared and adapt, and who will fall afoul?

Additionally, the tires now go through a Pre-Condtioning for the standing starts. This is somewhat akin to a formation lap and the warming processes that go on to try and allow for better initial launches over a stone cold, un-warmed tire. With the formation procedure for our race start on Sunday, this will have less effect than it will for subsequent rounds, but is still worth a note.

1000 kilometres presents a vast variety of challenges, not least of which is the track, the evolution, the fatigue and the racing. Strategy is going to be ever present on the build up to the final stint of the race.

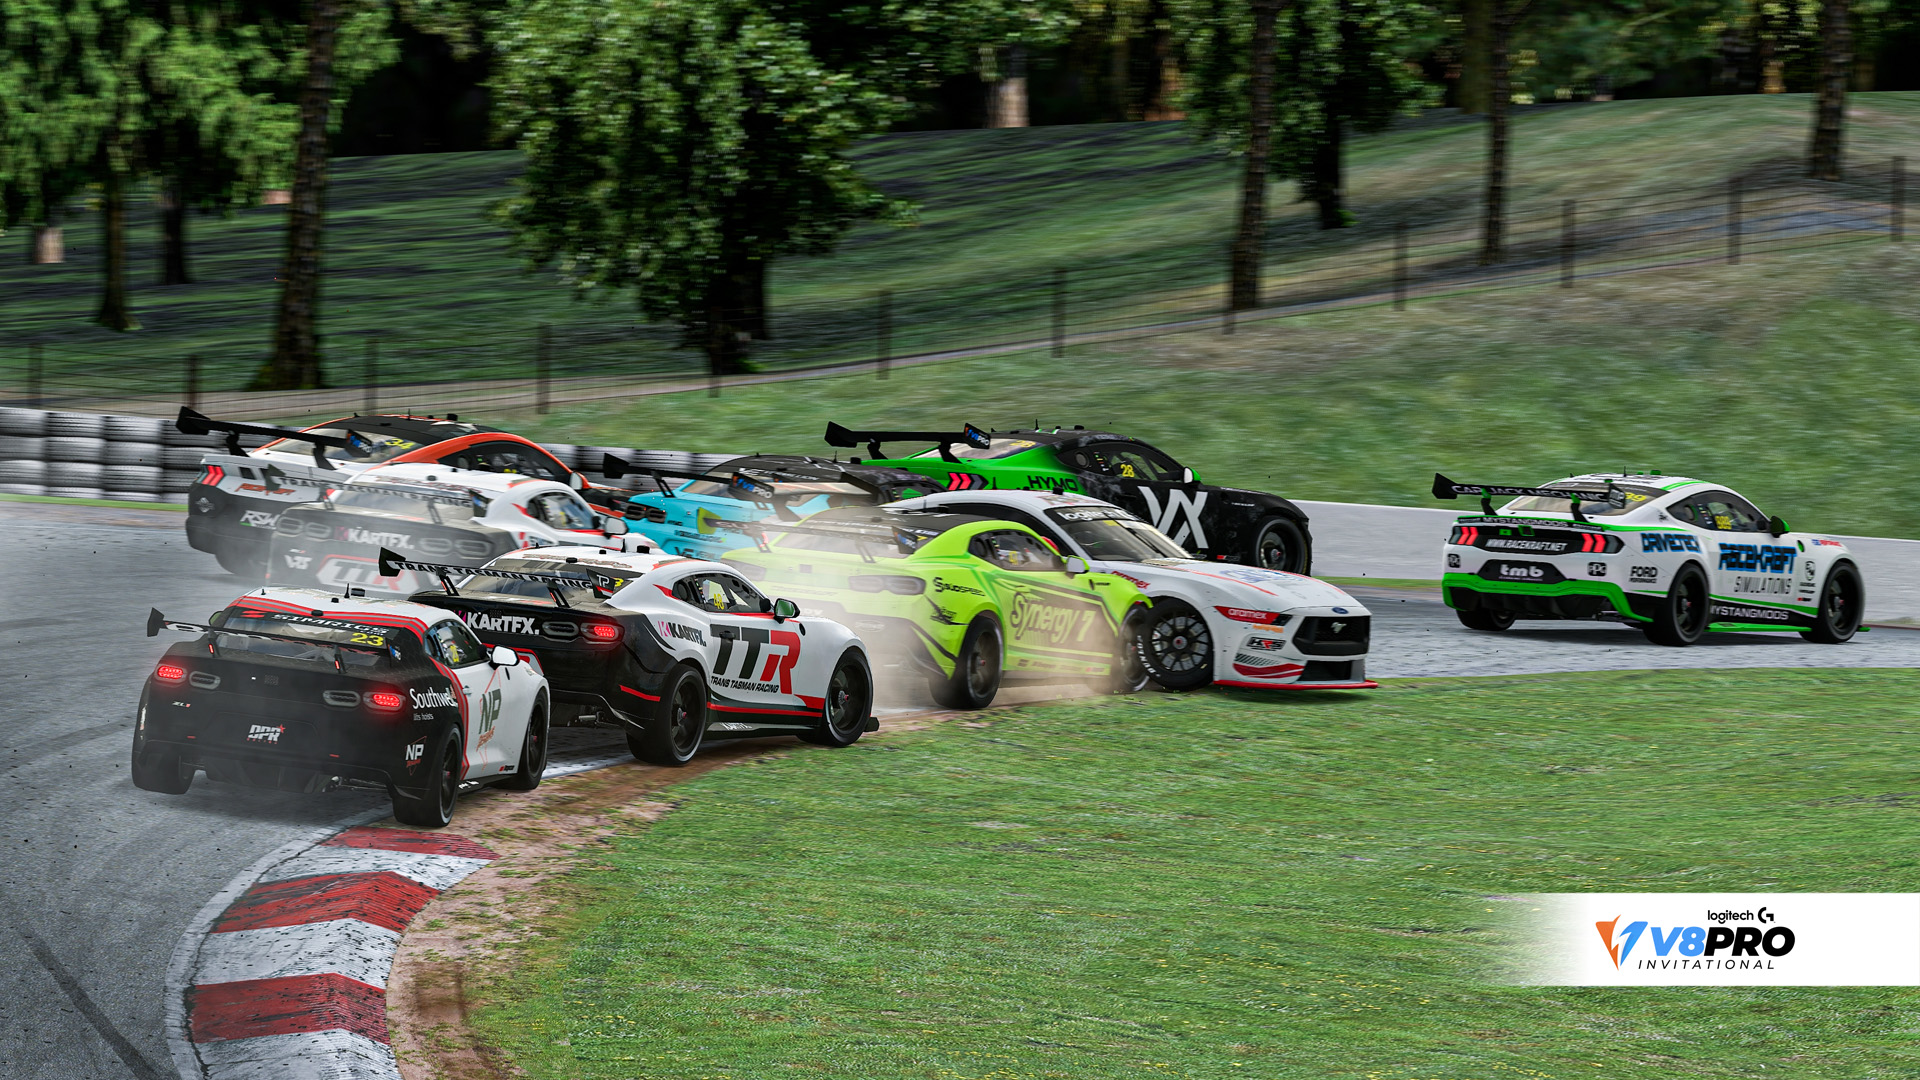
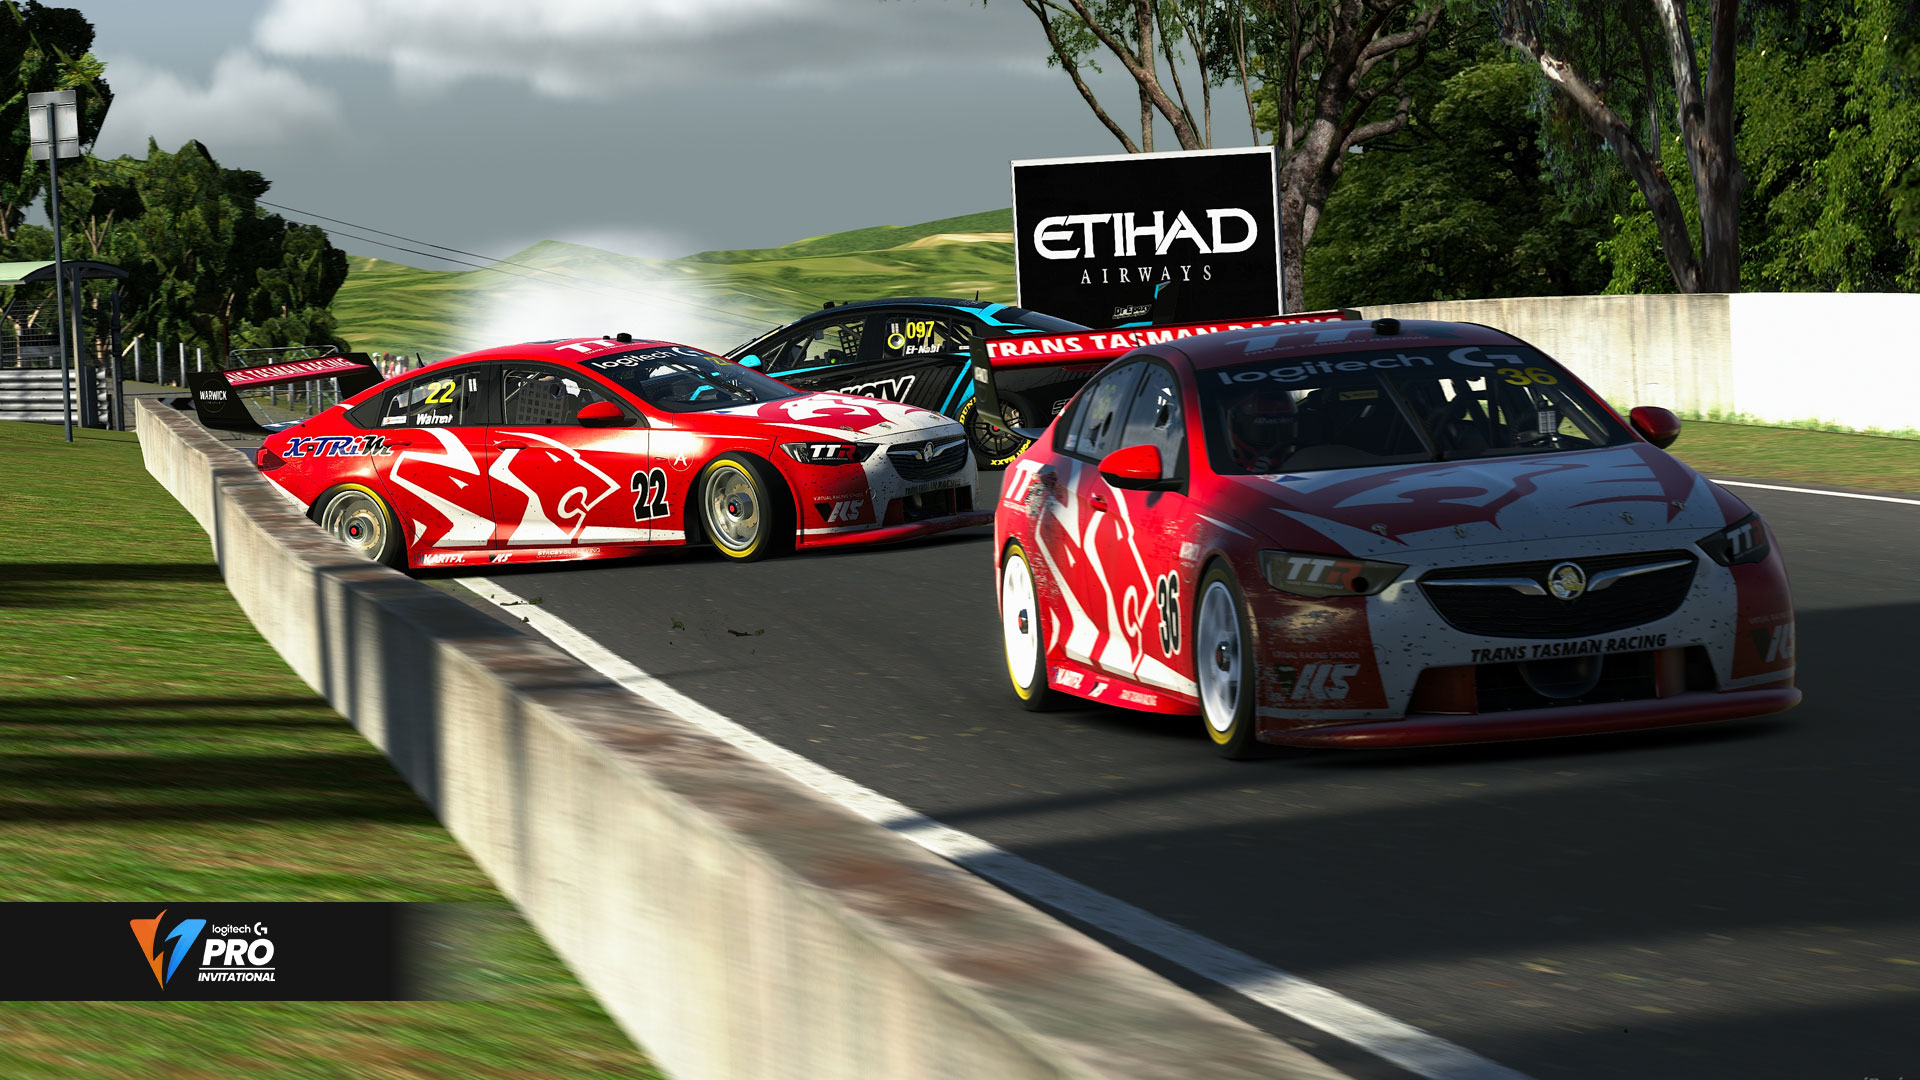
Lachlan Caple and Robbie Gipps will be back together for ERT

The rulings around the minimum and maximum driving requirements are the same as Sandown (which changed after I lodged my article for Sandown, Sorry guys!!!!). Both drivers must complete a minimum of 54 Laps and cannot drive continuously for more than 80.

You’re looking at 24-25 laps per stint, which means 80 is just over 3 stints, or around 3 hours of concurrent driving time. The prevailing strategy is to run your main driver for the first 1-2 stints, targeting a Safety Car around the lap 30-40 mark, run them all the way through to anywhere beyond Lap 98 and have the main driver finish the race from there.

That's the simple strategy, and what it doesn’t allow for is the human element of the race. Management of drivers and fatigue across more than 6 hours of racing is a major part, and it might be simpler to have your main driver focus on 2 faster stints at the end of the race instead of 3 at a more moderate pace. If you have a very strong co driver you can comfortable look to keep them in the car for a longer time period.

Drivers like Brodie Kostecki, Corey Shepherd, Dylan Birse, Ryan Wood, Kobi Williams and Lachlan Caple just to name a few will really open up the options for their partners and allow them to take a longer rest period.

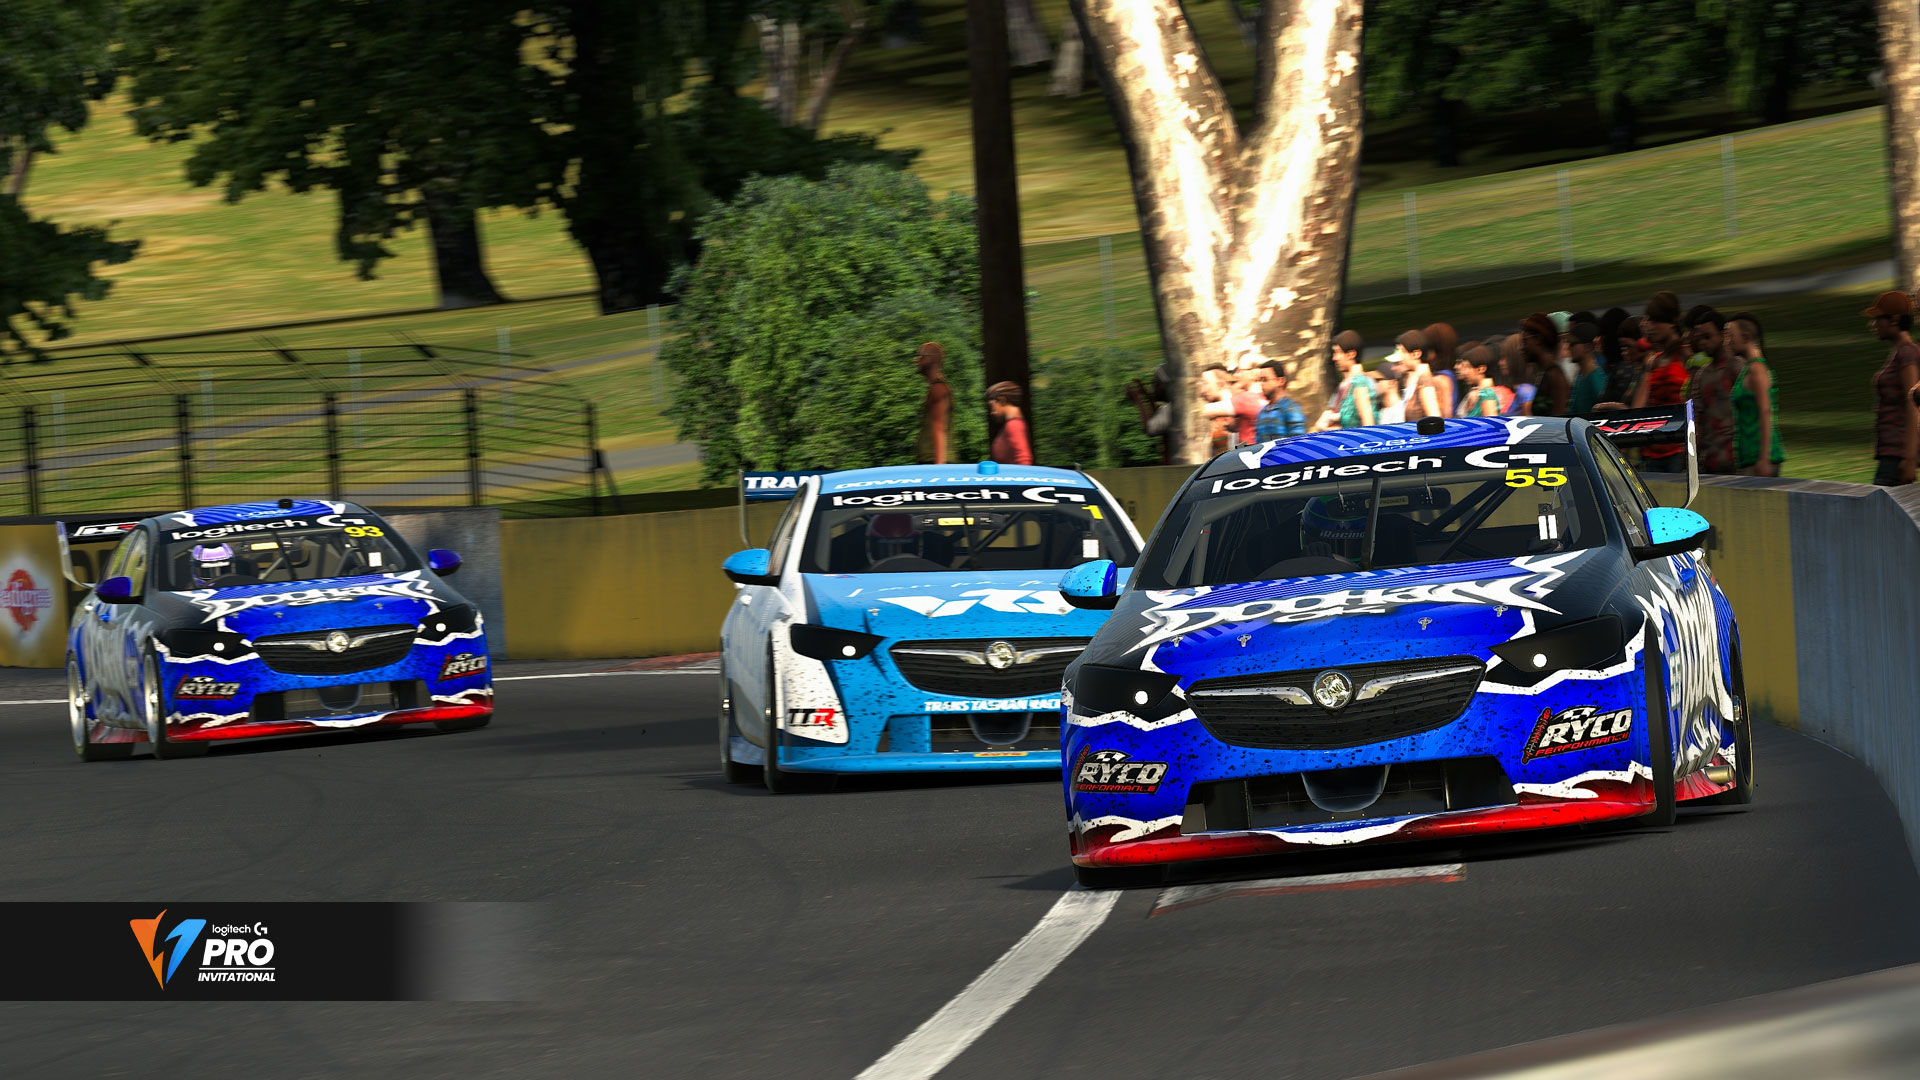
Dylan Birse must be considered one of the favourites alongside Griffin Gardiner

Now who are my picks for the Sunday? Who is going to get cursed?

As much as Brodie Kostecki appeared to have switched his Commodore for a Caterpillar Bobcat during the Co-Driver Clash Wednesday, he’s still going to be the best of the Co-Drivers. Pair that with the fastest driver on pace for the year and you have the most lethal combination in the field for 2024. The problem? Their aggression levels and lack of focus on pulling off the strategy. They could already have had 2 wins in the Endurance Cup, Jarrad could, and should, be leading the championship. Brodie should have won on Wednesday night and instead drove immaturely during a qualifying session to force a pitlane start and chaos. I can’t pick them to win the great race because that's too much to overcome. If they run the perfect race they will win, but it's still yet to happen as a partnership.

Madison Down and Rehan Liyanage are probably the next best of the picks in the field. Maturity, focus, speed and determination are what Madison brings to the table and Liyanage brings youthful exuberance, a never say die attitude and raw speed for someone so young. This combination of speed and awareness of the bigger picture will be their strength. Cooler heads tend to prevail. Stephen “Sandman” Clarke will claim this pairing as his pick for the race, just watch!

So my pick? The 2023 winner alongside a new co-driver.
James Scott will be joined by Ryan Wood for this round, with Anton De Pasquale stepping away this weekend. Scott and Wood both have speed, an ability to defend to the limit, and that pass on Brady Meyers for the win last year put them in good stead yet again. Scott is never far from the limelight, and will be wanting to take back a bit of momentum given he is all but out of the drivers title. Wood won on Wednesday as well to prove this combination’s ability to keep a cooler head in a race where everybody else was losing theirs.

Its the mountain, anything can and will happen and we can’t choose the winner. Keeping a clean car, mastering the strategy and “buying a ticket to the end” are just some of the keys to victory.

Only 1000 kilometres of racing will give us the end to this story, and I sincerely hope you join us for an expanded program on our Saturday night Shootout, then to the big show on Sunday!

Times for the weekend are as follows:

Saturday 21st September 

6.30pm AEST - Qualifying
7.10pm AEST - Porsche Cup Challenge Qualifying and Race
8.30pm AEST - Top 15 Shootout

Sunday 22nd September 

10.45am AEST - Grid Formation and Race

Published on

Related Articles

Bathurst “5 key points” presented by Thomas Hinns

Bathurst is set to host the final round of the Logitech G Pro Invitational Qualifying Series on Wednesday the 22nd of February deciding who will and won’t progress through to the 2023 official series.

Bathurst, undoubtedly Australia’s premier racing precinct, will test the best of the drivers ability. Only those with the sheer determination and patience will come out on top in the challenge of taming the 6.213 kilometre circuit.

This week, Thomas Hinns takes the keys to the track at Bathurst highlighting what is important around Mount Panorama.

Strong Qualifying:

Qualifying well is particularly important at Bathurst. Getting caught up in the pack early can cost you bucket loads of time or force you on to an undesirable strategy early trying to find clean air. Starting further back can also put you at heighten risk of being caught in incidents as the squabbling is always intense in the mid-pack, this track also generally amplifying them to be even more destructive than at others.

Smart driving early on:

With the extra difficulty the mountain provides to drivers, making the right moves early on is key to being there when it matters at the checkered flag. Making up a dozen spots in the first few laps is a great look for the stats sheet, but if doing so leads to damage or causing incidents which give you penalties, this is valuable time lost that will come back to haunt you when it’s crunch time in the closing laps of the race.

The fuel game

Strategy is always important in these longer races with multiple pit stops, the unique style of the mountain giving it an even bigger importance to who is crowned the victor at races end. With a multitude of opportunities to save fuel across the lap, several seconds can be cut off in the pits if you take advantage of these chances. Do you go -100 and save as much as you can, risking a repeat of the ultimate nightmare we’ve seen happen before? Or do you go flat out, pumping in those qualifying laps to make up time lost in the lane?

Risk vs Reward

Bathurst is legendary for being one of the most difficult tracks in the world, with walls within touching distance and elevation changes like no other circuit on the planet. Knowing just how close you can get to the concrete, lap after lap, without ending up as another highlight of how not to drive the mountain is crucial for finding those extra few hundredths that can be all you need to be up the front and staying there. Don’t overstep that mark though, as there’s very rarely a small crash at Bathurst.

Flipping the switch

Despite being two completely different styles of Motorsport, the Daytona 500 and Bathurst do have a few similarities. Smart driving, saving fuel and big crashes aside, a key point that links these two races is the ability to ‘flip the switch’ once the business end of the race hits. Setting yourself up to be there and then find that extra gear to go to when the all important final run to the flag begins is the difference between a top 5 finish and victory.

Published on

Related Articles

Bathurst in the Books: Bathurst 1000 Review

After 2 support categories, qualifying and our one shootout of the year, here we stand on the back side of another Bathurst 1000.

This one just about had it all, drama, champions bowing out early, unexpected moments at critical junctures and the very important middle bit where everyone spends their race putting together enough in race miles to “buy their ticket to the end”.

The top 15 Shootout on Saturday night was the perfect way to kick off the on track action for the majority of the main drivers. I am normally the kind of person who doesn’t enjoy the shootout, but this was one for the ages. Head over here to go watch.

Watch Top 10 Shootout

The pole position lap would be set by the second car to run, Brady Meyers, who was unable to show his true pace in the qualifying session earlier. As it would turn out, Brady would happen to run during the best conditions of the session early on and would manage to set his time during a calmer period, after which a strong headwind would kick up on Conrod Straight and reduce the possible top speeds through Australia’s fastest straight and corner.

James Scott would set a lap 13 Thousandths of a second back from Brady for the outside of row one for the big dance on Sunday.

161 Laps of the toughest tarmac in Australia awaits

One Thousand kilometres. One hundred and sixty one laps. The greatest piece of motoring real estate this country has access to. Eighty two of the best drivers this country can offer the endurance racing gods, and the only thing separating them from glory would be the next six hours of trials and tribulations.

The early running would be setup by most of the main drivers, who would be electing to get a stint out of the way early in order to allow the co-drivers to get them to lap 89, whereby it would be back over to the main drivers to the end.

James Scott would get the launch around the outside of Myers and steal the lead on the run to turn one. He would lead until the first Safety Car period of the day on lap 11, which would trigger first rounds of stops and the openings of the first strategy cards to be played by teams.

Co-drivers would be placed aboard a few cars at this early point, with most of the field electing to leave their starting drivers in. Critical changes would be to put Emily Jones, Ethan Warren and Thomas McMillan aboard the #8 TTR, #22 TTR and #94 Lobs eSports cars. Thomas McMillan would be a very late call up midweek to play co-driver to Jarrad Filsell.

The safety car made it's first appearance on lap 11

We became aware of an update to the #7 car at this period as well. Ethan Grigg-Gault would unfortunately find himself becoming badly ill across the course of the weekend, with co-driver Brad Ryan standing up to the challenge and taking on a bulk of the early efforts to try and rest Grigg-Gault for the end of the race.

McMillan from here would be boxed around the ears for the next 10 laps until he would pit in an attempt to get him out of an angry pack that looked set to explode into a race ending incident at any moment.

Kobi Williams would find himself in an interesting stoush with Harley Haber as Kobi would try to put his stamp on the battle and check up a host of cars in a fight for 16th place.

McMillan would be the first retirement of the day on lap 33 when an early downshift would grenade the engine of the #94 Lobs eSports car he would be sharing with Jarrad Filsell. With the amount of points on offer during the Trueforce Endurance Cup races this would have the added effect of ending Filsell’s run at championship glory too.

Engine blown and early exit for Filsell and McMillian

More pit stops and another drama as Hayden Sell would climb aboard the #19 entry he would share with Dylan O’Shea. Sell wouldn’t be aware of the location of the stricken McMillan car which was placed just at the exit of pitlane. Leaving the lane he would collect that car and end their day.

A long green flag run including 2 pit cycles would begin from here before the next Safety Car on lap 96, with the co-drivers doing the bulk of the hard work here. Supreme stints from Ryan Wood (partnering James Scott), Emily Jones (partnering Jake Burton), Ethan Warren (partnering Brady Meyers) and Dylan Birse (partnering Griffin Gardiner) would see these 4 move their way to the front of the standings and leave themselves in prime position for the run to the flag.

Of the top 10 cars at this point only Ryan Wood and Dylan Birse would be left in on co-driving duties as the teams elected to put primary drivers in for a thrilling final 3 stints to the flag.

A dark horse had been trending towards the front all day long. That of Sebring race winner Robbie Gibbs and up and comer Lachlan “Kid Capable” Caple had driven and strategized their way to 6th place on the road ahead of several extremely strong cars.

"only Ryan Wood and Dylan Birse would be left in on co-driving duties"

Ryan Wood would be passed by Jake Burton who would attempt to take off and disappear down the road on lap 106. Burton would have a slight strategy disadvantage after pitting earlier than the rest on the previous cycle and would need to try and build a margin to assist his chances of a victory.

Luke Rosella would start his charge towards the front of the field and in the penultimate stop would be one of the later drivers to come to the lane. This would set him up with a lesser amount of fuel to add at the final stop and would be critical to the end of the race.

From this point on it would be a mix of different fuel strategies and stop times. Brady Meyers would come to the lane with 42 laps to the end of the race and pit to come out in behind a group of early pitting cars including Josh Anderson, Fawzan El-Nabi and Ric Kuznetsov. El-Nabi and Kuznetsov would make contact going 2 wide into Reid Park with El-Nabi scraping the wall and collecting Meyers. Both drivers would recover without significant damage, but they would lose 10-15 seconds from the lead pack and effectively end their shot at a race win.

A scary moment at Reid Park involving El-Nabi and Meyers

Madison Down would throw a short fill a the car with 40 laps to go and attempt to force the hand of everyone around him. 

One of the interesting stories was Dylan Rudd and Gianni Lutzu. Lutzu sped into the pitlane on Lap 74, and this would drop them to the tail end of the field. Between serving the penalty and lap 130 they would drive back to 12th place. This is critical for their championship hopes as this would be the biggest opportunity to pull points back on our Championship leader.

Final stops would come through and leave Luke Rosella leading from Madison Down, but Rosella had underfilled to get the track position. Griffin Gardiner would also manage to place himself in the front trio and would swap paint with Down multiple times in the final stint as they raced for a Bathurst victory.

With the front 3 racing hard and trading paint Andrew Gilliam and James Scott would drive their way back into the lead pack.

Finally the move would be thrown from Madison Down at Murray’s Corner, but the defence from Rosella would be stout. In the process Down wouldn’t be able to get to the throttle early enough and Griffin Gardiner would dive down the inside on Lap 150.

In the dying laps the battle was on between Rosella, Down and Gardiner

The battle would continue to rage to the final lap of the race, but that would be the final throw of the dice we would see.

Luke Rosella would back up from his Sandown 2023 victory and manage to take a Bathurst 1000 win alongside Richie Stanaway for Lobs eSports. Griffin Gardiner and Dylan Birse would take 2nd place, with Madison Down in 3rd.

After 7 hours of coverage on the mountain we got treated to another blockbuster.

Jarrad Filsell would lose his opportunity to win another championship.

Co-drivers would prove key in the middle segment of the race for track position at the end. Strategy and Fuel Saving would prove key to being in the right place at the right time at the end.

Multiple “tickets to the end” would be bought, but only the ticket of Rosella and Stanaway would get punched to the top step of the podium!

Rosella and Stanaway crowned Bathurst Champions

The inaugural Trueforce Endurance Cup would also be won at the 1000, with the points required to overhaul Dylan Rudd’s lead achieved by Rosella. Congratulations to Luke Rosella and Richie Stanaway on both the 1000 and Endurance Cup victory!

That's not the end for 2024, we still have to decide our champion and our next race is headed to one of the most treacherous circuits to go racing at.

Join us on the 23rd of October from 7.30pm AEDT as we go Street Course Racing from Detroit Belle Isle. Will the concrete canyon bring our championship leader unstuck and open the doors for a last minute steal from the chasers? Be there to witness the action!

Published on

Related Articles

Bathurst Spotters Guide

Get to know all the cars in this weekends Bathurst 1000 as well as their power rankings coming into the biggest event of the season!

  • 04

    Verdict: 18.5/30

    Luke Mitchinson & Tyler Blackburn

    Team: RaceOnOz
    Strength: This team can put all of their focus on one car all race, one of only a few single car teams.
    Weakness: A bit of inexperience in the driver line-up, will need some things to fall their way.
    Speed: 5.5/10
    Experience: 6/10
    Safety: 7/10
    The Race On Oz car will be looking to survive until the end and use the safety cars to work their way up the field, unlikely to feature in the top 10 for the bulk of the race, the #04 could very well find itself in a top 10 position by the end. The team is experienced, and the drivers will have a lot of knowledge in their bunker looking at how to use strategy to jump positions. A top 15 result at the end will be a great result.

  • 8

    Verdict: 24/30

    JAKE BURTON & JORDAN SIBBERAS

    Team: Privateer
    Strength: Jake Burton is a take no nonsense, take no prisoners driver. He will make his mark.
    Weakness: Sibberas struggled at Sandown, he may struggle more at the mountain.
    Speed: 8/10
    Experience: 9/10
    Safety: 7/10
    Were sure Jake and Jordan have put a lot of preparation into Bathurst, as this rating does not reflect the speed and ability of car #8. We expect this car to feature heavily. The issue they will need to manage is when to put Jordan in the car as he got his ears boxed at Sandown and handed the car back to Jake in a position they were unable to fight back from. If the car gets handed back to Jake clean and with some sort of track position, expect to see this car make its mark.

  • 18

    Verdict: 20.5/30

    Leigh ellis & joe mugford

    Team: TTR
    Strength: Experience and part of a team that knows how to do these races. Will have a great setup.
    Weakness: Mugford hasn’t been around for a while and may not have his eye in yet. Ellis has had some hardware drama this season.
    Speed: 6/10
    Experience: 8/10
    Safety: 6.5/10
    Leigh has being around since day one, and has done a lot of racing in that time. Joe has stepped away for a while and when you get back into these cars, in this competition with a bunch of hardheads, it can be like a hornets nest. But if any team has the experience to deal with that, it’s this team. We know the car will be sorted. The #18 wont display the speed of the other TTR cars, but we expect it to be there at the end fighting for a top 10 or top 15 position.

  • 21

    Verdict: 25/30

    MARCELLO RIVERA & ROBERT GIBBS

    Team: Evolution Racing Team
    Strength: Speed, this car has speed!
    Weakness: Luck! This car has no luck! Pitstop dramas.
    Speed: 9/10
    Experience: 8.5/10
    Safety: 7.5/10
    Watch for this car, it will be fast. It is an A-B driver combo, but Gibbs is fast and in form. Marcelo is mega fast, has been all year. ERT have had a bunch of pitstop issues this year, if they can go all day without having pitstop issues, this car will be in the mix for a top 10, top 5 and maybe even a podium if things go their way. This is a genuine dark horse.

  • 22

    Verdict: 28/10

    BRADY MEYERS & EMILY JONES

    Team: TTR
    Strength: Speed, experience and TTR behind this entry. Brady is amazing at the mountain.
    Weakness: May be too aggressive too early, need to keep the car straight.
    Speed: 9.5/10
    Experience: 10/10
    Safety: 8.5/10
    This car is a genuine contender to win the race. Emily is a proven co-driver and will do her job professionally. She is as fast as a lot of the main drivers so they will have flexibility with safety cars if they fall at a bad time for them. Brady will jump in the car and drive the wheels off it all the way home. He will not leave on Sunday night wondering if he could have pushed harder. This is arguably the TTR to watch, but with at least 3 TTR cars in the mix for the win, they will be able to back each other. One of the favourites!

  • 25

    Verdict: 21.5/30

    COBY JONES & JAMIE MCKNIGHT

    Team: SSR/ WPC Racing
    Strength: A mix of youth and experience, the co-driver will keep the car straight.
    Weakness: Speed of McKnight may give Coby a hard position to fight back from.
    Speed: 6.5/10
    Experience: 7/10
    Safety: 8/10
    Coby Jones is a hard charger, but has suffered from crashes in this years championship. McKnight is a very safe pair of hands and will hand the car back straight. Coby will do the bulk of the race as this is an A-B combo. This is genuinely a car that has top 5 pace if the safety cars and strategy fall into place for the #25.

  • 28

    Verdict: 27.5/30

    RICHARD HAMSTEAD & ross rizzo

    Team: TTR
    Strength: A balance or experience, strategy, know-how and speed. This is a genuine contender.
    Weakness: A-B Combo may give Hamstead too much ground to make up.
    Speed: 8/10
    Experience: 10/10 (R.Hamstead 2 x SCOPS B1000 Winner, R.Rizzo 1 x SCOPS B1000 Winner)
    Safety: 9.5/10
    Hamstead is an immovable object once he gets in front, and a pest when he is behind. You will know when it is him in the #28. Rizzo is a safe and consummate professional and will do his job with no fuss. But will he have the ultimate pace to keep this car in contention? If there is one thing we know, Rizzo will read the strategy to keep this car in the game at the end, and if you give ‘Hammer’ a sniff late in the race, he will make it happen.

  • 36

    Verdict: 28/30

    JOSH ANDERSON & JOSH Muggleton

    Team: TTR/ Cooldrive Racing
    Strength: This is an A-A Driver combo, flexibility and speed, won’t get involved in drama.
    Weakness: Some unforced errors this year may cause concern
    Speed: 9.5/10
    Experience: 9.5/10 (J.Anderson 1 x SCOPS B1000 Winner)
    Safety: 9/10
    This is one of the most experienced and well credentialed line ups in the field. Muggleton will apply himself well and be as fast as any main drivers, whilst Anderson is a frontrunner. This team wont get involved in scrapping early in the race and will focus on the business end. With a double A pairing, they have flexibility in strategy which may just be their winning ticket!

  • 47

    Verdict: 21.5/30

    kurt stenberg & AARON BORG

    Team: TTR
    Strength: Experience, and speed on its day, part of TTR, car will be well prepared.
    Weakness: Co driver is not driving these cars all the time, may suffer at Bathurst.
    Speed: 7/10
    Experience: 8/10
    Safety: 6.5/10
    The #47 is hot and cold. On its day, Kurt can mix it with the best out there, but on other days he can be buried in the pack. If Kurt can qualify the car well, and Borg can maintain a reasonable track position, this car can make an impact. Aaron Borg will be the question mark though as he is not a current driver of this car, but he has experience and a history of getting the job done. We suspect Borg will be up to pace for the race and that will serve this cars chances well. Kurt will do the bulk of the race. A top 10 is not out of the question.

  • 55

    Verdict: 25.5/30

    luke rosella & HAYDEN VELD

    Team: SSR/ WPC Racing
    Strength: Fresh off a confidence building podium at Sandown, youthful exuberance.
    Weakness: Co driver change for the #55 could throw a spanner in the works.
    Speed: 9.5/10
    Experience: 8/10
    Safety: 8/10
    Luke Rosella is a driver on the rise. Energetic and hardworking, Luke has taken that next step and paired with Veld, a super quick up and comer, they will definitely feature near the front. They will have to pick their battles and ensure they are there at the end. This car is a real shot at this race, make no mistake.

  • 56

    Verdict: 20.5/30

    RAYNER COSTELLO & BAILEY FRIDD

    Team: Evolution Racing Team
    Strength: Great team working the strategy, a solid driving combo well matched.
    Weakness: Have missed a few rounds and has hindered progress. ERT had pit stop issues.
    Speed: 7/10
    Experience: 7/10
    Safety: 6.5/10
    Another team that will slip under the radar. Costello is a rising star but has been hampered by inconsistency all season. Fridd is a no hassle professional and will do whatever he is called on to do during the race. This will be an A-A pairing, so strategy should work in their favour. They won’t display the front running pace of some of their team cars and may be called on to support as we know ERT do, but they are a top 10 car in their own right.

  • 58

    Verdict: 22.5/30

    JACK boyd & glen postlethwaite

    Team: SSR/ WPC Racing
    Strength: Jack is a Bathurst specialist, and in endurance races finds good long stint pace.
    Weakness: Their qual speed may relegate them to having to fight their way through the pack, increasing their chance of race ending damage.
    Speed: 7.5/10
    Experience: 7.5/10
    Safety: 7.5/10
    Pozzie is a well credentialed and experienced, and Boyd comes into his own in longer races, if this pair has a strong race, don’t be surprised to see them feature deep inside the top 10. They have flexibility with strategy as both drivers are similar pace, so they may be in a position to benefit from a safety car that falls at an akward time.

  • 63

    Verdict: 21.5/30

    BLAKE WORBOYS & kristian smart

    Team: WK & P
    Strength: Single car entry, all focus on the #63. No fuss line-up.
    Weakness: Won’t have the speed needed to fight at the front.
    Speed: 6.5/10
    Experience: 7/10
    Safety: 8/10
    Worboys has improved all season and is establishing himself as a quality and trusted driver to race against. Kristian is experienced and will get the job done for Blake to do the bulk of the race. Likewise with other single car teams, the whole team will be focussed on this car, and these guys will have circled at top 10-12 as their target, and that’s totally achievable for this car.

  • 66

    Verdict: 19/30

    adam hayne & dave kirby

    Team: Send It Sim Sports
    Strength: Great under the radar combo in good recent form.
    Weakness: Speed won’t be of the front runners, will have to fight in the pack.
    Speed: 6/10
    Experience: 6/10
    Safety: 7/10
    This pairing of Adam Hayne and Kirby has been in great form recently. They have both stepped up, along with the team. Send It Sim Sports have great straight line speed and this will be beneficial at Bathurst for this duo. It’s pretty even so there should be strategy flexibility which will work in their favour. This is a car that we think will surprise some people and pop up out of the shadows at the end if they can keep clear of the drama.

  • 72

    Verdict: 20/30

    Benjamin Smith & Ben Rothberg

    Team: Evolution Racing Team
    Strength: Solid pairing, good understanding of what they need to do.
    Weakness: Will have to run the bulk of the race in the pack.
    Speed: 6.5/10
    Experience: 7/10
    Safety: 6.5/10
    The #72 will start the race with the intention of keeping their nose out of battles they don’t need to be in. A good balance of experience and know how in ERT will mean they know exactly what they need to do in the race to be there at the end. They won’t be pushing low percentage moves, and they should arrive at lap 100 with a clean car ready for the run home. Smith will do the bulk of the race, but Rothberg is still fast and capable as a co-driver.

  • 76

    Verdict: 20.5/30

    greg favelle & Rehan Liyange

    Team: Taipan ESports
    Strength: Single car entry, single focus. Good speed, Rehan is a star of the future.
    Weakness: Won’t want to get caught in pointless early race battles.
    Speed: 6.5/10
    Experience: 6.5/10
    Safety: 7.5/10
    The oldest full time driver and youngest driver in the series. At Sandown, this duo did a fantastic job with Rehan showing maturity beyond his years to race smart against well credentialed opposition. Greg has shown speed on occasions, so it will be interesting to see who does the lions share of the driving. But we suspect it may be a pretty even spread across the two drivers as this unusual combo are similar on pace. This gives them flexibility, watch for this car as we don’t know what to make of it, but we suspect it may spring s surprise.

  • 77

    Verdict: 28/10

    madison down & Corey Shepherd

    Team: TTR/ VRS Racing
    Strength: Any team with Madison Down in it has a shot at the win, this car will be ready to fight.
    Weakness: Hard to find a weakness here, but may feel the pressure of leading TTR.
    Speed: 9.5/10
    Experience: 10/10 (M.Down 2 x SCOPS B1000 Winner)
    Safety: 9.5/10
    Madison Down needs no introduction, make no mistake, this car WILL fight to win, it has every chance at winning. With the A – A combo, Madison will be hoping Shepherd can keep the car in the fight whilst he completes his laps so that Madison’s fight for the win is that much easier, and Shepherd is as fast as anyone so that boxed is ticked for this car. No matter where the car is when Mads jumps in, expect to see the #77 in a fight to the death!

  • 080

    Verdict: 18/30

    Jamie dike & blake delaney

    Team: Fishy Motorsports
    Strength: Single car entry, experience in the pit bunker and some crafty masterminds in the team.
    Weakness: This car may suffer from outright pace, it has struggled with speed for 2022. Dike has suffered hardware malfunction this year.
    Speed: 5/10
    Experience: 6.5/10
    Safety: 6.5/10
    The Fishy team has many minds behind the scenes with a good grasp on strategy and how to use what comes their way to their advantage. This car probably won’t feature at the top of the time sheets and realistically, a top 15 finish will be a good day. Keeping it clean and utilising their strengths will come in handy for the Dike/Delaney combo. Staying out of battles and bringing it home will be their goal.

  • 84

    Verdict: 21/30

    Sebastian Flock & Scott Gamble

    Team: Evolution Racing Team
    Strength: Under the radar, fast and consistent, no one will be expecting them.
    Weakness: Been involved in a lot of skirmishes this season, will be looking to stay clear of drama.
    Speed: 6.5/10
    Experience: 7.5/10
    Safety: 7/10
    Flock and Gamble are very well matched, and in form drivers. They won’t have the pace of the top guys or their more established team mates, but this is a seriously under rated driver combo. Gamble has been on the up and up for a while now, whilst Flock has also started to kick goals. This is a genuine top 10 car at the end of the day, whilst they will run in the pack for the majority. They will keep it clean and focus on the part of the race that matters.

  • 88

    Verdict: 25.5/30

    brenton hobson & damien johnstone

    Team: SSR/ Smith & Sons Racing
    Strength: Hobbo circles Bathurst in his calendar and always performs well at the mountain.
    Weakness: Car 88 will be fast, but it might not have the outright pace for the leaders.
    Speed: 8.5/10
    Experience: 8.5/10
    Safety: 8.5/10
    Hobbo88 as he is known throughout the iRacing community is a Bathurst die hard! Paired with a strong and consistent Damien Johnstone, this pairing will tick off the laps and not get involved in pointless battles so that they can fire a shot at the end. Expect to see the #88 emerge out of the shadows when it matters late in the race, a podium will be their aim. If it becomes a fuel economy race, look out!

  • 89

    Verdict: 28/30

    wayne bourke & james scott

    Team: SSR/ Smith & Sons racing
    Strength: Second to none in preparation and readiness, strong strategy and strong pace.
    Weakness: Aggressive and bold moves in the pack may hinder their progress
    Speed: 9.5/10
    Experience: 10/10 (J.Scott 1 x SCOPS B1000 Winner)
    Safety: 9.5/10
    This is another genuine contender for the race win. Part of the SSR juggernaut, this car will be prepared and ready for the big race. Both drivers and fearless and mega fast, this is another rare A+ - A+ driver combo and will have strategy flexibility. This car is a genuine shot at the win, this car will feature all race long. Watch the #89.

  • 93

    Verdict: 22.5/30

    griffin gardiner & damon woods

    Team: Privateer
    Strength: Strong driver line-up, single focus. Don’t have to help any team mates.
    Weakness: Will battle in the top 10-15, but on their own.
    Speed: 8/10
    Experience: 7/10
    Safety: 7.5/10
    Gardiner was the pillar of consistency early in the season, but that has come undone recently. Bathurst will be the race he circled to get things back on track. Capable of podiums and regular top 10 results, this car will run in the 15 for the majority of the race. Woods will get the job done, and he will do it with speed. This is another dark horse. If it becomes a battle between the big teams late in the day and the top blows off, this car could be in a position to capitalise.

  • 94

    Verdict: 30/30

    jarrad filsell & dayne warren

    Team: SSR/Boost Mobile Racing
    Strength: This driver pairing is eye watering fast.
    Weakness: Having a target on their back by being short priced favourites. Complacency.
    Speed: 10/10
    Experience: 10/10 (J.Filsell 3 x SCOPS B1000 winner, D.Warren 1 x SCOPS B1000 winner)
    Safety: 10/10
    This combination is undoubtedly the car to beat. They will be looking to blow the competition away with pure speed and everyone knows it! Frankly, if the race goes smoothly for car 94, they look almost unbeatable. BUT, this is Bathurst, and things do go wrong!

  • 96

    Verdict: 21/30

    bRAD Ryan & Dan Hall

    Team: Evolution Racing Team
    Strength: Fast and experienced, great team behind them with knowledge.
    Weakness: Brad has been the most unlucky guy this season.
    Speed: 7/10
    Experience: 7/10
    Safety: 7/10
    Brad has walked under 10 ladders or something this season. Hindered by some questionable Race Control calls and been involved in other peoples crashes. But he remains fast and Bathurst is the place where he can take something away from the season. This is an A-B Combo, but Dan Hall is very capable and won’t do any high risk moves. This is a good car, solid team and won’t be beaten easily.

  • 096

    Verdict: 18.5/30

    hayden harrison & Christopher Ireland

    Team: Send It Sim Sports
    Strength: Under the radar, solid speed, good team behind them. Four cars running so can have help if needed.
    Weakness: Poor qualifying and having to race in the pack increases chances of drama.
    Speed: 6/10
    Experience: 6.5/10
    Safety: 6.5/10
    Harrison is a man on the rise. He has had some impressive runs in 2022, but will be looking forward to the endurance races so he can show what he can do. Harrison was away for Sandown, and Ireland had some early contact which is the exact opposite of what you want at the start of a long race. So if they can find their own spot on the track, a top 20 is easily achievable.

  • 97

    Verdict: 27/30

    SHANE VAN GISBERGEN & BRAD NEWMAN

    Team: Binfield Racing by Brookvale
    Strength: SVG, SVG, SVG! Need we say more?
    Weakness: A-B Combo, Brad is fast and capable, but SVG is the clear leader.
    Speed: 9/10
    Experience: 10/10
    Safety: 8/10
    Simply, this car will run a simple strategy. Brad will do the start, SVG will hop in and do what he does. The two time Bathurst 1000 winner will be looking to dominate all forms of the Mountain in 2022. Dark Horse or one of the favourites?

  • 99

    Verdict: 28/30

    Brodie Kostecki & cooper murray

    Team: SSR/Boost Mobile Racing
    Strength: Huge amount of real life experience and know how, very smart and cunning operators.
    Weakness: Strategy has caught car 99 out on some occasions in 2022.
    Speed: 9.5/10
    Experience: 10/10
    Safety: 8.5/10
    The 99 SSR/Boost Mobile car is definitely a real challenger for the race win. Cooper is very fast, but probably not quite at the pace of Brodie, if they are there at the end, they will try to win the race no matter who they are battling. There has been some hardware problems for Brodie in 2022, let’s hope that doesn’t hinder their Bathurst campaign.

  • 143

    Verdict: 25.5/30

    jordan ross & adam briggs

    Team: SSR/ WPC Racing
    Strength: Very capable driver line-up that will get the job done.
    Weakness: Won’t display the outright pace of the front runners.
    Speed: 8.5/10
    Experience: 8.5/10 (J.Ross 1 x SCOPS B1000 Winner)
    Safety: 8.5/10
    Car 143 has an experienced driver combo capable of a podium if things fall theoir way. They wont have the ultimate pace of the very front running cars, but look to see this car run in or around the top 10 hassle free for the bulk of the race, and as we know, anything can happen at the end!

  • 151

    Verdict: 19.5/30

    josh thomas & RILEY BILSON

    Team: Send It Sim Sports
    Strength: No expectations, Solid and capable pairing, good straight line speed.
    Weakness: Too inconsistent and hasn’t really fired a shot in this years title so far.
    Speed: 6.5/10
    Experience: 6.5/10
    Safety: 6.5/10
    Not many people will have circled the #151 in their predictions for a great result, but this combo is very capable of getting it done. Thomas has missed a few rounds this season which has hurt his progress, but a good Bathurst result will turn it all around. Bilson is a fast and experienced campaigner who will have no problems matching the pace of Josh, so they won’t need to worry about who is in the car which is a good option to have. Look to see this car feature in the top 15, a top 10 is achievable.

  • 177

    Verdict: 26/30

    ETHAN GRIGG-Gault & bradley vaughan

    Team: Evolution Racing Team
    Strength: EGG is relentless, no matter when he gets in the car, he will push it to the front.
    Weakness: This season has seen too many mistakes taking the 177 out of contention.
    Speed: 9/10
    Experience: 9/10
    Safety: 8/10
    Ethan is like a dog with a bone at the mountain. He won’t give up and he will charge every second he is behind the wheel. Vaughan will do his job, were sure he knows he needs to hand the car over to Ethan with good track position and straight panels, but if the safety cars fall at the wrong time, it won’t hurt to leave Vaughan in the car. EGG has recently returned to form and will be looking to secure a podium, if not the win this weekend.

  • 201

    Verdict: 26/30

    andrew gilliam & jobe stewart

    Team: Pursuit Sim Racing
    Strength: The team is well versed in these races, fast and a genuine contender. A lot of know how in this team.
    Weakness: Being a single car team going up against a pack of rival team cars will make it hard.
    Speed: 9.5/10
    Experience: 8.5/10
    Safety: 8/10
    This car will be a contender for pole position and it will run strongly in the race. This team can focus on a single entry. Stewart has been in great form and will be a strong co-driver. At times, Gilliam has snatched defeat from the jaws of victory with some unforced errors. If they can have a clean race, this car WILL contend for outright line honours. Its overall rating doesn’t reflect how fast this car will be.

  • 208

    Verdict: 20.5/30

    chris coxhead & henry king

    Team: Team Jinx Shifters HJR
    Strength: Experience, Experience, Experience! Strategy masterminds.
    Weakness: Speed. King will need to get up on the wheel at the Mountain.
    Speed: 5/10
    Experience: 9/10
    Safety: 6.5/10
    Coxhead is a solid and fast driver. Make no mistake, he is very capable and will take his opportunities. King is very experienced and a strategy genius, but his speed is off where it needs to be to keep the #208 in contention. King will play it safe, and hand back a clean car, but will Coxhead have to dig out from deep in the pack. However, if they can use strategy to get their track position back, Coxhead will have a red hot go.

  • 209

    Verdict: 22/30

    Brett loxton & thomas hinss

    Team: Team Jinx Shifters HJR
    Strength: Good experience, even on pace, aggressive to make their way through the pack.
    Weakness: Aggressive in the pack may make or break them.
    Speed: 7/10
    Experience: 8/10
    Safety: 7/10
    Loxton is a name that will forever pop up amongst the better drivers of the Supercar. This season hasn’t gone to plan, but Bathurst is the time to remind everyone what he can do. He is capable of racing right at the very front, so a top 10 result will be what these guys are expecting, and they will be pushing for a top 5. Speed of late for the HJR cars hasn’t been great, but Bathurst is its own beast. Hinss is aggressive in the pack, which can go for or against you. If Hinss can pick his moves, they should be in the mix. Even on pace so they will have flexibility. Watch this car.

  • 707

    Verdict: 23/30

    tom freer & jamie stovold

    Team: SSR/ WPC Racing
    Strength: One of the very best fuel savers in the business, crafty strategy.
    Weakness: May not have the aggressive moves to make positions at the end
    Speed: 7.5/10
    Experience: 7.5/10
    Safety: 8/10
    The 707 is another A – B combo with a clear main driver. Stovold is someone that will hand back a clean car with not a scratch on it with no fuss, and Tom is second to none when it comes to fuel saving. If it is a fuel tight race, this car will pop up at the end in a good position. Tom is also capable on pace of running deep inside the top 10, so don’t be surprised to see this car in the battle at the end.

  • 888

    Verdict: 24.5/30

    Ric Kutnetsov & Brian Borg

    Team: Premier Racing Team
    Strength: Good balanced driver line-up, experience and strategy experts.
    Weakness: Single car entry may have to fight multi car teams.
    Speed: 8/10
    Experience: 8/10
    Safety: 8.5/10
    Premier Racing Team always turns up at the mountain well prepared. Kuznetsov is a young gun on the rise, and he will be pushing the top teams in terms of lap times. Borg knows his job and will be looking to maintain track position from a healthy qualifying result so that he can give the car back to his young charger. Expect to see Borg start the race with his experience, and Ric to bring it home. This is a genuine dark horse for a podium result.

  • 951

    Verdict: 22/30

    Shawn McNamara & hayden sell

    Team: 9ine 5ive Simsports
    Strength: Youth and experience. Fast and fast.
    Weakness: Co-driver maybe a little too on edge at times, will be looking to tame it down for the race.
    Speed: 8/10
    Experience: 7/10
    Safety: 7/10
    It will be really interesting to see how this car goes. Sell is fast and has been putting in the laps, preparation has been strong. McNamara likewise, safe, fast and capable of running in the top 10 on his own. We think this car is somewhat of a dark horse, maybe not for the win, but a top 5 is possible. The car will run inside the top 15 for the bulk of the day.

  • 990

    Verdict: 24.5/30

    Dylan Rudd & gianni lutzu

    Team: 9ine 5ive SimSport
    Strength: Rudd is fast, and has taken the next leap forward.
    Weakness: A-B Driver combo may limit strategy options.
    Speed: 8/10
    Experience: 8/10
    Safety: 8.5/10
    Rudd is a guy that has improved out of sight throughout this season. He has been the best of the rest against the big juggernaut teams and has held his own. Rudd races smart and knows that to win, you must first finish. Lutzu is improving every race in the v8, but he may lack a bit of pace against the field on Sunday. If Lutzu can keep to his own and retain some track position, don’t be surprised to see this car on the podium. We think this car is a top 8 car for sure, keep an eye on the #990.

  • 994

    Verdict: 18/30

    MATTY JONES & BRADY BALDWIN

    Team: Send It Sim Sports
    Strength: Under the radar, solid speed, good team behind them.
    Weakness: Won’t have the outright speed, may need to stay out of battles.
    Speed: 5.5/10
    Experience: 6.5/10
    Safety: 6.5/10
    One of four cars in the Send It Sim Sports stable, Baldwin has impressed on occasions in recent times. This pairing will be looking to have Baldwin in the car for the majority of the race and have the co-driver out as soon as practical. They have good tyre life and good straight line speed, so a top 20 will be a good result, but capable of more. They are close on pace so they will have safety car options.

Published on

Related Articles

Blake Worboys: 5 Keys to Success at Winton

Winton is a tight and technical track with one of the slowest average speeds on the calendar. Qualifying is imperative and passing will be at a premium so it will be full elbows out warfare when cars take to the track for Round 2. To find out what it takes to be succesful here we spoke to Blake Worboys from WK&P SimSports. 

1 - Overtaking

Passing at Winton is very hard with how narrow the track is and how short the straights are making track position king. To be able to complete a clean pass great drive off the preceding corner to along side the car you are trying to pass is critical. If only a small overlap is achieved the defending car will be able to hold position around the outside and keep the spot. Qualifying well will be a critical part of a successful race. Watch out for people also trying to undercut in the pits to get track position.

2 - Car Setup

A well-balanced setup that is able to handle the flowing nature of the track but also the start stop aspects will be key. Having a car that flows well through the faster sections of the track will help maintain gaps to cars behind but in turn one that stops well, rotates through the corner and accelerates well off the tight middle sector of the track will help pull a gap to the preceding car and close the gap and attack those in front.

3 - Technique

Driving flow will be very important to be consistent at Winton. With the short straights between some corners and others where corners are linked it is easy to make a mistake, get out of the flow of the track and loose valuable time. Once you run wide at one corner is hurts your entry to the next costing you time.

4 - Pit Entry

The pit entry at Winton is very narrow and easy to get wrong. The pit entry leaves very little room for error. As you make your way into pit entry you realize how narrow the run into the pits is. If you lock a brake into the first turn of the entry the tire barrier sneaks up on you very quick and you could have a face full of tire. The small chicane can also lead to an off track is cut to fine which may dig into those valuable incident points.

5 - Pit Exit

The pit exit is one that has seen some major incident in the real world V8’s and is sure to cause some drama in the sim as well. With the blend line of the exit finishing in the braking zone of turn 1 it compromises the run of the car exiting the pits in the turn 1 and 2 chicane which if timed correctly can give an opportunity to an opponent who is already at race pace to make a move into turn 3.

If a car exits the pits, side by side with an opponent already up to speed on the track, turn 1 can go one of two ways.

The two cars come together sending them both through the chicane or spinning. Or they give each other enough room to battle on side by side into turn 3, more times than not is results in contact.

Published on

Related Articles

Brad Ryan: 5 Keys to Success at Sebring

Sebring is one of the bumpiest tracks on the 2022 Pro Invitational Calendar and provides a unique challenge for the drivers particularly when it comes to car setup. But what else factors into being successful around one of the most famous racing circuits in America? We got the run down and inside scoop from Evolution Racing Team driver Brad Ryan.

1 - Braking

Sebring is a very challenging track with a mixture of braking zones. You have heavy Straightline braking into turns 3, 7 and 10 that require a Stable and quick stopping car to maximise lap time and be able to make passes during the race. However, for turns 1, 13 and 17 you need a lot of rear bias and good trail braking ability to avoid front locking and ending up of the road. It is a challenging track that requires a very well-balanced braking car in order maximise lap time and importantly achieve lap time consistency in race running.

2 - Bumps and Setup

Sebring is a very bumpy track and of course some of the biggest bumps are in the middle of already tricky braking zones. Spending time tuning your suspension will be key to finding lap time.  The supercar is a tricky car to setup and were you find time in one area you will most likely have to compromise in another so finding a happy balance will be critical.

3 - Qualifying

The Logitech G Pro Invitational has 40 of the best drivers making up the grid so qualifying is so important if you want leave Sebring with a good result.  Whilst 20 minutes sounds like a fair bit of time to set a fast lap, you don't want to be leaving it to the last minute to get that lap in. Sebring is long lap but managing traffic and staying in sync with the field will be very important.

4 - Strategy 

If you don't have the greatest qualifying session strategy will be important to getting you back into the race, With the weather predicted to be pretty warm we can expect to see high track temperatures for the race and therefore, more tyre degradation over a stint. Do you come in early and attempt the undercut? or stay out and hope the overcut will work. Being a fast driver is important but in Sim racing a lot of drivers need to also make these decisions on the fly and in the heat of the race so those with a clear head and good pre-race planning will come out on top.

5 - Controlling the Nerves 

The Logitech G pro invitational is going to be super competitive and all 40 drivers want to walk away with the title at the end of the year. It starts with round 1 and drivers who can handle the nerves and be smart during the race will set the foundations for a good championship tilt.  

Published on

Related Articles

Brady Meyers - 5 key points for Sebring

The opening round of the 2023 Logitech G Pro Invitational series is set to be held around Sebring on the 22nd of March.

Opened in 1950, the 6.019 kilometre circuit provides the ultimate challenge for drivers, who have to muster all of their skills to tame the 17 corners the track throws at you.

2022 winner Brady Meyers takes us through the key points to look out for at Sebring, highlighting what will have to be achieved to walk away with a decent result around arguably one of the most demanding circuits on the 2023 calendar.

1. Turn 1:

Tough corner and easy to mess up. Turn 1 is critical in setting up your lap. Get it right and you will be able to carry a lot of speed through the first sector of the lap. Get it wrong and it's hello Mr Concrete wall. Brake earlier than you think!

2. Turn 7, the hairpin:

After the update to the track there is a change in track surface on the run up to the hairpin. This will incentivise people into having a lunge. However for the overambitious this will also be a hotspot for chaos to occur.

3. Alan's Corner:

Affectionately known as Alan's Corner, this is another hotspot for incidents to happen. Deceptively tight and very easy to overshoot on the braking approach, it encourages competitors to have a dive. Getting power down out of the left-hander will be paramount for both laptime and tire life. Very easy to excite the right rear into wheelspin.

4. Back Section of the Track:

Knowing your track limits is important. The slowdowns here can bite viciously, especially at the start of the race.

5. Sunset Bend:

Another very deceptive corner. It is very easy to both overshoot and underdrive this section, especially under the rear wing of another competitor. The inside fence juts out at the first part, preying on the unwary. Traction and ride control out of this corner is key, very easy to burn the left rear.

Sidenote: Fuel.

Make sure you have enough. It can be the difference between winning and finishing fourth!


Published on

Related Articles